|
A Story of DIY Prusa i3 - what i have learned November 27, 2015 07:32AM |
Registered: 8 years ago Posts: 23 |
My Story kind of begins like the story of everyone else.
I am a Software Engineer. I work with computers. I have tried some hobbies to have fun. I have technical skills. But 3D Printing was a big mystery to me.
It was early 2015 when i discovered RepRap. I decided early on, to not just buy a diy kit or a finished Product but rather source the materials myself. One reason, was
i only found expensive sets here in Germany, or cheap sets from somewhere else, where shipping costs and tax were an issue. And to achieve my goal,
( cheap as possible) i have decided to buy some parts from china, printed parts from ukraine and some screws, nuts and bolts were sourced for free.
But to get there , to know what i have to buy, i had to do research.
In the beginning the Rep Rap wiki was my first source . And it was overwhelming.
A lot of printers there, a lot of old or obsolete stuff, a lot to read. But somehow i managed to decide on the Prusa i3. ( Don`t ask why, i forgot myself)
I had a lot of questions to myself and because i am not active in any forum whatsoever, i tried to figure everything out myself.
I ordered the electronics and bearings and belts on banggood. Stuff like arduino , ramps , stepper driver, j head, heatbed etc. for a relative good price. (and everything works just fine).
I ordered some steel rods from ebay from german shop, 5x Nema 17 stepper motors (chinese ones) and the Plastic printed parts also from ebay.
But hold on, which printed parts did i need? I had decided upon the Prusa i3 Rework 1.0 parts. why? because they were the cheapest i could find. all parts plus hobbed bolt for extruder and plus shipping cost me around 27 € .
Okay, for these parts i needed the cnc-cut/ laser-cut frame. No problem. asked a friend , who asked his friend if he could make them. .... yeah ... fail number one there.
He did not cut them, he just printed them on some leftover material which was 5mm thick. It was some kind of plastic, used in the marketing industry or so. To cut the frame out, i needed a saw..... while cutting, i realized the material is too wobbly.
So... okay, I went to my local hardware store and let them cut some wood for me. Because i had decided i could still make a Boxed Frame on my own.
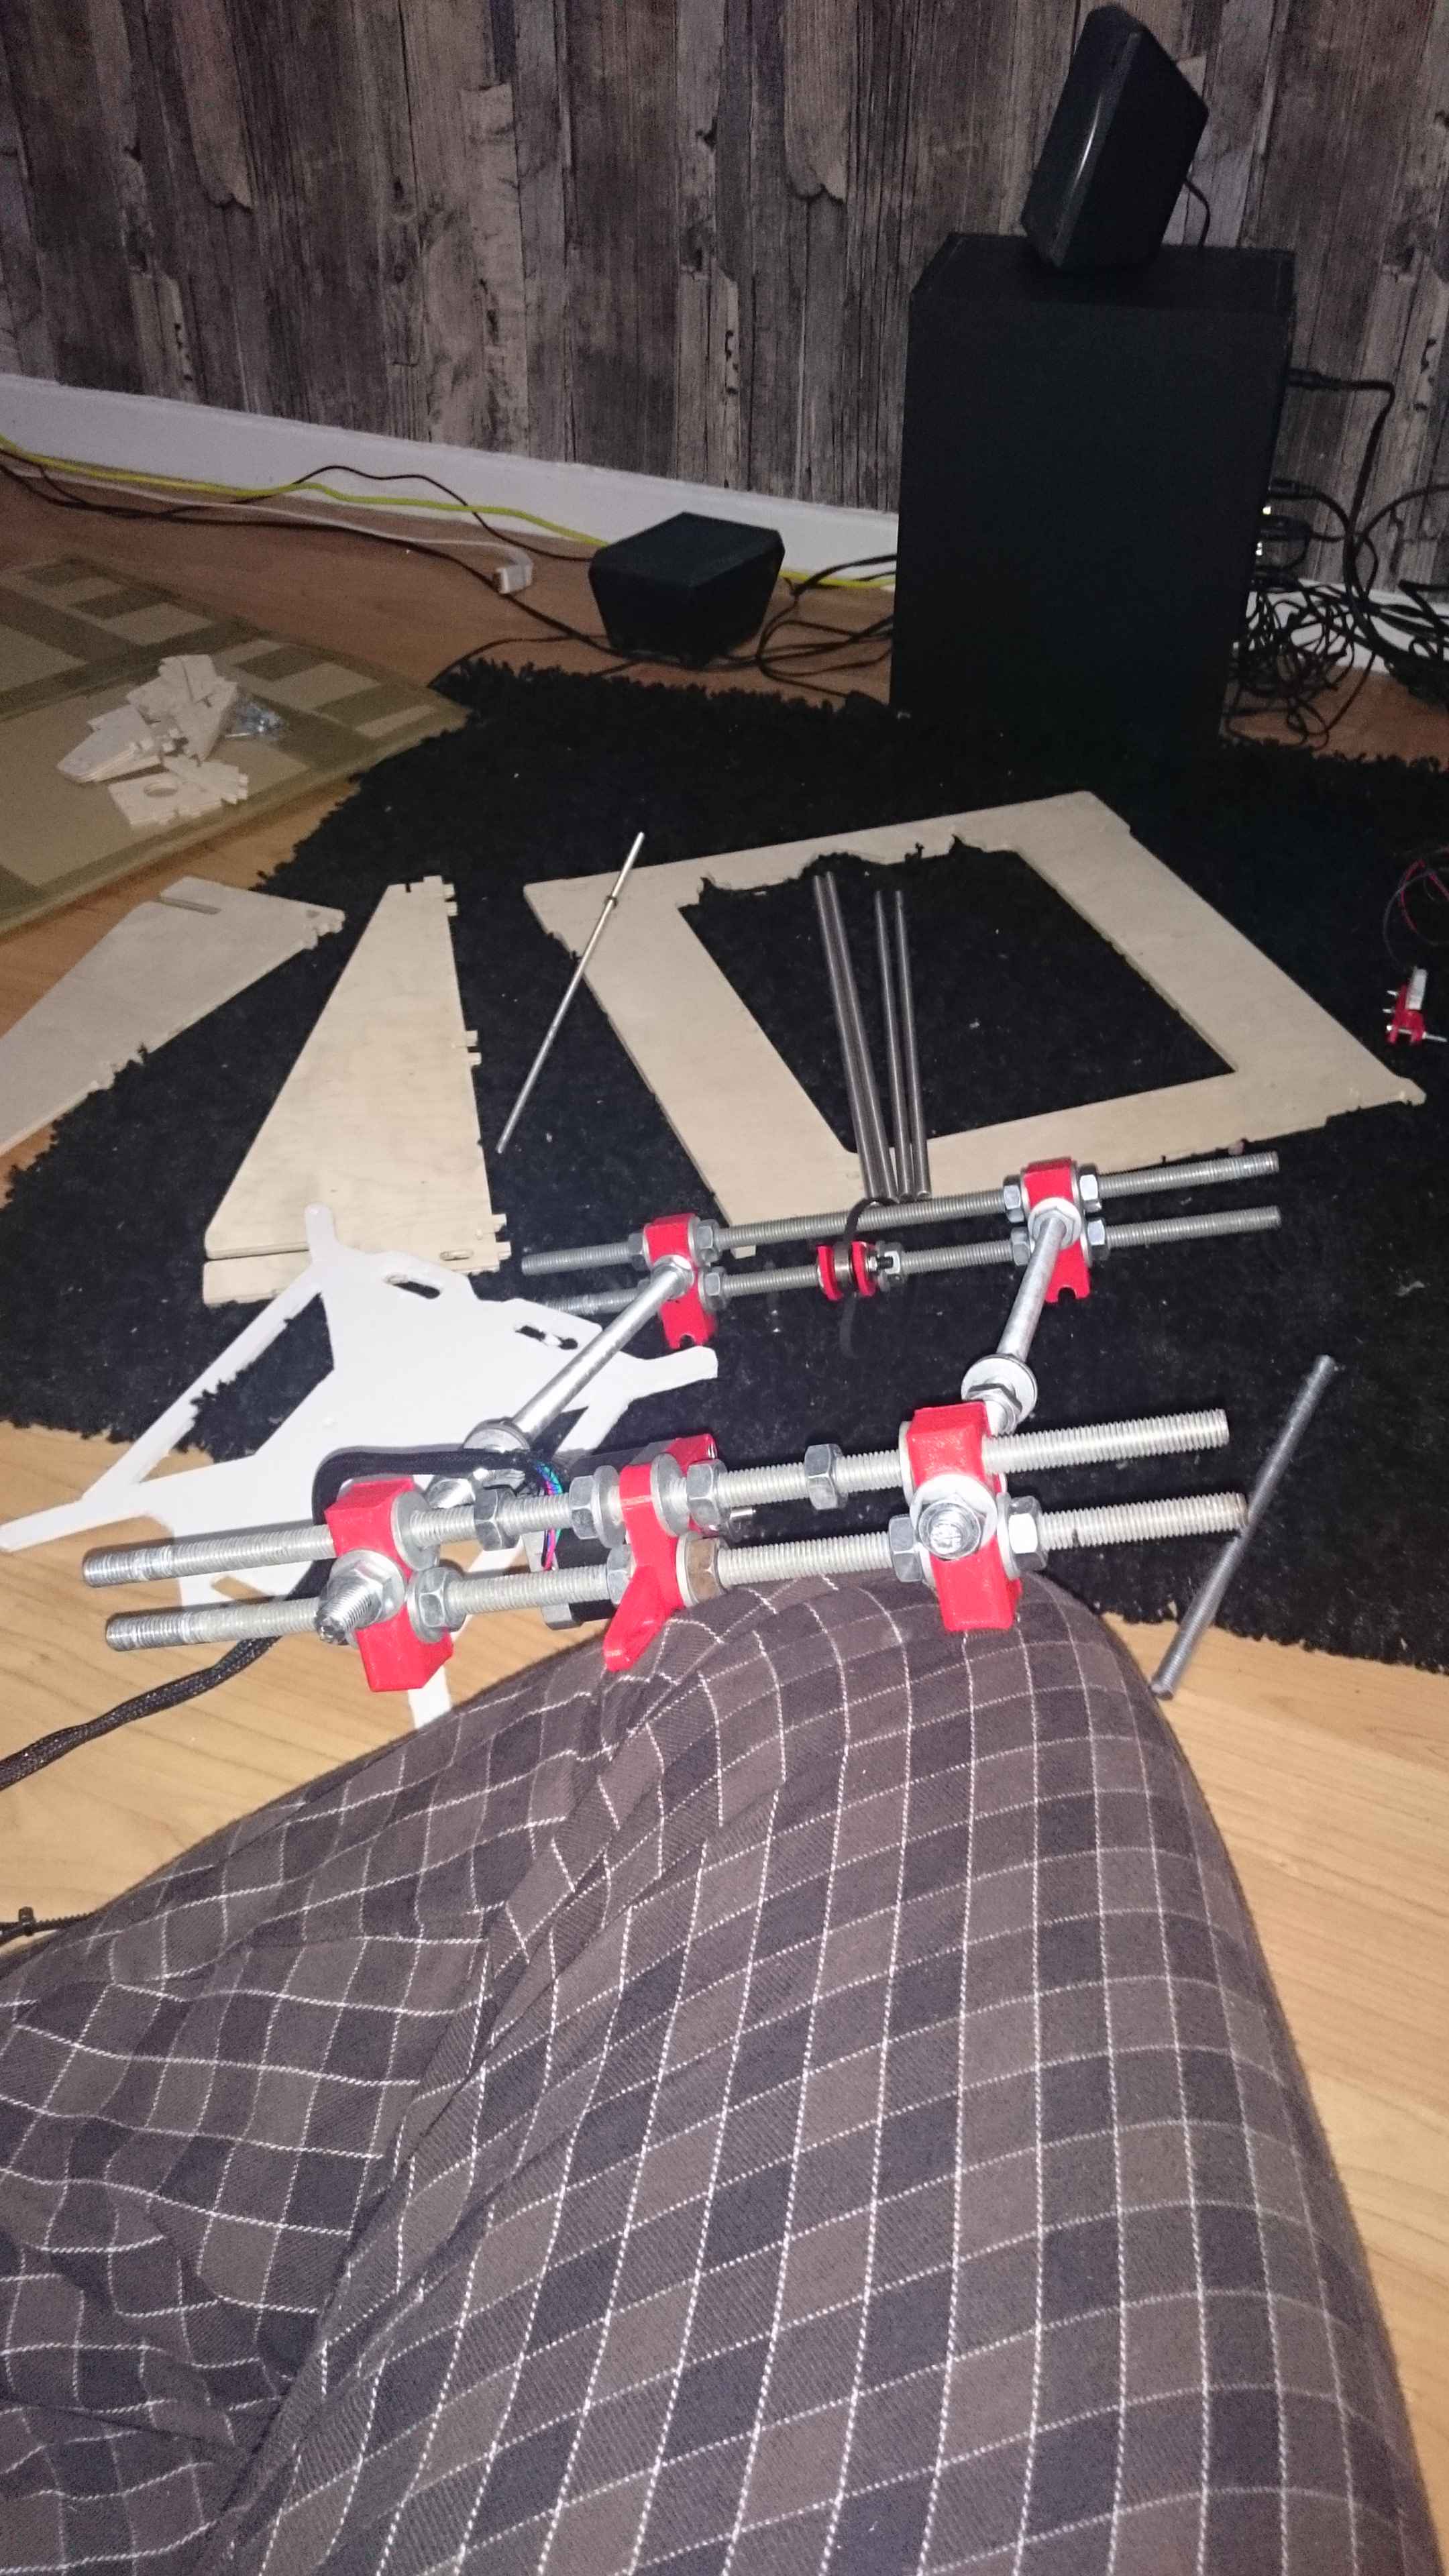
And so i did, i assembled it nicely. Then realised as i wanted to install the X carrier that my steel rods were too short. That was due the fact that the Box Frame of the Prusa i3 needs longer steel rods (doh) .
I thought of a way and just assembled it a little bit to the left side, loosing some print area. Whatever.
But then i broke one plastic part.... and there it all fell apart. tried to fix it somehow.
My first calibration tests looked promising.
But the result was, the Z axis rods were not stiff enough, so the motors jammed.
OK, back to assembling.
Ordered a One Sheet Frame from ebay for 40€.
( I am now at ~260€ , i guess )
to be continued...
I am a Software Engineer. I work with computers. I have tried some hobbies to have fun. I have technical skills. But 3D Printing was a big mystery to me.
It was early 2015 when i discovered RepRap. I decided early on, to not just buy a diy kit or a finished Product but rather source the materials myself. One reason, was
i only found expensive sets here in Germany, or cheap sets from somewhere else, where shipping costs and tax were an issue. And to achieve my goal,
( cheap as possible) i have decided to buy some parts from china, printed parts from ukraine and some screws, nuts and bolts were sourced for free.
But to get there , to know what i have to buy, i had to do research.
In the beginning the Rep Rap wiki was my first source . And it was overwhelming.
A lot of printers there, a lot of old or obsolete stuff, a lot to read. But somehow i managed to decide on the Prusa i3. ( Don`t ask why, i forgot myself)
I had a lot of questions to myself and because i am not active in any forum whatsoever, i tried to figure everything out myself.
I ordered the electronics and bearings and belts on banggood. Stuff like arduino , ramps , stepper driver, j head, heatbed etc. for a relative good price. (and everything works just fine).
I ordered some steel rods from ebay from german shop, 5x Nema 17 stepper motors (chinese ones) and the Plastic printed parts also from ebay.
But hold on, which printed parts did i need? I had decided upon the Prusa i3 Rework 1.0 parts. why? because they were the cheapest i could find. all parts plus hobbed bolt for extruder and plus shipping cost me around 27 € .
Okay, for these parts i needed the cnc-cut/ laser-cut frame. No problem. asked a friend , who asked his friend if he could make them. .... yeah ... fail number one there.
He did not cut them, he just printed them on some leftover material which was 5mm thick. It was some kind of plastic, used in the marketing industry or so. To cut the frame out, i needed a saw..... while cutting, i realized the material is too wobbly.
So... okay, I went to my local hardware store and let them cut some wood for me. Because i had decided i could still make a Boxed Frame on my own.
And so i did, i assembled it nicely. Then realised as i wanted to install the X carrier that my steel rods were too short. That was due the fact that the Box Frame of the Prusa i3 needs longer steel rods (doh) .
I thought of a way and just assembled it a little bit to the left side, loosing some print area. Whatever.
But then i broke one plastic part.... and there it all fell apart. tried to fix it somehow.
My first calibration tests looked promising.
But the result was, the Z axis rods were not stiff enough, so the motors jammed.
OK, back to assembling.
Ordered a One Sheet Frame from ebay for 40€.
( I am now at ~260€ , i guess )
to be continued...
|
Re: A Story of DIY Prusa i3 - what i have learned November 27, 2015 08:30AM |
Registered: 9 years ago Posts: 722 |
Hi,
What a sad story at this point !
Welcome here, It's the right place to don't feel alone with your build.
Your story shows some very important point for beginers :
Prusa i3 seems a standard, as it's the most produced reprap printer actualy.
But the Prusa i3 is not a standard at all. There's so many versions it becomes totaly confusing.
To deal with a self sourced printer, here's some advices :
1/ Don't run into the shopping and the build. Take some time to read and learn about versions differencies.
You need some time before all this stuff begins to make sense. You need probably weeks of reading experience. It's no wasting time.
2/ Try to follow a trusted BOM. By trusted, I mean a BOM from a working machine.
It's the simplest way to be sure to get components matching together.
You can google for Prusa I3 BOM, there's a lot of examples.
Here's for example the French community list of trusted BOMs.
I believe you can find some german ones.
I recently helped on a dual extrusion Prusa i3 BOM, maybe you'll get some inspiration there too.
3/ Be social, meet people who own and uses repraps or other CNC machines.
The nearest fablab is probably the best place to meet interesting people.
Anyone will want to help you as much as (s)he can.
Through, you'll get acces to machines to make your parts, you will find used/unused parts ar reasonable price,
and sometimes get benefits of bulk buys on components.
Last but not least, you'll get some wised advices, especialy for setup.
Setup is the most baffling time for the beginer, because he don't know what to expect and where issues comes from.
If you don't have a fablab or friends to get help from, joint a reprapper community and ask questions.
There's a german community on the reprap forum, and a dedicated section for german reprappers here.
I wish you a lot of fun with your build and soon with your printer
++JM
Edited 2 time(s). Last edit at 11/27/2015 08:32AM by J-Max.
|
Re: A Story of DIY Prusa i3 - what i have learned November 27, 2015 09:14AM |
Registered: 11 years ago Posts: 5,780 |
If you follow someone else's BOM you won't learn nearly as much as if you source the parts yourself because it forces you to at least try to understand what the parts do and how they are selected for the performance required. As you have discovered, there are a lot of bad "designs" out there in which people chose parts simply because someone else chose the same parts before them, they were the cheapest available, and/or ???
If you follow the link in my sig, below, you might find some useful ideas that you can incorporate into your build. Pay particular attention to the frame design/construction. If you start with a solid frame, you can upgrade the other parts later and improve your printer. If you start with a bad frame, there won't be much point in upgrading the other parts.
I know its difficult at the early stage of printer design/build, with so many decisions to make, but try to think ahead to when the machine is working and what you want to do with it, and where you'll be operating it. If you have any intention of printing with ABS, you'll need the machine to be enclosed and you'll need to run the build chamber at 45-50C to prevent delamination. At that temperature you'll want to keep the electronics outside the build chamber, so think about where it's going to have to be placed. Also, think about the ease with which the machine can be enclosed. Some frame designs do not lend themselves to easy/neat/compact enclosure (see my original machine for a great example: [mark.rehorst.com]). Think about cabling and where the wires will be routed and how long they'll have to be. There are other reasons for enclosing machines including safety (if you have kids or pets), sound control, and appearance, so even if you don't intend to ever use ABS, you might want to think about an enclosure anyway.
In many printer "designs" the placement of the electronics and cabling are afterthoughts, and it is usually pretty obvious. A little advance planning will make it easier to maintain and modify your printer when it is finished. Consider adding an LCD/encoder/SD card reader panel and where it would be placed (generally they need to be located close to the controller board, and somewhere you can see/reach easily). An LCD control panel will allow you to operate the machine without a computer attached, and that improves reliability.
Finally, you can save yourself a lot of time and expense if you learn from others' mistakes and try to avoid repeating them.
Ultra MegaMax Dominator 3D printer: [drmrehorst.blogspot.com]
|
Re: A Story of DIY Prusa i3 - what i have learned November 27, 2015 01:51PM |
Registered: 8 years ago Posts: 23 |
Thanks for your tipps J-Max and the_digital_dentist.
This was kind of a short summary.
Maybe i write it up nicer, when i have time.
As far your concerns go, i have read a lot. Really , really a lot .... but still , there is so much to learn. And i am slowly getting addicted.
Not only to 3D Printers.
But to Making stuff in general. At first my attempts were a little frustrating. And i thought, why build something if you can buy it?
But now, building that 3d printer from scratch, felt like an accomplishment.
I tried to go into the local fablab here in Dortmund. But unfortunately their own 3d printer was broken. That's why i ordered my printed parts online.
And it's kind of too far away for me to travel there on a regular basis. That and the fact that i started in a new full time job recently and i moved into my first own apartment.
Soooo... the printer will be mainly used for ABS i think.
But thats no problem at all, because i will have a dedicated workshop room soon.
So the fumes won't annoy me at all.
adding to my growing knowledge of 3d printers, i researched Filament Extruders a lot.
Like said before, i am kind of cheap. Was at College , till now, so i had not much money to spend.
Therefore i decided that i want to extrude my own filament as soon as possible. Because, why pay 20-xx € for 1KG ABS Filament
when i can get Pellets for around 3€/kg. So there might follow an adventure too.
And one good thing already happened. My best friend is hooked up too.
He ordered an i3 from 3dprintersonline. And then we will see which works best
This weekend, or to be precise, tomorrow i await my one sheet frame.
Maybe I will rewrite my story and add some pictures to it.
And Maybe, there are some other fellow beginners who need some help too. Feel free to ask.
|
Re: A Story of DIY Prusa i3 - what i have learned November 27, 2015 07:08PM |
Registered: 9 years ago Posts: 1,873 |
|
Re: A Story of DIY Prusa i3 - what i have learned November 30, 2015 01:09AM |
Registered: 9 years ago Posts: 221 |
My journey of building 3d printer was long and don't see the end of the tunnel yet... :-(
That's way I decided to get a kit ...economical one to get started to print... And by actually printing out parts and staffs, I got better sense of how things work and will help me to complete my 69x60x60cm type one 3d printer!
I have cut down my aluminum railing, made hot end, the throat from a threaded rod, nozzle from brass nut 0.2mm
So, mine will have long way to go!
But, for the time being, I am encoding my acrylic frame prusa i3 , just complete a 3 h print without any issue.
Cheers
|
Re: A Story of DIY Prusa i3 - what i have learned December 01, 2015 03:09PM |
Registered: 8 years ago Posts: 23 |
Hey Guys, a little update from me.
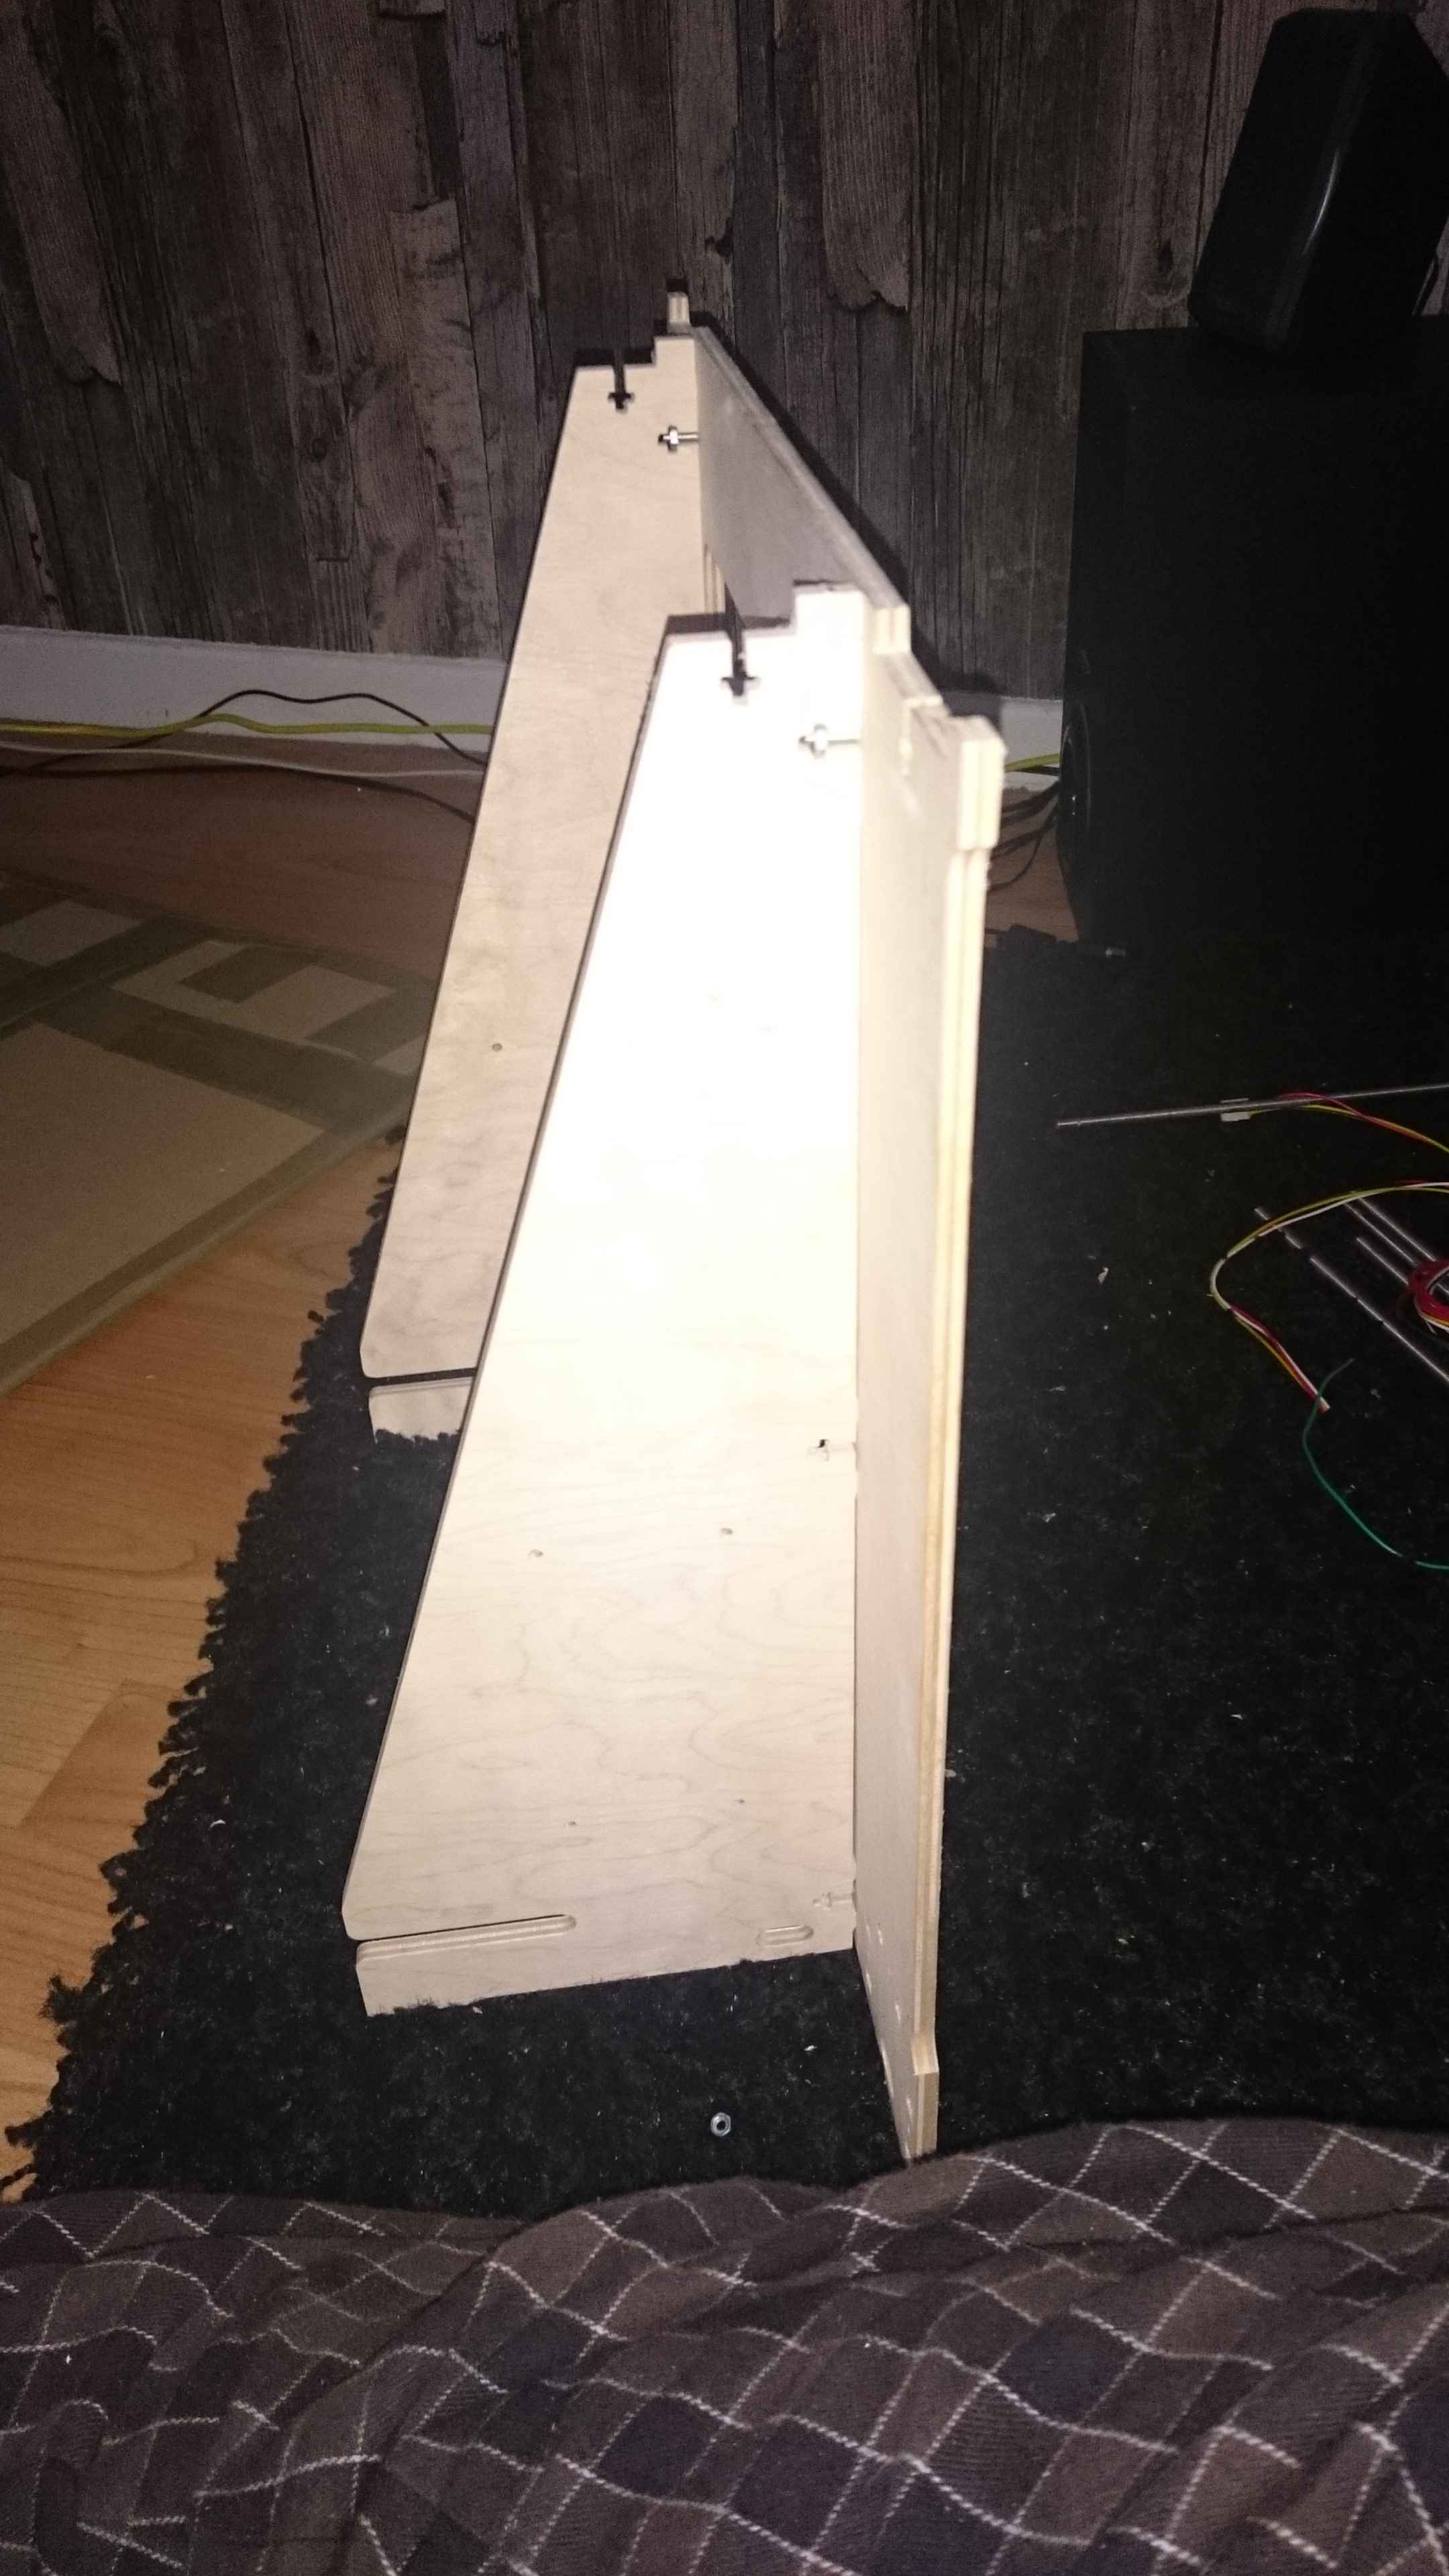
I have gotten the cnc milled - one sheet- for the Prusa i3 in the mail today.
Had hoped it would arrive saturday, to have a fun project for the weekend.
But the mail man was not fast enought
Even though, its made nicely and from plywood.
Don`t know yet if i paint or oil the wood , to protect it from moisture etc.
Some of you got experience with 3d printers and wood?
anyhow, back to building. I have to work tomorrow, but i want at least get to the point where everything stands
Sorry, only registered users may post in this forum.