Home
>
Reprappers
>
Topic
Calibration Procedures and other questions
Posted by stoof
|
Calibration Procedures and other questions June 22, 2012 04:49PM |
Registered: 11 years ago Posts: 38 |
Hey everyone
So finally got my MM up and running and made a couple test prints, but I still have a lot to do. I've been going through some of the calibration tests on the reprap calibration page but I could use some other help. This is my first machine so I am unfamiliar with initial set up. I've leveled the bed to the best I can and right now I'm adjusting the print scale by changing the steps per unit setting. I tried printing a 20mm cube and it came out as a 35 mm square that was only about 7mm tall. I will adjust the steps per unit on the z axis too, but I assume I will also have to adjust the steps per unit on the extruder as well. Is there a good method to calibrating the extruder volume?
I've been running everything at some relatively slow speeds just to start but eventually I'm going to want to optimize the speed, can somebody tell me the best method to getting the best balance of speed and quality out of your machine? Is it pretty much just trial and error, or are there some good test prints and processes I can follow? Also, can anybody explain to me what the different configuration settings do, such as the xy jerk and acceleration, and how I should adjust these?
I've also had a problem with the corners curling a lot, but I was going to tend to scaling the z axis steps and extrusion volume first to see if that fixes the issue much. I have kapton tape on my glass bed right now but since I dont have my heat bed working yet I should probably switch over to blue tape. Plus, once I get the heat bed online it should eliminate most of the curling, though I was under the impression that pla does curl much anyway and its curling enough that all of my prints are coming unstuck halfway through the prints. I feel a lot of it has to do with my extremely small layer heights.
With the heatbed, I had a small heatsink on the mosfet but it got so hot on the first testing of the heatbed I destroyed it and it managed to unsolder itself. I'm going to get a new one with a monster aluminum heatsink and stick it on a daughter board and use an auxilery pin from my RAMPS to control it. I measured my heatbed and it was 1.2 ohms, seemed pretty standard to me.
Another time that I was running my hotend, I guess the power resistor on my Jhead got hot enough to reflow the solder and the hotend mosfet got shorted through the brass jhead nozzle and blew up the trace for that mosfet. luckily I was able to fix it with a wire bridge. I forgot to stick insulation on the hot end wires and I used to much solder so it was all my fault, but I've now taped it up with kapton.
Since I have a Jhead i installed a 40mm fan on the extruder carriage, but haven't figured out how to set it up in marlin yet. What exactly does the fan help with? Mostly useful when printing with ABS im guessing?
Ok I feel like I just barfed up all the thoughs I had onto this post, sorry about the disorganized nature. Definitely drank too much tequila last night and am paying for it now. If anybody can give me some good pointers it would be much appreciated.
|
Re: Calibration Procedures and other questions June 22, 2012 07:15PM |
Registered: 11 years ago Posts: 61 |
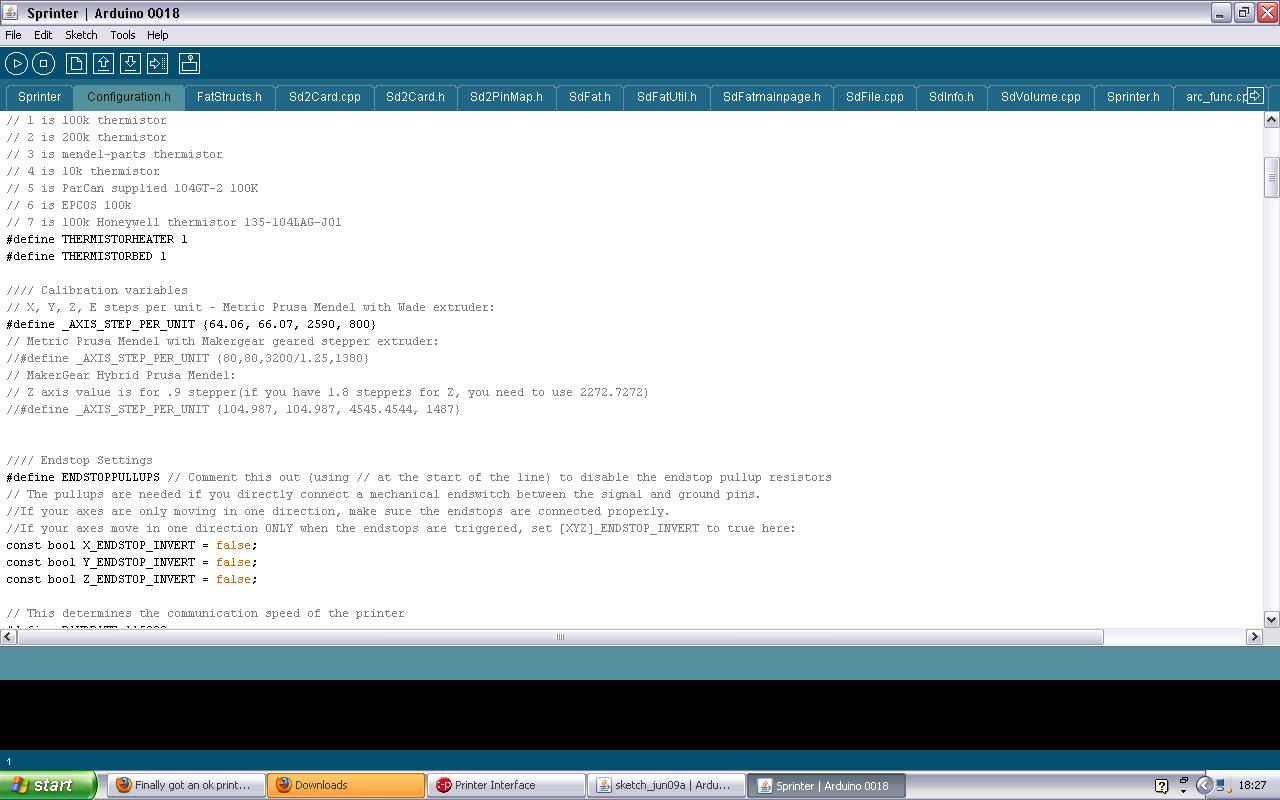
Before you print, you NEED to set the firmware for steps per mm on x,y, & z (don't guess, use calculator at [calculator.josefprusa.cz])
and set the Extruder steps: [reprap.org]
Then set the z endstop and level the bed.
If you are using the J-head, read this: [forums.reprap.org]
I found the same as Sublime, changing nozzle size to .3 instead of .35 resulted in better J-head prints.
and set the Extruder steps: [reprap.org]
Then set the z endstop and level the bed.
If you are using the J-head, read this: [forums.reprap.org]
I found the same as Sublime, changing nozzle size to .3 instead of .35 resulted in better J-head prints.
|
Re: Calibration Procedures and other questions June 22, 2012 08:39PM |
Registered: 12 years ago Posts: 142 |
The level of the bed is not as important as the relation of the print head to the bed. By this I mean, set your z stop to about 4 sheets of paper between the tip and bed in the center.
Unsure all motors are off and move the tip and bed to front left. If the tip digs in or moves up from the paper, readjust levelling screw at that point and do the same on all 4 corners and then check the center again. It seems to work quicker if you adjust opposite corners at the start first.
The center is where most prints will be positioned if you print one at a time.
If using pronterface, click Z + 10 at least 5 times and check how far the print head has moved. If too small as it sounds in your case, increase the number in Arduino settings and try again.
When this movement is close, try a small print and check measurements and repeat if necessary.
Every machine is different but I have included my settings to give you an idea.
|
Re: Calibration Procedures and other questions June 23, 2012 02:06AM |
Admin Registered: 15 years ago Posts: 1,470 |
gregted Wrote:
-------------------------------------------------------
> If using pronterface, click Z + 10 at least 5
> times and check how far the print head has moved.
> If too small as it sounds in your case, increase
> the number in Arduino settings and try again.
>
> When this movement is close, try a small print and
> check measurements and repeat if necessary.
Or just do the calculation and get it right the first time.
http://calculator.josefprusa.cz/
|
Help improve the RepRap wiki!
Just click "Edit" in the top-right corner of the page and start typing. Anyone can edit the wiki! |
|
Re: Calibration Procedures and other questions June 23, 2012 04:13AM |
Registered: 13 years ago Posts: 818 |
|
Re: Calibration Procedures and other questions June 24, 2012 02:59AM |
Registered: 11 years ago Posts: 38 |
Hey that's a great guide you've got there Rich. I'm a little curious about calibrating the length of filament extruded. I've found that when I do a manual extrude set to 5mm, the actual length of filament being fed is about 2.5mm, half of the set value. Problem is, I am getting a very good diameter extrusion right now, about .5mm out of my .5 mm head and the prints are looking pretty good. I am able to print the .5mm perimeter hollow box perfectly. If I were to change the extrusion steps per unit in the firmware, are there some other setting I should tweak in conjunction to keep the same extrusion diameter?
Also, can anybody explain to me the different extrusion parameters in the advanced tab of slicer? I'm guessing extrusion width changes the distance lines are placed apart from eachother, but does it also change the amount of material being extruded?
Also, can anybody explain to me the different extrusion parameters in the advanced tab of slicer? I'm guessing extrusion width changes the distance lines are placed apart from eachother, but does it also change the amount of material being extruded?
|
Re: Calibration Procedures and other questions June 24, 2012 11:37AM |
Registered: 12 years ago Posts: 939 |
Extrusion width in Slic3r does change the amount of material extruded, slicer uses it to compute the volume of material required then uses the filament diameter to convert that into mm of input filament.
It's a common misconception that the extruded width is a function of the nozzle size, it isn't, the filament is stretched, so it's just a function of the output volume and the head speed.
Slic3r uses the nozzle diameter to clamp the requested (or calculated) extrusion width, that part seems somewhat arbitrary to me, it's clamped between 1.04 and 1.7 nozzle diameters.
Sorry, only registered users may post in this forum.