Home
>
Reprappers
>
Topic
Prusa I3X Unbox and Build
Posted by kwhite
|
Prusa I3X Unbox and Build August 31, 2014 02:09PM |
Registered: 9 years ago Posts: 7 |
After some research and budget considerations, i.e. what was I willing to spend on something that I don't really need, I decided to buy a Prusa I3X from DIT Tech Shop. They offer their version of the Prusa I3 for the price of $399 which seems to be the lowest USA price. After ordering I came across some posts on here about problems with shipping and quality but I assumed that I would be getting what I paid for: a functional but not extremely high quality printer that would serve as an introduction to 3D printing.
I ordered on 8/8 and the printer finally shipped on 8/21/14 and arrived on 8/27.
This is the journey.
I took off from work so I could accept the package and spent the morning preparing my work area i.e dining room table.
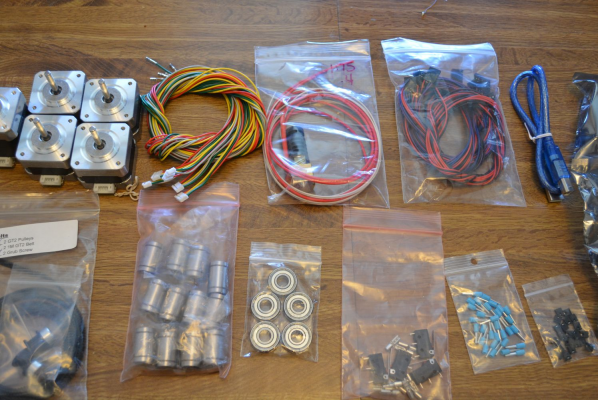
The package arrived and I eagerly unboxed. I got everything out of the box and what's this-NO PRINTED PARTS and NO FRAME.
I called DIY Tech and left a message. They had a message on their answering machine stating they wee holding acompany meeting and would be unavailable until after 12noon.
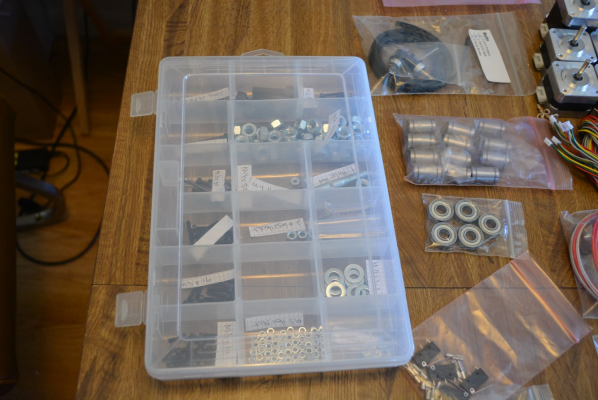
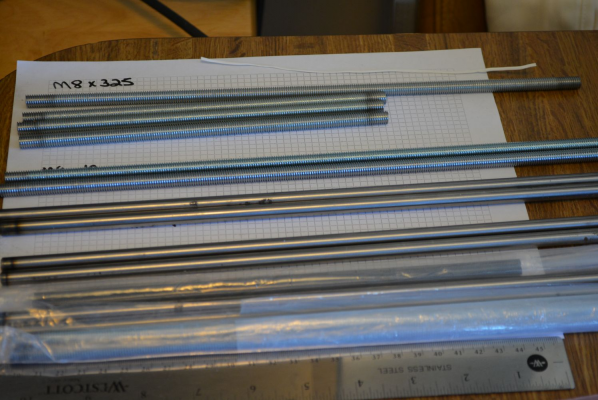
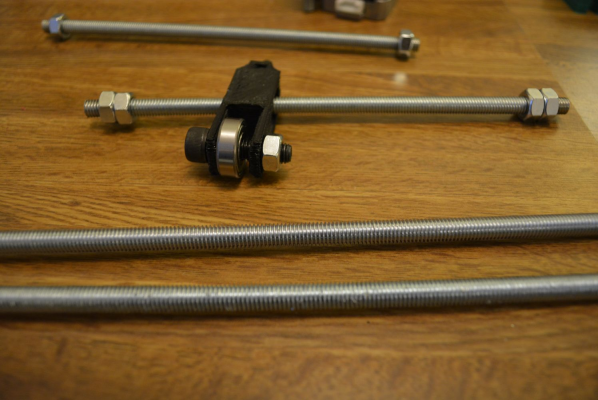
I spent some time organizing the parts I did have and measuring the rods etc. I had received 2 of the wrong rods and the fan was missing but everything else seemed to be in order.
I labeled everything I could to help prevent confusion later. A stainless steel ruler and calipers help greatly.
|
Re: Prusa I3X Unbox and Build August 31, 2014 02:24PM |
Registered: 9 years ago Posts: 7 |
About an hour after leaving a message with DIY TEch Shop, I got an email from them. They apologized and said that I should have received a email about shipping problems and delays and to please send a list of missing parts so they could get them out to me.
Making a list of missing parts isn't easy when you don't know what should be included but by looking at their instructions I was able to get a list together and send it to them.
I really wanted to work on this printr over the long weekend so I also asked if they could arrange t get the missing parts to me by Friday. I also offered to split any extra shipping if it was a problem.
To their credit they assembled everything and shipped it out to me about an hour after my email.
The missing parts arrived on Friday and I thought I was good to go.
I have no expereince with 3D printed parts so I don't have any real idea just how good they are. I can say that the one part;the fan mount is pretty flimsy.
The other parts seemed to be ok though they seemed a rough to the touch and there was a occassional hole that had strings..
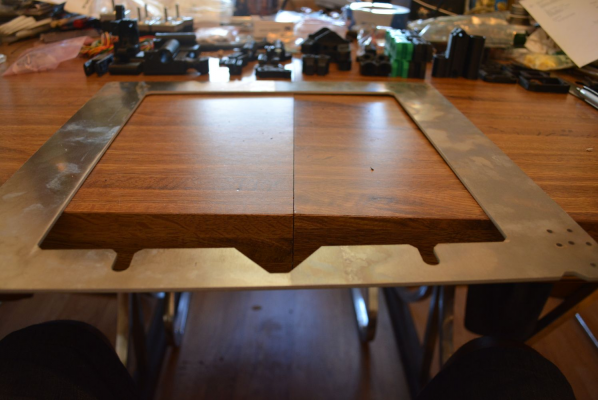
The Frame plate needed to be cleaned up so I took care of that.
|
Re: Prusa I3X Unbox and Build August 31, 2014 02:30PM |
Registered: 9 years ago Posts: 7 |
|
Re: Prusa I3X Unbox and Build September 03, 2014 03:12PM |
Registered: 9 years ago Posts: 7 |
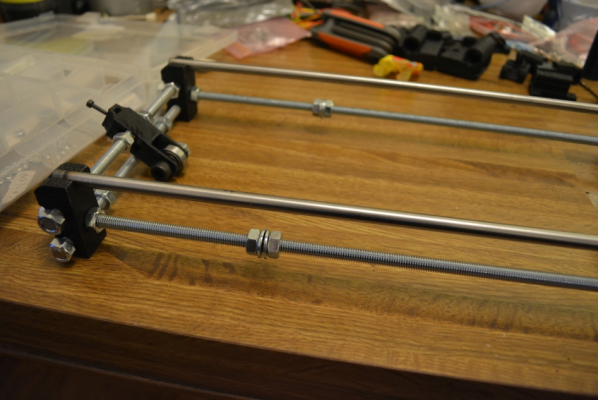
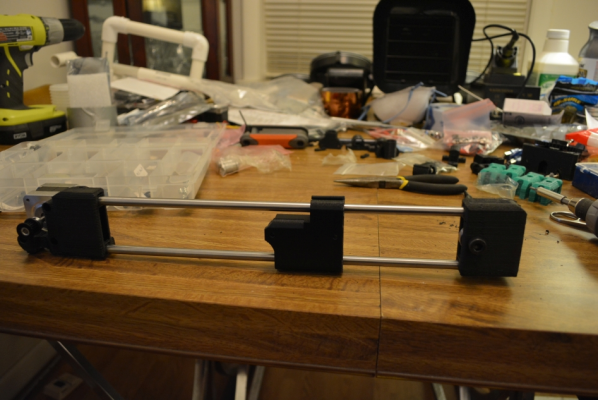
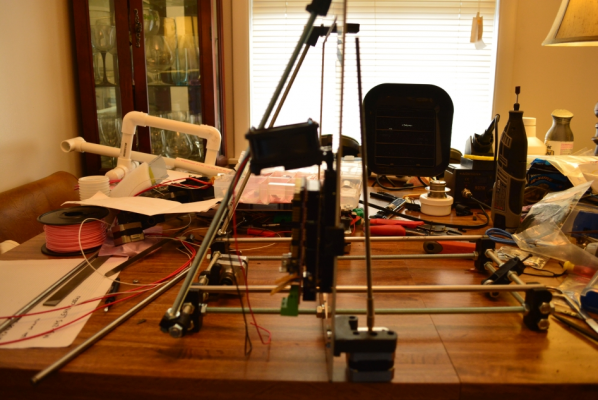
Frame and Y Axis
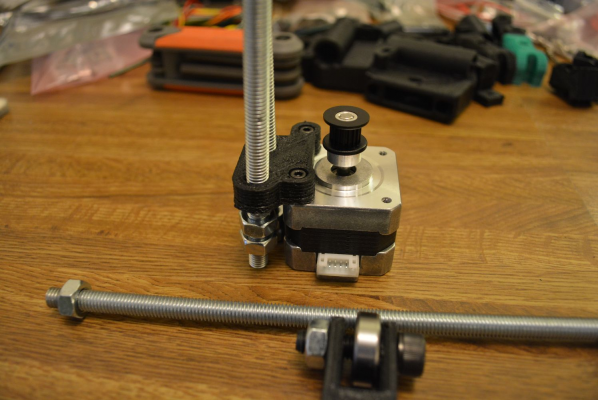
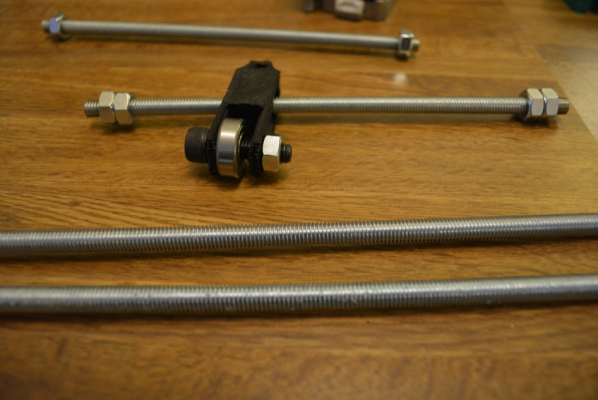
The instructions didn't show washers on the Y-Idler but I later added them and the part broke anyway. I also read a tip about using Blue Loctite so I'm going to try that on the nut in the Y-Idler.
There are several places where you have put nuts into slots, it isn't always clear in the directions and you will have to ream out the slots to get the nuts into place.
The Y-Idler
Y Axis motor
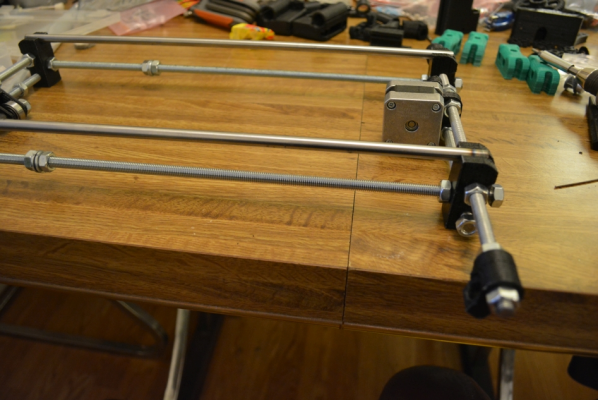
Y-Axis Rear
Y Axis front and Y Idler
Edited 1 time(s). Last edit at 09/03/2014 03:13PM by kwhite.
|
Re: Prusa I3X Unbox and Build September 03, 2014 03:23PM |
Registered: 9 years ago Posts: 7 |
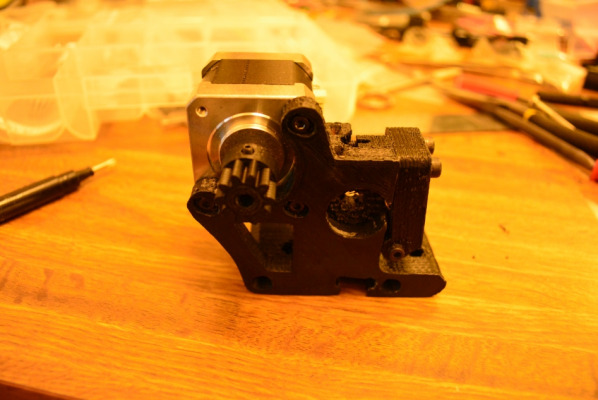
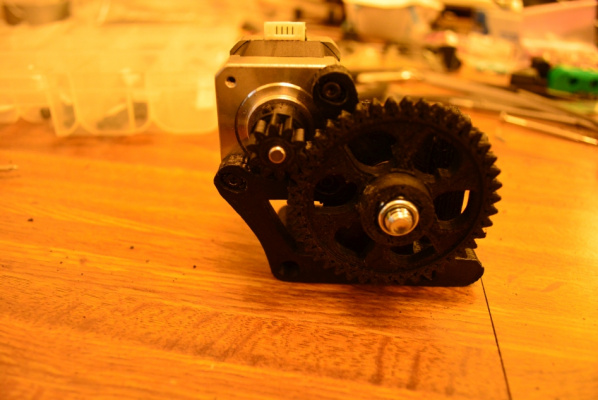
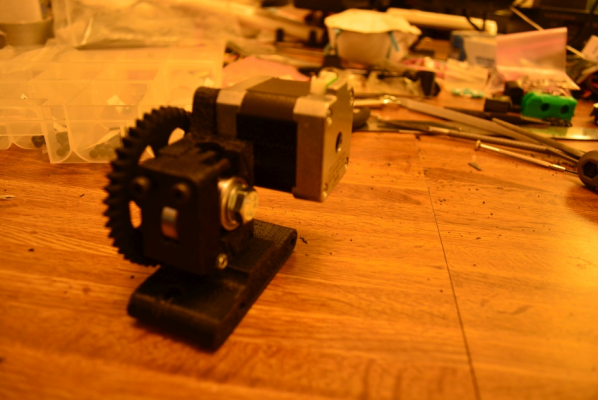
X Axis and Extruder
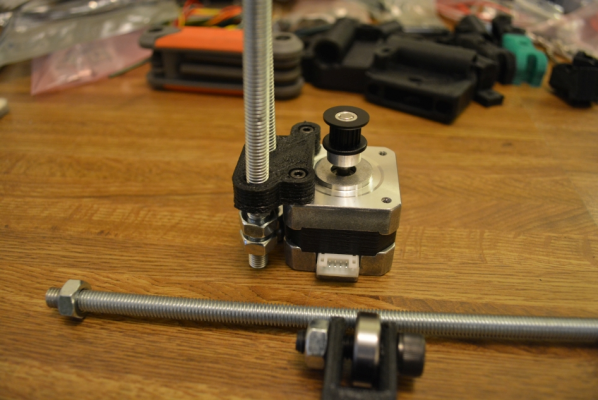
Almost all the parts need cleaning up and holes enlarged
You can just make out two slots for nuts near motor body. I made the slots too wide and long and as a result will have to use more Loctite.
Almost all the parts need cleaning up and holes enlarged
You can just make out two slots for nuts near motor body. I made the slots too wide and long and as a result will have to use more Loctite.
|
Re: Prusa I3X Unbox and Build September 03, 2014 04:16PM |
Registered: 9 years ago Posts: 7 |
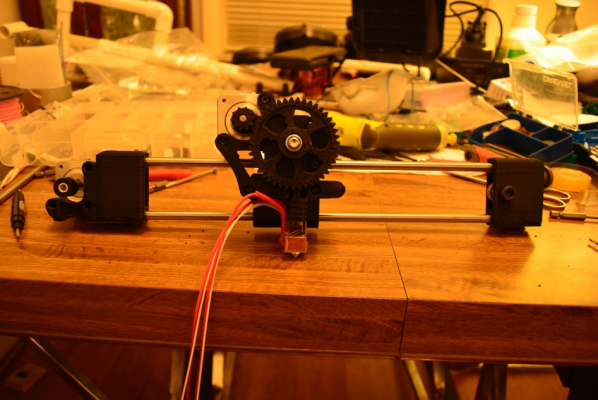
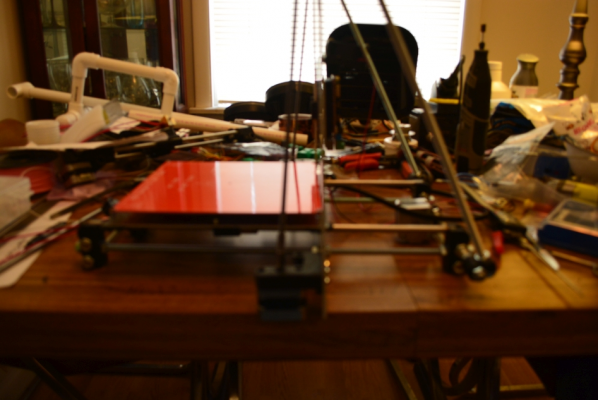
X Axis with Extruder and HotEnd
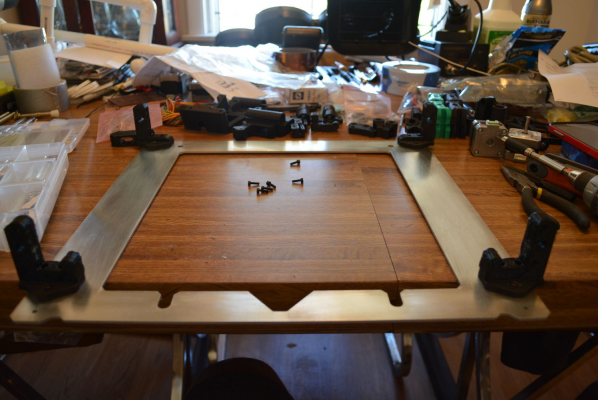
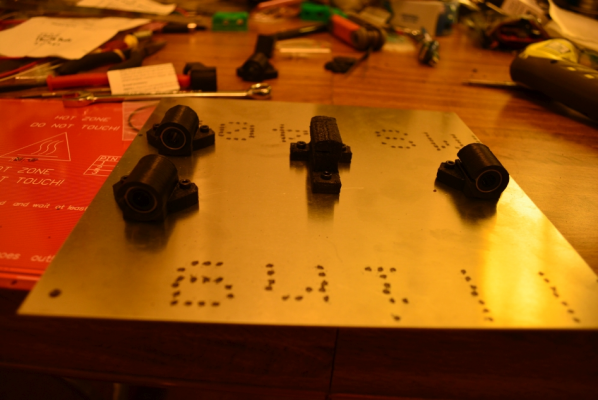
Bottom Aluminum plate
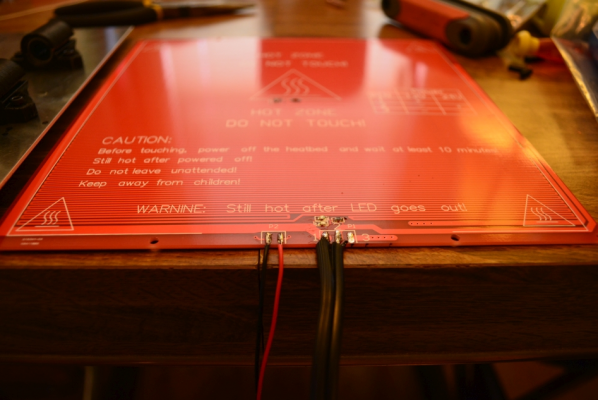
Heatbed
This is the R1 Heatbed which is supposed to have built-in LEDS and Thermistor(more on that later)
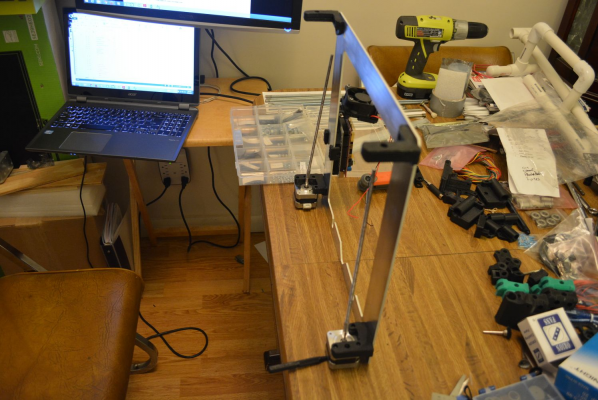
Frame with back supports
Waiting for X-Axis
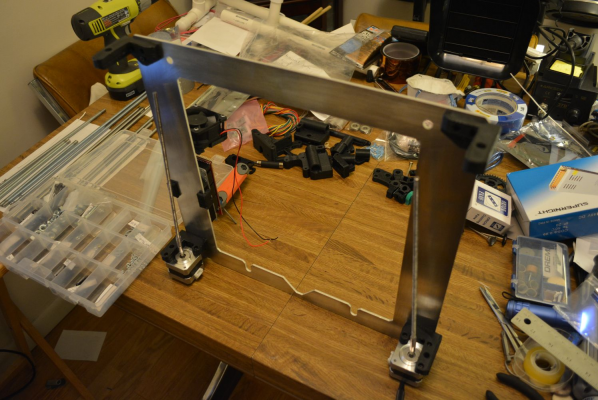
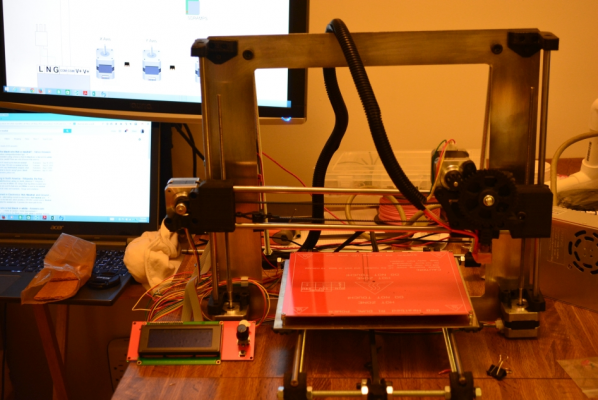
X-Axis in place along with electronics and some wire-wrap
Bottom Aluminum plate
Heatbed
This is the R1 Heatbed which is supposed to have built-in LEDS and Thermistor(more on that later)
Frame with back supports
Waiting for X-Axis
X-Axis in place along with electronics and some wire-wrap
|
Re: Prusa I3X Unbox and Build September 10, 2014 12:33PM |
Registered: 9 years ago Posts: 6 |
I've got the same kit that I just finished calibrating yesterday. I'm already making replacement parts and upgrades. I expected a lot more from Diytechshop, instead of getting a tried and tested kit that you just have to put together and calibrate it's like a collection of cheaply built and selected parts. Even the Marlin configuration files on their website is of no use. Anyway, it's not awful but it's not far from just buying a cheap kit from China either; the experience I was hoping to avoid by buying American...
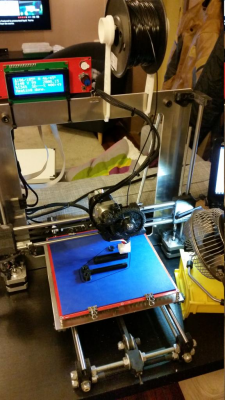
Here's mine:
~I added washers between every nut and printed frame part
~All the outside nuts were replaced with stainless steel lock nuts and the frame was carefully squared with the Y-axis rails spaced exactly. I had tried lock-tight and it was a bad idea that was tedious to clean up.
~The teeth on the extruder gears needed to be filed square, extra washers had to be added to space the hobbed bolt in proper alignment.
~Without a plastic inner tensioner block the Y-axis tensioner will skew slightly when under proper tension. I added fender washers to temporarily correct the belt travel this until I print a proper part. Mine also was cracked and had to be glued back together... I notified Diytechshop and they have yet to replace it.
~The endstop mounts have been replaced with non-functional (laughable) pieces of plastic. I had to zip-tie the end stops into place until I could print out real ones. Diytechshop was less than helpful when I mentioned the need for actual endstop mounts.
~If you mistakenly use the marlin configuration from Diytechshop you'll be stuck in calibration hell. I would recommend starting with a proper github version and adding in only relevant portions from their sparse configuration.h file.
~I replaced the bedsprings with much stronger ones, normally used for heatsink screw retention.
~There are no instructions anywhere on the web as how to properly wire up the new style steppers that are now included in the kit. I had to find the part schematic written in Chinese (Mandarin?) and compare the diagram to the ramps (pololu) schematic
~My frame took an additional 2weeks to arrive and looked like an oily mess. It took 2 hours of polishing it to make it look presentable and not sharp to the touch.
That's all I can think of right now...
So yeah, I wouldn't recommend these guys. I would have easily spent 3-4 times as much for a better kit and I generally like these kinds of challenges but essentially I could've put a better kit together myself for the same money if not less AND get better service!
Let me know if you need any help with this newest revision of the kit they're selling...
Oh yeah, don't forget to connect negative to both #2 and #3 on the heatbed otherwise you'll only have half a heated pcb bed.
Edited 2 time(s). Last edit at 09/10/2014 12:41PM by Warlord.
Here's mine:
~I added washers between every nut and printed frame part
~All the outside nuts were replaced with stainless steel lock nuts and the frame was carefully squared with the Y-axis rails spaced exactly. I had tried lock-tight and it was a bad idea that was tedious to clean up.
~The teeth on the extruder gears needed to be filed square, extra washers had to be added to space the hobbed bolt in proper alignment.
~Without a plastic inner tensioner block the Y-axis tensioner will skew slightly when under proper tension. I added fender washers to temporarily correct the belt travel this until I print a proper part. Mine also was cracked and had to be glued back together... I notified Diytechshop and they have yet to replace it.
~The endstop mounts have been replaced with non-functional (laughable) pieces of plastic. I had to zip-tie the end stops into place until I could print out real ones. Diytechshop was less than helpful when I mentioned the need for actual endstop mounts.
~If you mistakenly use the marlin configuration from Diytechshop you'll be stuck in calibration hell. I would recommend starting with a proper github version and adding in only relevant portions from their sparse configuration.h file.
~I replaced the bedsprings with much stronger ones, normally used for heatsink screw retention.
~There are no instructions anywhere on the web as how to properly wire up the new style steppers that are now included in the kit. I had to find the part schematic written in Chinese (Mandarin?) and compare the diagram to the ramps (pololu) schematic
~My frame took an additional 2weeks to arrive and looked like an oily mess. It took 2 hours of polishing it to make it look presentable and not sharp to the touch.
That's all I can think of right now...

So yeah, I wouldn't recommend these guys. I would have easily spent 3-4 times as much for a better kit and I generally like these kinds of challenges but essentially I could've put a better kit together myself for the same money if not less AND get better service!
Let me know if you need any help with this newest revision of the kit they're selling...
Oh yeah, don't forget to connect negative to both #2 and #3 on the heatbed otherwise you'll only have half a heated pcb bed.
Edited 2 time(s). Last edit at 09/10/2014 12:41PM by Warlord.
|
Re: Prusa I3X Unbox and Build September 10, 2014 01:07PM |
Registered: 9 years ago Posts: 44 |
|
Re: Prusa I3X Unbox and Build September 10, 2014 01:28PM |
Registered: 9 years ago Posts: 6 |
|
Re: Prusa I3X Unbox and Build September 12, 2014 07:36PM |
Registered: 9 years ago Posts: 60 |
Hey,
I think I am stuck in what you call "Configuration hell" the marlin+lcd and marlin really are useless but I can't get it working now because I really don't know too much about that kind of thing. Would you mind sharing your marlin files with me, it would be much appreciated, I am at a serious dead end. Also, regarding the steppers, I found that exact same data sheet for the them. It had a bunch or drafted and dimensioned drawing of the the stepper and then just a small a,b,c,and d wiring diagram. Didn't really know what to make of it or think to compare it to the Polulu circuit. How did you arrange the 4 wires to get them working? I had a smilier experience as you did and once i can actually get it moving and do a few prints I will also upgrade like you did. The locknuts are a good idea because I also find the bottom frame and the connection between the alum. plate and bottom frame to loosen up. I can only imagine how it would be with the printer head jiggling around. I found another thing that made this printer difficult was the x and y axis belts always getting caught because of the zip-ties I used to connect them.
Many thanks
|
Re: Prusa I3X Unbox and Build September 15, 2014 03:38AM |
Registered: 9 years ago Posts: 6 |
|
Re: Prusa I3X Unbox and Build September 15, 2014 12:47PM |
Registered: 9 years ago Posts: 6 |
My Configuration.h file Should be a good starting point, BTW, my printer's name is Voodoo.
Edited 1 time(s). Last edit at 09/15/2014 01:59PM by Warlord.
|
Re: Prusa I3X Unbox and Build September 21, 2014 03:11PM |
Registered: 9 years ago Posts: 44 |
Hi Fella, Sorry I took so long been busy and got faulty usb on comp lol. heres what ive done with mine in the few month I have had mine. 

Sorry, only registered users may post in this forum.
