Wilson TS First Build and Instructions
Posted by andreq
|
Re: Wilson TS First Build and Instructions April 22, 2015 09:03PM |
Registered: 9 years ago Posts: 32 |
-
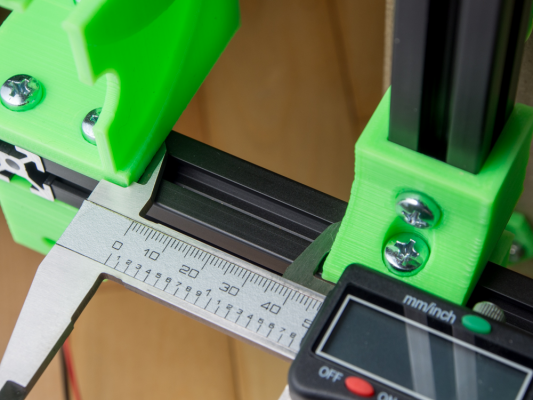
Place the left most mount ~48mm away from the left side.
Fix in place with a T-slot screw.
Repeat for all the other mounting brackets.
Just try to have the same distance on both sides.
-
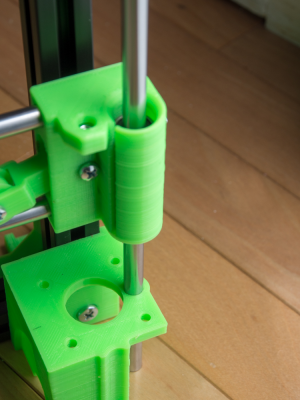
Slide the smooth rod through the X axis and motor mount.
You have to slide them kind of side way a bit then up the top mounting hole. (See video)
They might slide down, this will be fixed when we add the motor.
-
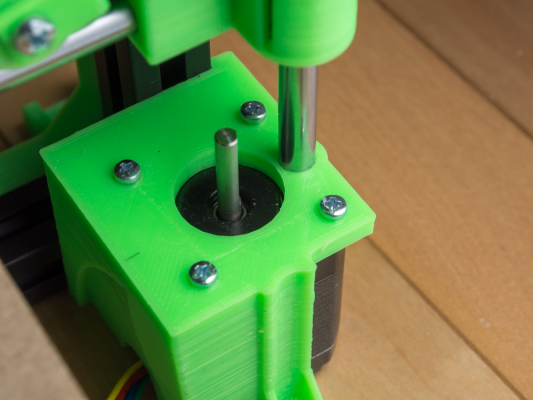
Attach the motors with 4 M3 x 14 screw.
-
Thread the M5 thread rod into the X axis trying to have the same length on both side. (No photo).
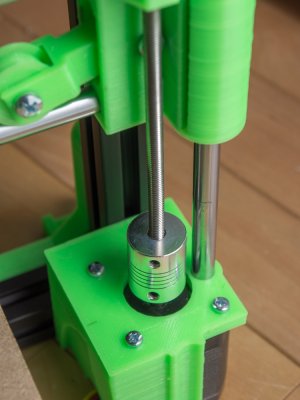
Attach the shaft coupler on the motor first. The center should sit just above the end of the shaft.
Slide the threaded rod into the coupler and tighten the grub screw.
Pro tip : Rotate the threaded rod until they are at the exact same height on both sides.
It's easier right now than with the electronic connected
- (NO PHOTO
 )
)
Slide the X axis belt just like you did for the Y axis.
Try to make it tight, but remember you can screw the tensioner to make it even tighter.
NOTE : I find the tensioner a bit annoying. It remove about 25mm of print width on the bed since the belt get pinched when too close.
I'll order some more belt and see if I can't find a better solution .
.
If I had to do it again, I'd leave a bunch of belt length uncut near the X carriage so I could try with and without the tensioner.
-
That's it ! You are done with the mechanic of your printer.
Edited 2 time(s). Last edit at 04/22/2015 09:48PM by andreq.
|
Re: Wilson TS First Build and Instructions April 22, 2015 09:31PM |
Registered: 9 years ago Posts: 32 |
|
Re: Wilson TS First Build and Instructions April 22, 2015 09:48PM |
Registered: 9 years ago Posts: 32 |
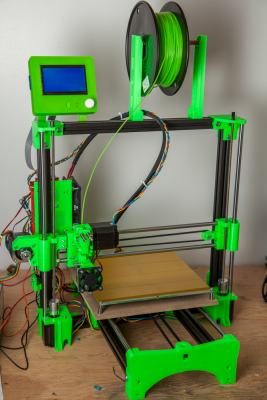
Complete printer
My build include
My build include
- Mk3 aluminium heat bed (cheap Chinese one from aliexpress, they aren't perfectly flat, but I'm having pretty good result)
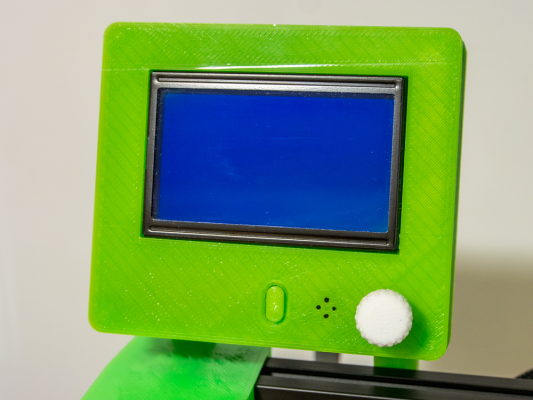
- Full Graphical LCD Controller
- "Led strip" power supply (more info to come)
|
Re: Wilson TS First Build and Instructions April 22, 2015 10:17PM |
Registered: 9 years ago Posts: 32 |
Here's some of my print and what I've learnt so far.
My first print!
Man was I lost and knew nothing. I expected this to be a normal result. little did I know my extrusion step were completely wrong.
NOTE : If you are using a direct drive extruder, the Wilson configuration.h file on github as the wrong value!
Here are my value after calibration :
#define DEFAULT_AXIS_STEPS_PER_UNIT {80.5, 80.3, 4000, 100}
#define DEFAULT_MAX_FEEDRATE {400, 400, 3, 25}
#define DEFAULT_MAX_ACCELERATION {5000,5000,100,4000}
#define DEFAULT_ACCELERATION 3000
#define DEFAULT_RETRACT_ACCELERATION 3000
I boosted the speed quite a lot and the printer still give me super nice prints.
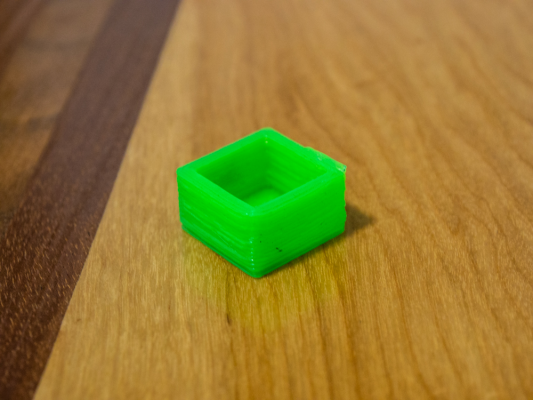
First successful 20mm hollow cube.
Perimeter are too far appart and didn't fuse together, but at least I'm getting somewhere.
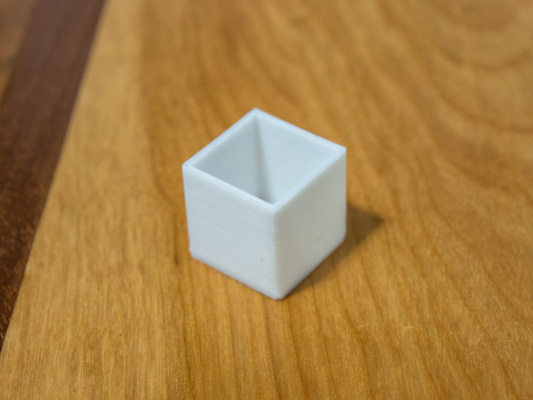
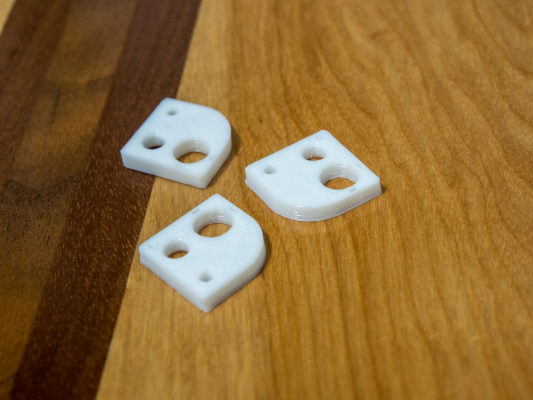
Bunch of calibration piece (http://www.thingiverse.com/thing:121106)
X, Y and Z dimension are 0.05mm or less from perfection.
I'm having a hard time finding the settings to have good holes size. All my holes are 0.3-0.6mm too small.
I'm using Simplify3d if anyone wanna help me on this issue.
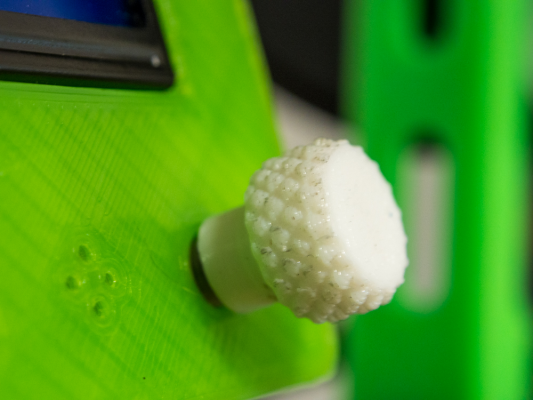
Knurled knob I designed in Solidworks for my LCD.
Had to drill the center hole to make it fit.
Before the photo I didn't realized how dirty it was
Full graphical LCD case (https://www.thingiverse.com/thing:87250)
Very nice case that took ~2h30 to print.
I made a custom bracket based on mjrice LCD mount to fix it.
It's designed for this specific case as I use the "Bottom case with Pocket" to mount it.
See : [www.thingiverse.com]
Latest print (got that out yesterday I think)
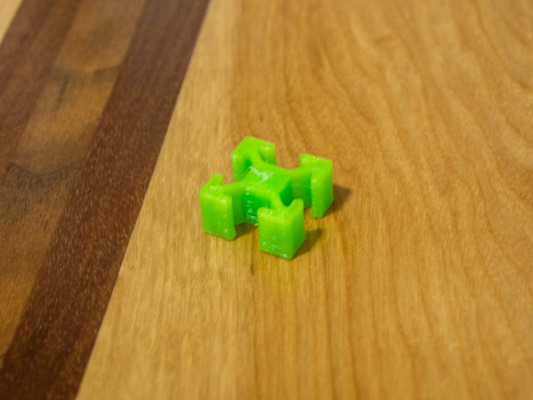
Small test to print plastic 2020 extrusion (http://www.thingiverse.com/thing:280318)
mjrice made some bracket to add a 45 degree arm to stiffen the printer.
Since I won't be ordering any extrusion before a while (It's quite pricy to get Misumi part shipped to Canada!), My plan was to print a ~180-190mm "fakestrusion"
Edited 1 time(s). Last edit at 04/23/2015 03:03AM by andreq.
My first print!
Man was I lost and knew nothing. I expected this to be a normal result. little did I know my extrusion step were completely wrong.
NOTE : If you are using a direct drive extruder, the Wilson configuration.h file on github as the wrong value!
Here are my value after calibration :
#define DEFAULT_AXIS_STEPS_PER_UNIT {80.5, 80.3, 4000, 100}
#define DEFAULT_MAX_FEEDRATE {400, 400, 3, 25}
#define DEFAULT_MAX_ACCELERATION {5000,5000,100,4000}
#define DEFAULT_ACCELERATION 3000
#define DEFAULT_RETRACT_ACCELERATION 3000
I boosted the speed quite a lot and the printer still give me super nice prints.
First successful 20mm hollow cube.
Perimeter are too far appart and didn't fuse together, but at least I'm getting somewhere.
Bunch of calibration piece (http://www.thingiverse.com/thing:121106)
X, Y and Z dimension are 0.05mm or less from perfection.
I'm having a hard time finding the settings to have good holes size. All my holes are 0.3-0.6mm too small.
I'm using Simplify3d if anyone wanna help me on this issue.
Knurled knob I designed in Solidworks for my LCD.
Had to drill the center hole to make it fit.
Before the photo I didn't realized how dirty it was

Full graphical LCD case (https://www.thingiverse.com/thing:87250)
Very nice case that took ~2h30 to print.
I made a custom bracket based on mjrice LCD mount to fix it.
It's designed for this specific case as I use the "Bottom case with Pocket" to mount it.
See : [www.thingiverse.com]
Latest print (got that out yesterday I think)
Small test to print plastic 2020 extrusion (http://www.thingiverse.com/thing:280318)
mjrice made some bracket to add a 45 degree arm to stiffen the printer.
Since I won't be ordering any extrusion before a while (It's quite pricy to get Misumi part shipped to Canada!), My plan was to print a ~180-190mm "fakestrusion"
Edited 1 time(s). Last edit at 04/23/2015 03:03AM by andreq.
|
Re: Wilson TS First Build and Instructions April 24, 2015 09:20PM |
Registered: 9 years ago Posts: 116 |
Hi André. My name is Eckhard and I am from the Montreal area. If I need US materials I get them shipped to a mail service place in the US and drive down on the weekend. PM if you need to know more.
Try CPI Automation in Ontario for extrusions from the 80/20 company. We buy from them for work but usually in inch spec materials. I know they make mm materials but I don't know about them or the stock situation. 80/20 is on line so it is easy to check their stuff.
Edited 1 time(s). Last edit at 04/24/2015 09:21PM by Ecky.
|
Re: Wilson TS First Build and Instructions April 24, 2015 10:40PM |
Registered: 9 years ago Posts: 32 |
I'm in the Quebec City area, but I've heard similar service are available near Beauce US borders. I've never tried that service since from what I've been told, it's some random guy I have to call 
I think I missed CPI automation in my 3 weeks search of Canadian suppliers.
Looking at their website right now, looks like they have very nice price for the 1010 (1") extrusion.
I'll surely keep this in my favorite for later.
Thanks for the info !

I think I missed CPI automation in my 3 weeks search of Canadian suppliers.
Looking at their website right now, looks like they have very nice price for the 1010 (1") extrusion.
I'll surely keep this in my favorite for later.
Thanks for the info !
|
Re: Wilson TS First Build and Instructions April 25, 2015 02:37AM |
Registered: 9 years ago Posts: 221 |
|
Re: Wilson TS First Build and Instructions April 27, 2015 04:36PM |
Registered: 9 years ago Posts: 32 |
I'm currently looking for an aluminium plate (instead of glass) to put over my MK3 "bent" bed.
I think a 3/16" thick, 8.375" x 7.9375" plate would fit well and stay flat.
Since we're a bit on the subject, anyone know where I could find this cheaply in Canada ?
I've emailed some local supplier and they all have crazy minimum order.
I think a 3/16" thick, 8.375" x 7.9375" plate would fit well and stay flat.
Since we're a bit on the subject, anyone know where I could find this cheaply in Canada ?
I've emailed some local supplier and they all have crazy minimum order.
|
Re: Wilson TS First Build and Instructions April 27, 2015 05:35PM |
Registered: 11 years ago Posts: 76 |
Quote
andreq
I'm currently looking for an aluminium plate (instead of glass) to put over my MK3 "bent" bed.
I think a 3/16" thick, 8.375" x 7.9375" plate would fit well and stay flat.
Since we're a bit on the subject, anyone know where I could find this cheaply in Canada ?
I've emailed some local supplier and they all have crazy minimum order.
Go to a local scrap metal yard and ask if they have any you can buy.
The size won't be exact, so you'll have to cut it to size. They should
charge you by the pound and cost should be minimal.
Edited 1 time(s). Last edit at 04/27/2015 05:36PM by Michaelj.
|
Re: Wilson TS First Build and Instructions May 05, 2015 02:23PM |
Registered: 9 years ago Posts: 32 |
Quote
Michaelj
Quote
andreq
I'm currently looking for an aluminium plate (instead of glass) to put over my MK3 "bent" bed.
I think a 3/16" thick, 8.375" x 7.9375" plate would fit well and stay flat.
Since we're a bit on the subject, anyone know where I could find this cheaply in Canada ?
I've emailed some local supplier and they all have crazy minimum order.
Go to a local scrap metal yard and ask if they have any you can buy.
The size won't be exact, so you'll have to cut it to size. They should
charge you by the pound and cost should be minimal.
That was a pretty good idea. I've got only one reply, but they'll keep an eye on a plate for me.
I also looked at getting MIC-6 1/4" plate... but gave up quite fast. An 8x8 plate is about 50$ CAD without shipping.
I ended up buying a very thick mirror from Walmart (http://www.walmart.ca/en/ip/frameless-rectangular-mirror/6000075989230) and a cheap glass cutter (DON'T, get something good).
I had some fun (not) cutting this into a 8" by 8" square. In the process I lost half the mirror and got a cut on my finger.
Since the mirror is kinda huge, I was still able to get a somewhat square piece near the 8" by 8" requirement.
What huge difference! I was printing directly on the bent cheap china MK3 aluminium bed and was having trouble with support material and what not.
Now that I'm printing on mirror, everything is perfectly flat and the PLA stick perfectly!
Edited 1 time(s). Last edit at 05/05/2015 02:23PM by andreq.
Sorry, only registered users may post in this forum.
