calibration issues
Posted by siddharta
|
calibration issues September 22, 2016 12:02PM |
Registered: 7 years ago Posts: 83 |
Hi all  having some problems calibrating an Anet A8 with RAMPS 1.4 electronics and Repetier 0.92 firmware. Mounted on the RAMPS board are 4x DRV8825 with Vref adjusted to half of the stepper current (0.9A). The steppers are 1.8deg 0,34 Nm models, from a manufacturer named "High Efficiency Motors".
1) I have all jumpers in place under the stepper drivers, which I understand would yield 1/32 microstepping for the DRV8825 drivers (I've some A4988 waiting to arrive and those I had on hand). I used RepRap calculator to get the no of steps/mm. Assuming 8 teeth pulleys (didn't count before mount the GT2 belt), GT2 belt and 1/32 microstepping that would yield 400 steps/mm.
Nevertheless the most accurate result so far is with a setting of 200 steps/mm, so it would seem it is operating on 1/16 microsteps.
For example, using Repetier Host
- move the Y axis 100 mm yields 99 mm of actual movement
- move the X axis 100 mm yields 100,5 mm of actual movement
(are those measurements acceptable? I'm not sure if they are measuring errors or expected deviations).
2) The Z-axis I just can't seem to get right. Again using RepRap calculator, for M8 threaded rod and 1/16 microstepping gives 2560 steps/mm and 5120 for 1/32.
However, for 100 mm of movement I get an actual movement of 65,1 mm using 5120 steps/mm and 32,2 mm using 2560 steps/mm.
Why would that be so off?
edit: 800 steps/mm seems to give the most accurate results but I don't know how that's possible given the math.
3) Lastly, extruder calibration seems very weird. I'm using the what I understand to be normal method - feeding filament into the extruder, marking at 120mm or so, feeding 100 mm through the extruder using Repetier Host and measuring. The issue here is that I'm getting wildly inconsistent results, for a given steps/mm the actual filament movement can vary as much as 20mm.
Any insights are appreciated!
Regards,
Edited 1 time(s). Last edit at 09/22/2016 01:31PM by siddharta.
having some problems calibrating an Anet A8 with RAMPS 1.4 electronics and Repetier 0.92 firmware. Mounted on the RAMPS board are 4x DRV8825 with Vref adjusted to half of the stepper current (0.9A). The steppers are 1.8deg 0,34 Nm models, from a manufacturer named "High Efficiency Motors". 1) I have all jumpers in place under the stepper drivers, which I understand would yield 1/32 microstepping for the DRV8825 drivers (I've some A4988 waiting to arrive and those I had on hand). I used RepRap calculator to get the no of steps/mm. Assuming 8 teeth pulleys (didn't count before mount the GT2 belt), GT2 belt and 1/32 microstepping that would yield 400 steps/mm.
Nevertheless the most accurate result so far is with a setting of 200 steps/mm, so it would seem it is operating on 1/16 microsteps.
For example, using Repetier Host
- move the Y axis 100 mm yields 99 mm of actual movement
- move the X axis 100 mm yields 100,5 mm of actual movement
(are those measurements acceptable? I'm not sure if they are measuring errors or expected deviations).
2) The Z-axis I just can't seem to get right. Again using RepRap calculator, for M8 threaded rod and 1/16 microstepping gives 2560 steps/mm and 5120 for 1/32.
However, for 100 mm of movement I get an actual movement of 65,1 mm using 5120 steps/mm and 32,2 mm using 2560 steps/mm.
Why would that be so off?
edit: 800 steps/mm seems to give the most accurate results but I don't know how that's possible given the math.
3) Lastly, extruder calibration seems very weird. I'm using the what I understand to be normal method - feeding filament into the extruder, marking at 120mm or so, feeding 100 mm through the extruder using Repetier Host and measuring. The issue here is that I'm getting wildly inconsistent results, for a given steps/mm the actual filament movement can vary as much as 20mm.
Any insights are appreciated!
Regards,
Edited 1 time(s). Last edit at 09/22/2016 01:31PM by siddharta.
|
Re: calibration issues September 22, 2016 01:15PM |
Registered: 8 years ago Posts: 165 |
You probably have 16 teeth pulley, which gives 200 steps for 1/32Quote
siddharta
Hi all
1) I have all jumpers in place under the stepper drivers, which I understand would yield 1/32 microstepping for the DRV8825 drivers (I've some A4988 waiting to arrive and those I had on hand). I used RepRap calculator to get the no of steps/mm. Assuming 8 teeth pulleys (didn't count before mount the GT2 belt), GT2 belt and 1/32 microstepping that would yield 400 steps/mm.
Nevertheless the most accurate result so far is with a setting of 200 steps/mm, so it would seem it is operating on 1/16 microsteps.
For example, using Repetier Host
- move the Y axis 100 mm yields 99 mm of actual movement
- move the X axis 100 mm yields 100,5 mm of actual movement
(are those measurements acceptable? I'm not sure if they are measuring errors or expected deviations).
20 teeth and 1/32 would be 160 steps.
I'd trim the Y axis steps to get closer to 100mm
Threaded rod or a Trapezoid rod?Quote
2) The Z-axis I just can't seem to get right. Again using RepRap calculator, for M8 threaded rod and 1/16 microstepping gives 2560 steps/mm and 5120 for 1/32.
However, for 100 mm of movement I get an actual movement of 65,1 mm using 5120 steps/mm and 32,2 mm using 2560 steps/mm.
Why would that be so off?
Trapezoid has 1,5mm pitch. Threaded rod has 1,25mm pitch.
Extruder might be skipping steps or slipping.Quote
3) Lastly, extruder calibration seems very weird. I'm using the what I understand to be normal method - feeding filament into the extruder, marking at 120mm or so, feeding 100 mm through the extruder using Repetier Host and measuring. The issue here is that I'm getting wildly inconsistent results, for a given steps/mm the actual filament movement can vary as much as 20mm.
Any insights are appreciated!
Regards,
Give it slightly more vref?
Edited 1 time(s). Last edit at 09/22/2016 01:20PM by Veesta.
|
Re: calibration issues September 23, 2016 03:52AM |
Registered: 7 years ago Posts: 83 |
Thanks Veesta. I've recalibrated the Y axis and it's slightly more precise now. Z axis is good at 800 steps/mm, still not sure how that's possible as even 1.25 mm pitch yields 5120 steps/mm calculated. It's moving slowly but accurately at 800 steps/mm.
As for the extruder, I've disassembled and reassembled it. I'll try adjusting Vref as you suggested. However, in my attempts I seem to have clogged the hotend or the nozzle when aborting a print attempt and it doesn't feed filament anymore, even pushing down quite hard on the filament to feed it in. Am now unsure as to resolve that. It seems a syringe is suggested, would that work?
edit: I've passed some 0.6mm solid core wire in the hotend and remove the PLA that came out. Some melted filament came out of the nozzle so that looks to be cleaner at least. Will try again now.
edit edit edit edit: of course the E motor won't move if the hotend is not heated so the motor and all does work.
The extruder and hotend that came with the kit are a Chinese MK8 extruder and hotend. Would it be a good idea to swap it out for a better pair? The X carriage is a U shaped metal one with a groove for the hotend and a single M4 hole to mount the extruder and hotend.
Edited 7 time(s). Last edit at 09/23/2016 07:28AM by siddharta.
|
Re: calibration issues September 23, 2016 11:07AM |
Registered: 8 years ago Posts: 165 |
MK8 should work. I have one too.
PLA is bitch.
When you print PLA, you need to keep it flowing constantly. Otherwise it will melt and expand in the nozzle and jam it.
I had a practice to pull out PLA filament every time print ended and use a 1,5mm brass wire (flat end) to push all that melted filament out from the nozzle.
i had to, because it was not possible to start print again after nozzle cooled down. So i did this after every print.
This way hotend/nozzle was good to go for the next print after it cooled down.
Now i use few drops of Dexos2 in the barrel and i can leave the filament as is.
Have not had jams since.
Edited 1 time(s). Last edit at 09/23/2016 11:07AM by Veesta.
|
Re: calibration issues September 24, 2016 12:15PM |
Registered: 8 years ago Posts: 318 |
would recommend using 1/16 microstepping max. for kicks, try that and see how it works for x and y
If you need some help, or don't understand what I just said, feel free to send me a PM anytime
Printer: Prusa i3, 2 E3D v6 Hotends, Arduino + RAMPS 1.4 with a Bypassed 5V Regulator, 400w Insignia ATX PSU, Custom Designed Bowden Extruders
If you need some help, or don't understand what I just said, feel free to send me a PM anytime
Printer: Prusa i3, 2 E3D v6 Hotends, Arduino + RAMPS 1.4 with a Bypassed 5V Regulator, 400w Insignia ATX PSU, Custom Designed Bowden Extruders
|
Re: calibration issues September 25, 2016 10:34AM |
Registered: 7 years ago Posts: 83 |
Quote
Veesta
MK8 should work. I have one too.
PLA is bitch.
When you print PLA, you need to keep it flowing constantly. Otherwise it will melt and expand in the nozzle and jam it.
I had a practice to pull out PLA filament every time print ended and use a 1,5mm brass wire (flat end) to push all that melted filament out from the nozzle.
i had to, because it was not possible to start print again after nozzle cooled down. So i did this after every print.
This way hotend/nozzle was good to go for the next print after it cooled down.
Now i use few drops of Dexos2 in the barrel and i can leave the filament as is.
Have not had jams since.
I had to clean out the hotend twice, then I found that if I lower the hotend temperature to 170 deg I can remove the filament without having a jam afterwards. Not sure what Dexos2 is or if I can find it here but I'll Google it.
Quote
DaGameFace
would recommend using 1/16 microstepping max. for kicks, try that and see how it works for x and y
Thanks, I've some A4988 drivers on the way as I want to keep the DRV8825 for my CNC work in progress, so I'll see how that goes.
The next problem I had was that after leveling the bed (having some, but not too much, friction between the nozzle and an A4 paper slid between bed and nozzle) the actual printing would start with the nozzle raised higher than in Z home position, causing the first layer not to stick to the bed at all. For that I set a -0.2mm offset in Slic3r and that seems to have resolved that.
Now it prints, the first layer adheres, but after a layer or 5 or 6 it looks like the nozzle is digging into the print and tears the printed object away from the bed, resulting in a mess soon afterwards (not sure if that is clearly explained). I also noticed that the first layers of the cube that did print well did not measure exactly, instead of 30mm by 20mm I get about 28 mm by 28 mm. So it looks like calibration is still somewhat off.
|
Re: calibration issues October 03, 2016 06:40AM |
Registered: 7 years ago Posts: 83 |
I recalibrated the extruder and the nozzle doesn't dig into the print anymore. The dimensions of the printed object are off though, 28mm on X and Y instead of 30 and 8mm on Z instead of 10mm. I rechecked X, Y and Z steps/mm and they appear to be correct though, 100mm of movement through Repetier Host manual controls gives more or less exact 100mm of actual movement in all directions.
|
Re: calibration issues October 03, 2016 08:24AM |
Registered: 8 years ago Posts: 165 |
Is the print otherwise good? No layer shifting?
Do you have an image of the actual print and what it looks like?
I think you should just start adding more steps to the calibrated values to get it more accurate.
Forget the calibration procedure. Add more steps to your current values, print and measure.
Say, +1-2% to the current value. Print and measure.
When your part is larger than target. Reduce the steps.
|
Re: calibration issues October 03, 2016 05:55PM |
Registered: 7 years ago Posts: 83 |
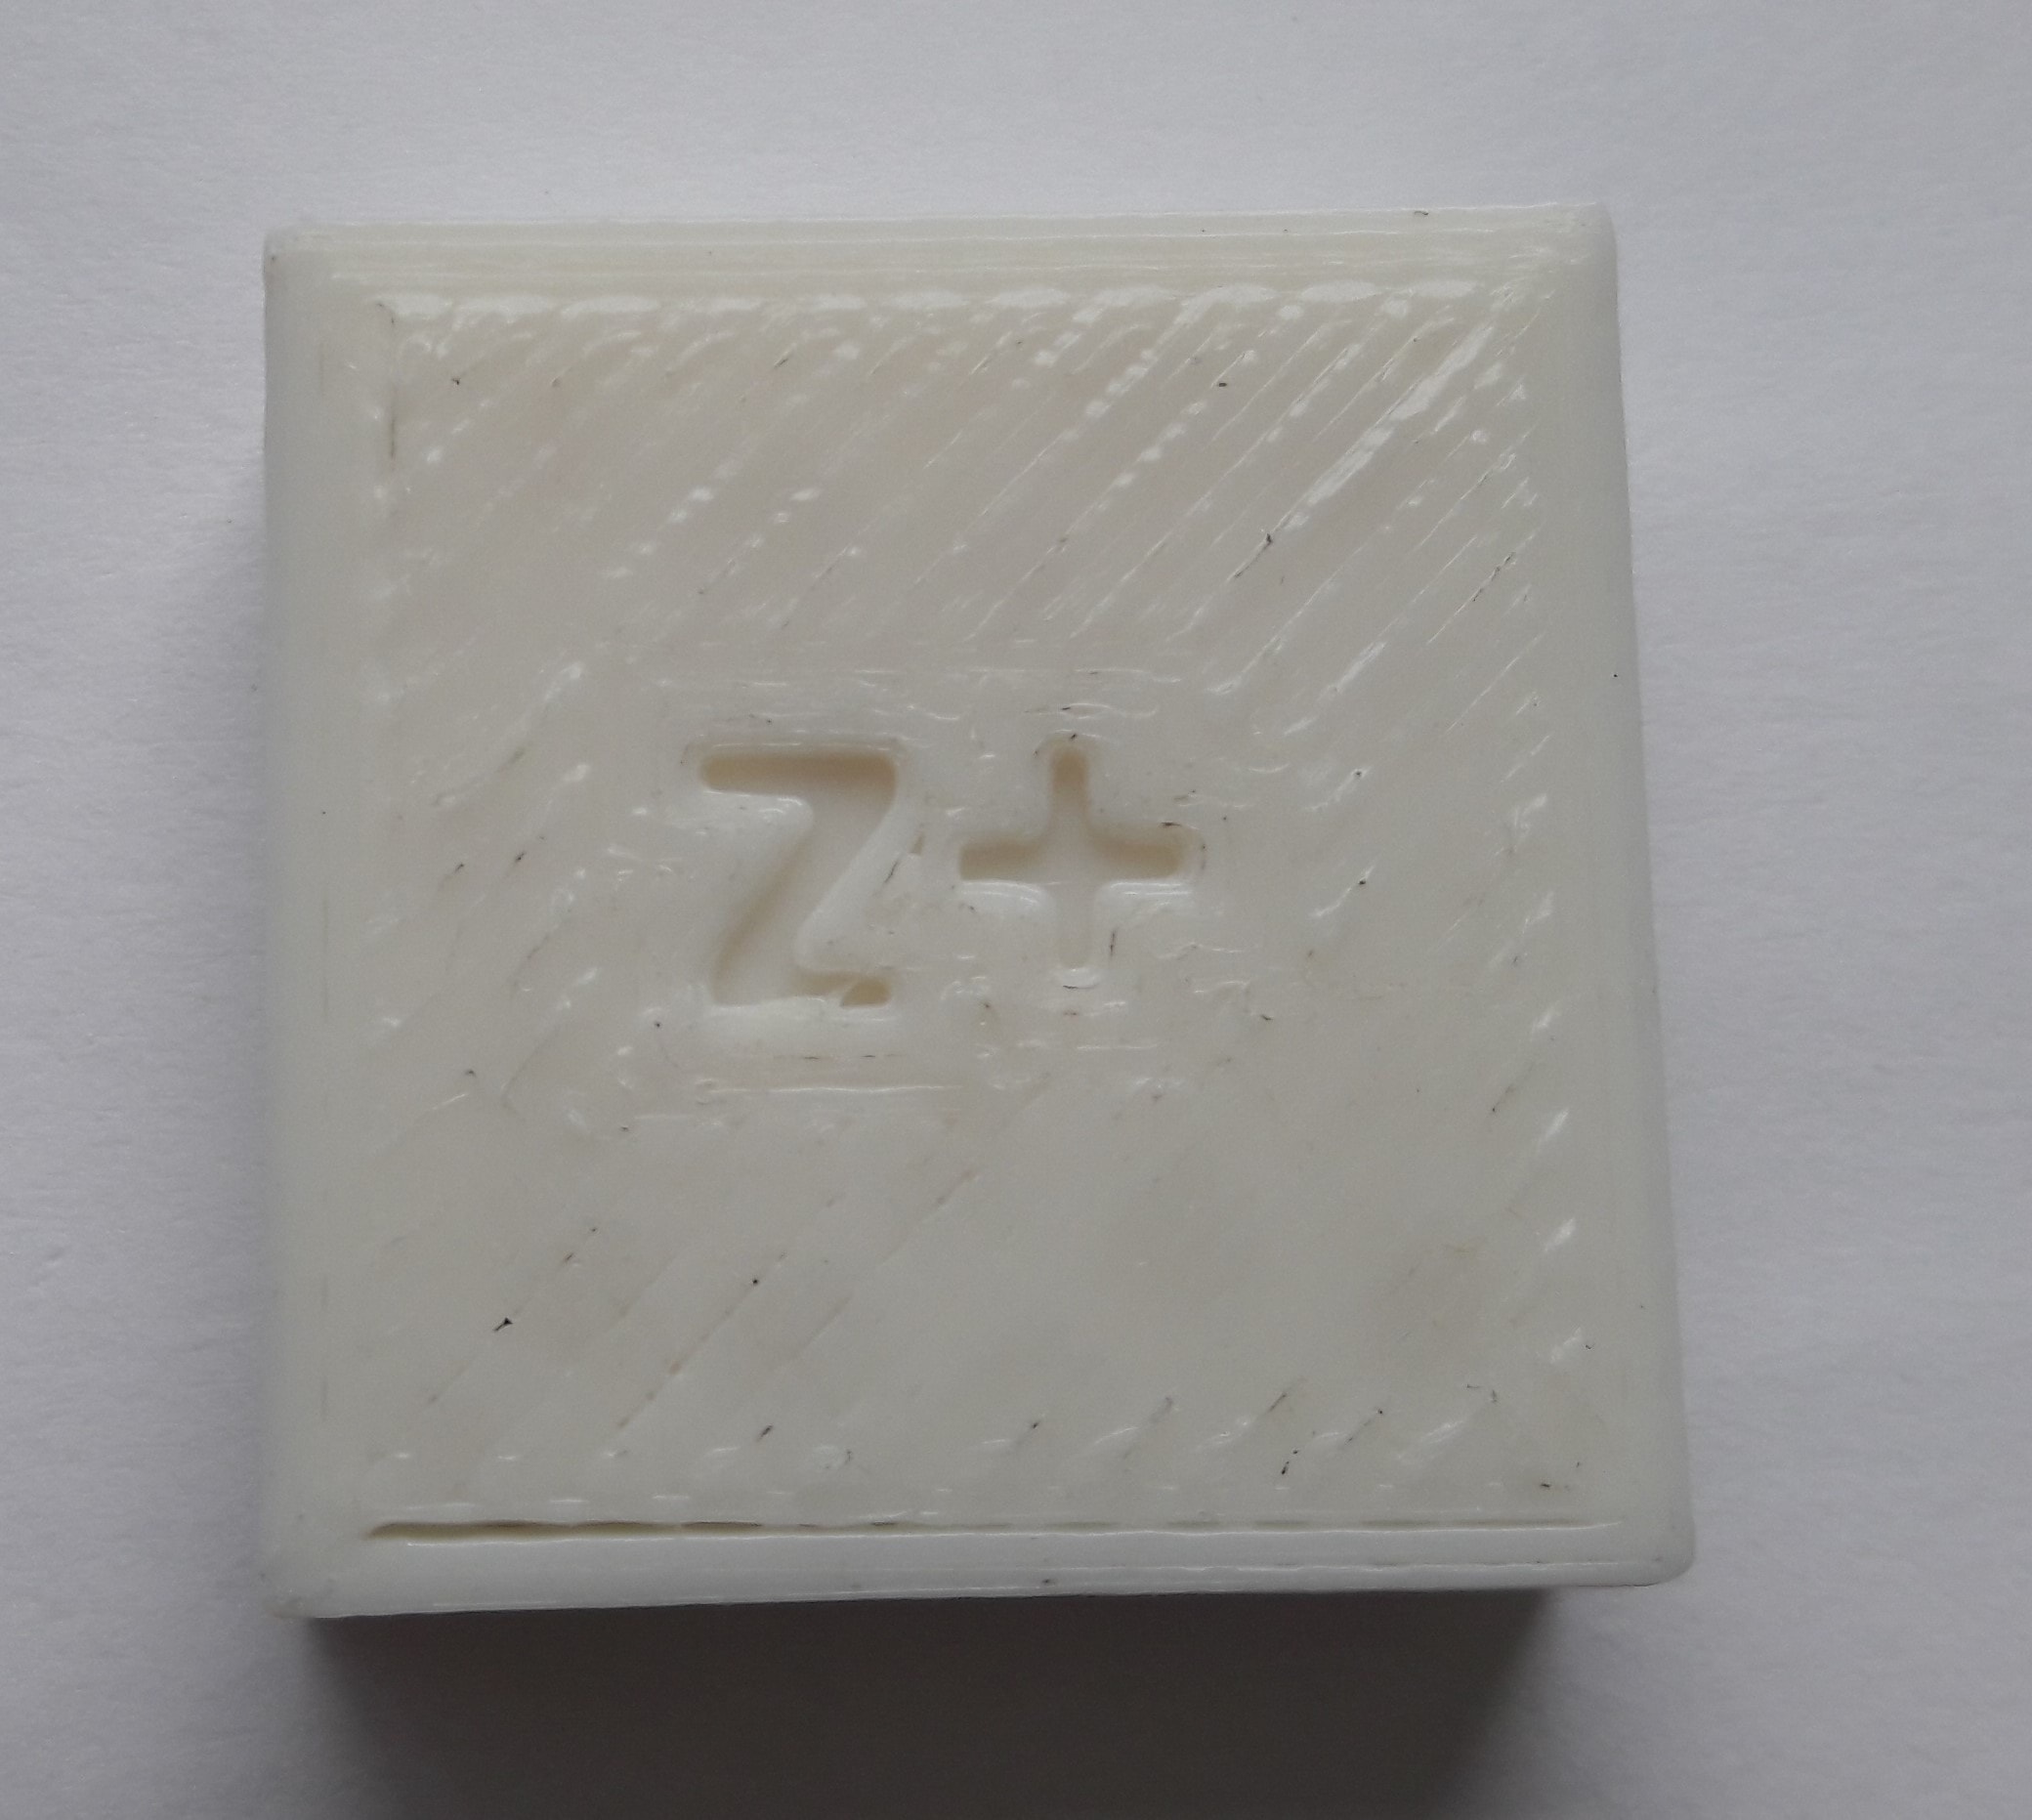
Thanks, I'm doing that now, with a 10x10x10 mm cube to test. Attached some photos of the print of the 30x30x10mm that came out as 28x28x8mm  . The bottom layer didn't have all the diagonal fill lines evenly together - a few have some spacing in between and one side is not straight. One of the four corners is not straight either, which also shows from the top on that side.
If you have a test print that you recommend or that would help to further identify issues please let me know! I'm printing in PLA 1.75mm on alu heated bed at 60 C, hotend at 200 C.
edit: I've increased by 3% now and the 30x30x10 gives me a 29x29x9mm, so I'll increase somewhat more. Is it normal that there's so much difference between calibrated values and what is actually being printed? Not sure if it matters but I'm using Slic3r for the moment with Repetier Host, Cura and Skeinforge are also there but haven't tried those yet.
Edited 1 time(s). Last edit at 10/03/2016 06:37PM by siddharta.
. The bottom layer didn't have all the diagonal fill lines evenly together - a few have some spacing in between and one side is not straight. One of the four corners is not straight either, which also shows from the top on that side. If you have a test print that you recommend or that would help to further identify issues please let me know! I'm printing in PLA 1.75mm on alu heated bed at 60 C, hotend at 200 C.
edit: I've increased by 3% now and the 30x30x10 gives me a 29x29x9mm, so I'll increase somewhat more. Is it normal that there's so much difference between calibrated values and what is actually being printed? Not sure if it matters but I'm using Slic3r for the moment with Repetier Host, Cura and Skeinforge are also there but haven't tried those yet.
Edited 1 time(s). Last edit at 10/03/2016 06:37PM by siddharta.
|
Re: calibration issues October 05, 2016 03:30PM |
Registered: 7 years ago Posts: 7 |
Hello
So i finally get this thing functioning and somewhat calibrated. I go to try my first test print and repitier automatically put it in one of the corners slightly off the print bed glass even though it is pictured in the center of print preview. This wouldnt be a big deal if I could figure out how to get repitier to try and print in the true center of the print bed. Ive fiddled with it and now it will print on the middle of the y axis but is still printing on the max x axis. x homes at max 200 on the right side while y and z both home at minimum 0. I don't really know what to do ive tried going into "position object" and placing it at 100 and 100 and it still wont position it in the center. Do i need to move my x endstop to the left side and mess with my firmware? ive even defined the center of the print bed as 100,100 on the marlin firmware and it didnt help me any
So i finally get this thing functioning and somewhat calibrated. I go to try my first test print and repitier automatically put it in one of the corners slightly off the print bed glass even though it is pictured in the center of print preview. This wouldnt be a big deal if I could figure out how to get repitier to try and print in the true center of the print bed. Ive fiddled with it and now it will print on the middle of the y axis but is still printing on the max x axis. x homes at max 200 on the right side while y and z both home at minimum 0. I don't really know what to do ive tried going into "position object" and placing it at 100 and 100 and it still wont position it in the center. Do i need to move my x endstop to the left side and mess with my firmware? ive even defined the center of the print bed as 100,100 on the marlin firmware and it didnt help me any
|
Re: calibration issues October 06, 2016 01:23AM |
Registered: 7 years ago Posts: 83 |
I have the same issue but wanted to get it printing well before resolving that. (0,0,0) position has the nozzle well outside and below the heat bed and the center position in Repetier Host is offset from the actual center. Anyhow I've ordered the original and preconfigured mainboard for this printer (it didn't come in the box as it should have and anet3d.com is mute and deaf on the issue) and will sell this printer as soon as it arrives, it was mostly to get my feet wet. Nevertheless I would like to have it properly working with RAMPS and Repetier before selling it.
Haven't been able to do further test printing due to, well, life getting in the way but I think that the lack of "verticality" in one corner of the test cube (well not a cube actually) maybe that my bed or printer as such not being entirely level. I need to get a small spirit level, the ones I have are too huge to fit so I've been eyeballing the bed level, then adjusting to one A4 paper sheet of clearance between nozzle and bed in the four corners and middle.
Haven't been able to do further test printing due to, well, life getting in the way
but I think that the lack of "verticality" in one corner of the test cube (well not a cube actually) maybe that my bed or printer as such not being entirely level. I need to get a small spirit level, the ones I have are too huge to fit so I've been eyeballing the bed level, then adjusting to one A4 paper sheet of clearance between nozzle and bed in the four corners and middle.
|
Re: calibration issues October 06, 2016 08:51PM |
Registered: 7 years ago Posts: 7 |
|
Re: calibration issues October 27, 2016 07:17PM |
Registered: 7 years ago Posts: 83 |
Quote
Veesta
I think you should just start adding more steps to the calibrated values to get it more accurate.
Forget the calibration procedure. Add more steps to your current values, print and measure.
Say, +1-2% to the current value. Print and measure.
When your part is larger than target. Reduce the steps.
I'm unable to find a steps/mm value that gives me an accurate print (in terms of dimensions) for both a 30x30x10 mm and a larger 100x100x10 mm object. If I increase the XYZ steps/mm to get a 30x30x10 mm print the larger object comes out around 10% too large. If I calibrate steps/mm to have the 100x100x10 mm print with those exact dimensions the smaller object comes out too small.
Is there another setting I would need to look at? The prints themselves are decent enough, it's just the dimensions I can't get right. Which is important as I want to print parts for a second build.
Sorry, only registered users may post in this forum.