What parts do I need to replace / modify if i use 2020 aluminum frame for Kossel Mini?
Posted by janpenguin
|
What parts do I need to replace / modify if i use 2020 aluminum frame for Kossel Mini? September 15, 2014 03:49AM |
Registered: 9 years ago Posts: 189 |
Hi,
I decided to build Kossel Mini from scratch as my first Reprap 3D Printer.
Misumi HFS3-1515 has 3.4 mm of slot size where the wheels of motor mounting plate seats.
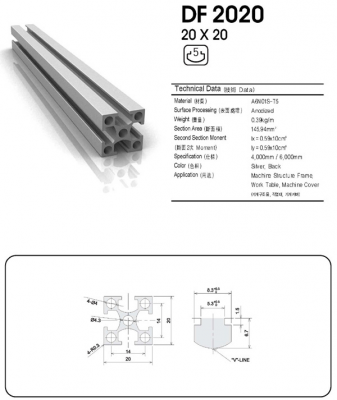
The 2020 aluminum extrusion I can buy from a local manufacturer has wider slot size, which is 5.3 mm.
The company provides outstanding price less than $10 for a set: 600 mm x3, 240 mm x 9.
Suppose using bigger extrusion doesn't need a lot of modification work to derive the same performance of the original spec,
I'd like to try 2020 extrusion. So far I've spent around $200 to buy parts on the BOM: four motors, belt kits, and push-rod kits,
and printed parts.
Thanks in advance,
Hughe
|
Re: What parts do I need to replace / modify if i use 2020 aluminum frame for Kossel Mini? September 16, 2014 05:15AM |
Registered: 10 years ago Posts: 240 |
|
Re: What parts do I need to replace / modify if i use 2020 aluminum frame for Kossel Mini? September 17, 2014 05:54PM |
Registered: 9 years ago Posts: 189 |
I guess 1515 aluminum extrusion is rather hard to manufacture.
Two issues I've found so far when using 2020 aluminum extrusion:
Six vertex frames replacement or modification of the square hole.
Forty five pairs of M3x8 screw and M3 nut need to be replaced by M4 screws and nuts.
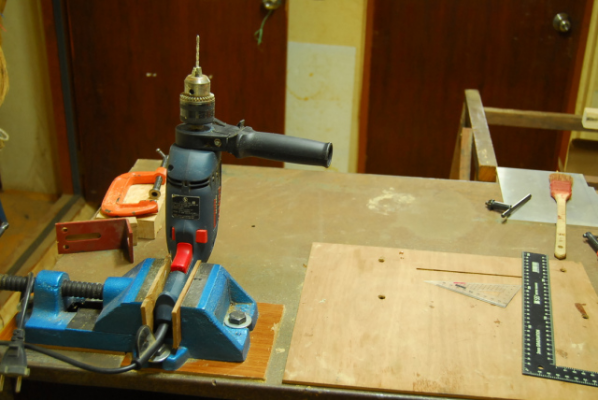
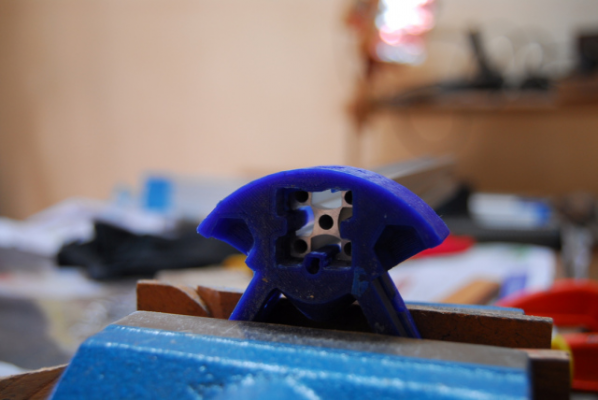
I spent three hours yesterday to make 20 mm square hole on a top vertex frame out of curiosity.
The drill bit size was 3 mm.
It looks little bit off.
I think using a precision milling vise and bench top drill press can make decent square hole on any plastic part.
I don't have a precision milling vise at the moment.
Slot width of HFS3-1515 is 3.4 mm at the top.
Slot width of DF2020 is 5.4 mm at the top, which is the same width of M3 nut
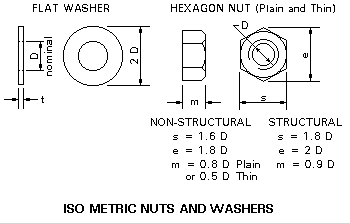
I calculated the minimum dimension of metric screw and nut for DF2020.
M4x10 screw will do the job.
The third issue is the linear motion device either rail system or wheeled carriage or another method.
I already bought precut 2020 aluminum extrusion under $10 at a local factory.
The technician showed great interest about 3D Printer.
Edited 2 time(s). Last edit at 09/17/2014 06:05PM by janpenguin.
Two issues I've found so far when using 2020 aluminum extrusion:
Six vertex frames replacement or modification of the square hole.
Forty five pairs of M3x8 screw and M3 nut need to be replaced by M4 screws and nuts.
I spent three hours yesterday to make 20 mm square hole on a top vertex frame out of curiosity.
The drill bit size was 3 mm.
It looks little bit off.
I think using a precision milling vise and bench top drill press can make decent square hole on any plastic part.
I don't have a precision milling vise at the moment.
Slot width of HFS3-1515 is 3.4 mm at the top.
Slot width of DF2020 is 5.4 mm at the top, which is the same width of M3 nut
I calculated the minimum dimension of metric screw and nut for DF2020.
M4x10 screw will do the job.
The third issue is the linear motion device either rail system or wheeled carriage or another method.
I already bought precut 2020 aluminum extrusion under $10 at a local factory.

The technician showed great interest about 3D Printer.
Edited 2 time(s). Last edit at 09/17/2014 06:05PM by janpenguin.
|
Re: What parts do I need to replace / modify if i use 2020 aluminum frame for Kossel Mini? October 10, 2014 06:22PM |
Registered: 9 years ago Posts: 189 |
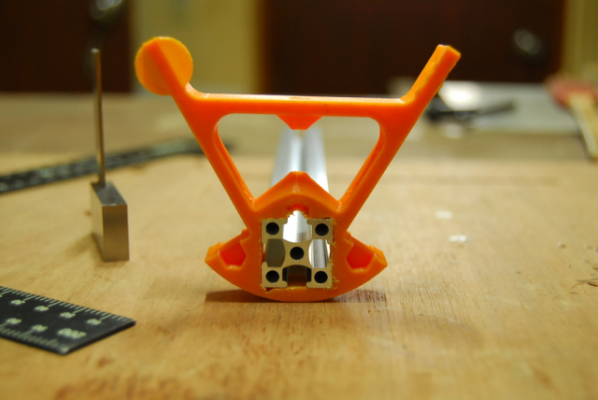
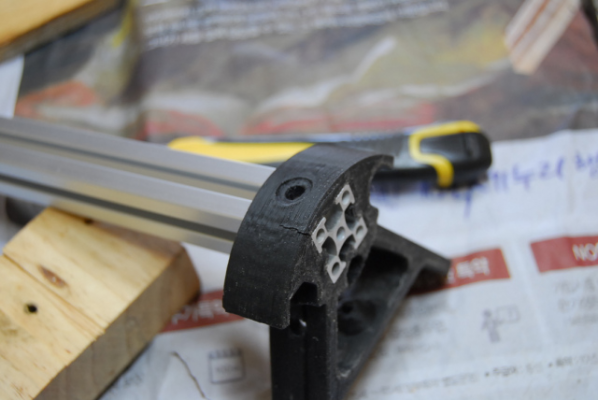
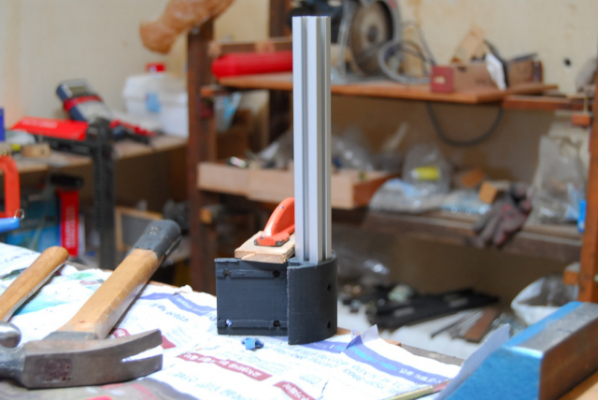
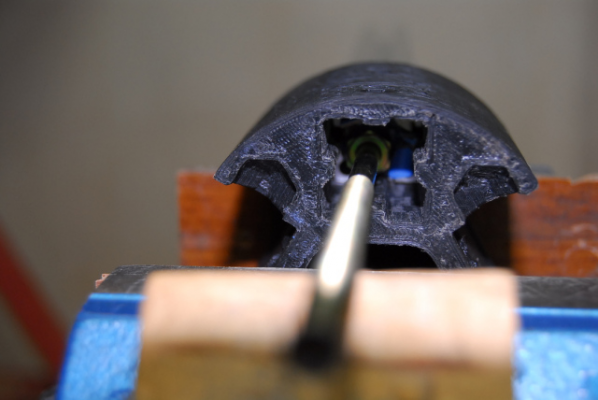
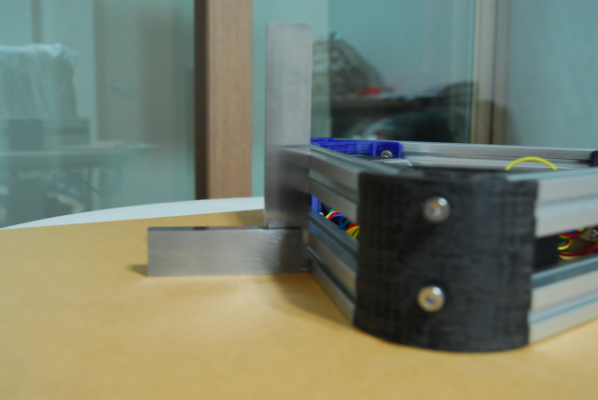
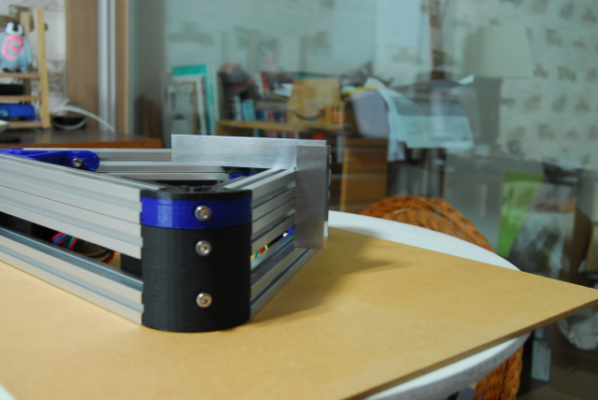
I bought six vertex frames.
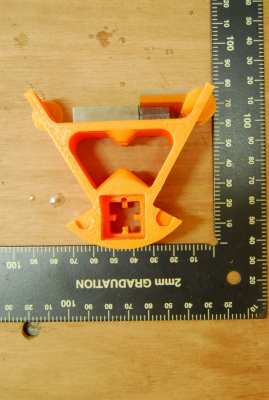
The major problem I had to deal with was that 2020 Aluminium extrusion I bought locally has 0.25 mm bigger size.
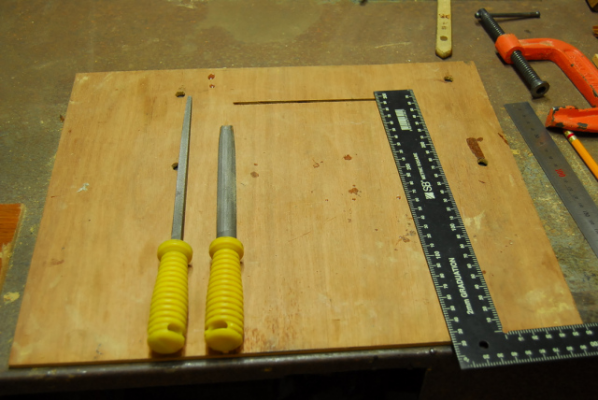
Yesterday I cleaned up the frame parts and enlarged holes. It took about three hours to ream the six parts.
One top vertex frame
I made a crack on this one.
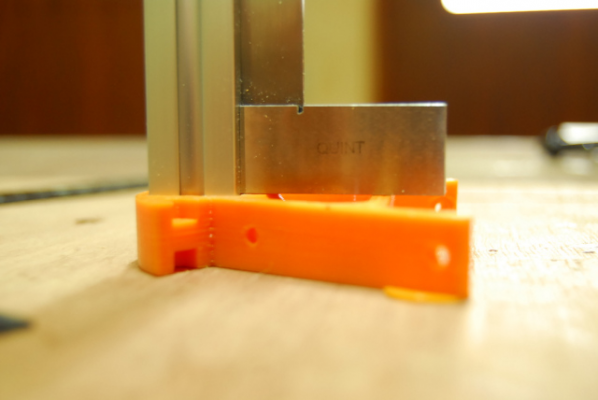
One base vertex frame
Less than 0.1 mm clearance between extrusion and base vertex frame made really tight fitting.
|
Re: What parts do I need to replace / modify if i use 2020 aluminum frame for Kossel Mini? October 13, 2014 04:26AM |
Registered: 10 years ago Posts: 219 |
There is a complete 20 mm and 25 mm Mini Kossel STL right here:
http://www.thingiverse.com/thing:154832/#files
Blogs:
Meine 3D Druck Abenteuer
[3dptb.blogspot.de]
FLSUN Delta Drucker für Deutschland
[flsun-deutschland.blogspot.com]
Books on 3D patents:
[goo.gl] (english)
[www.amazon.de] (deutsch)
http://www.thingiverse.com/thing:154832/#files
Blogs:
Meine 3D Druck Abenteuer
[3dptb.blogspot.de]
FLSUN Delta Drucker für Deutschland
[flsun-deutschland.blogspot.com]
Books on 3D patents:
[goo.gl] (english)
[www.amazon.de] (deutsch)
|
Re: What parts do I need to replace / modify if i use 2020 aluminum frame for Kossel Mini? October 13, 2014 08:12PM |
Registered: 9 years ago Posts: 189 |
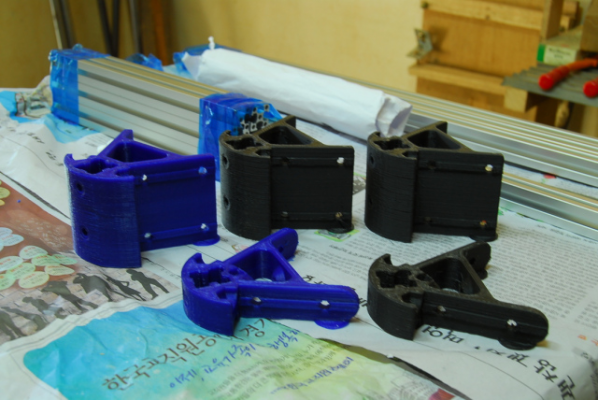
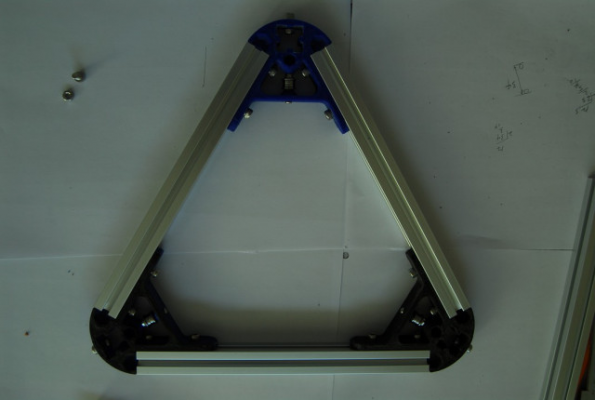
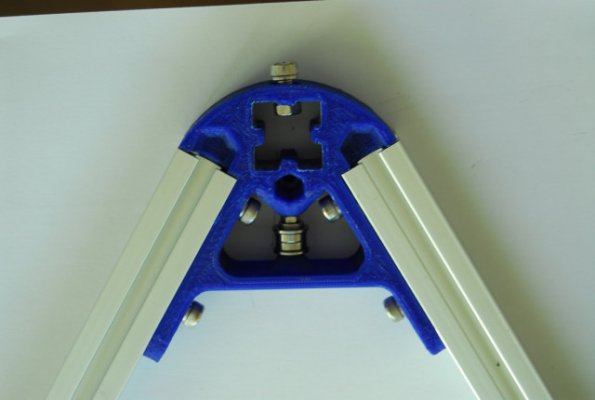
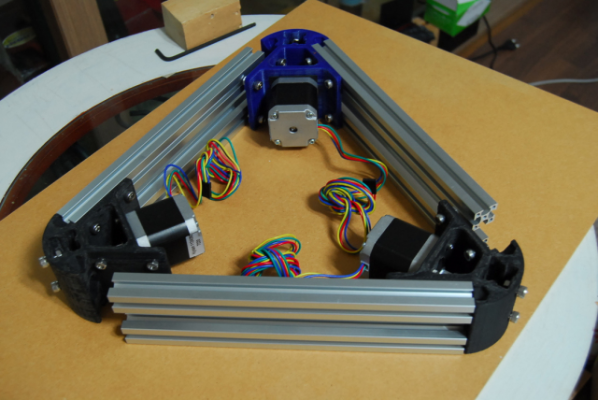
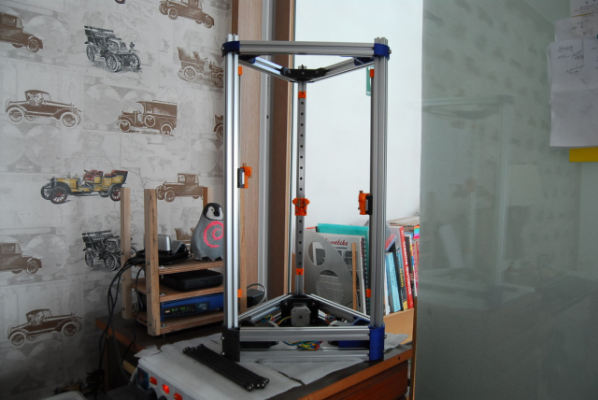
Top assembly is done.
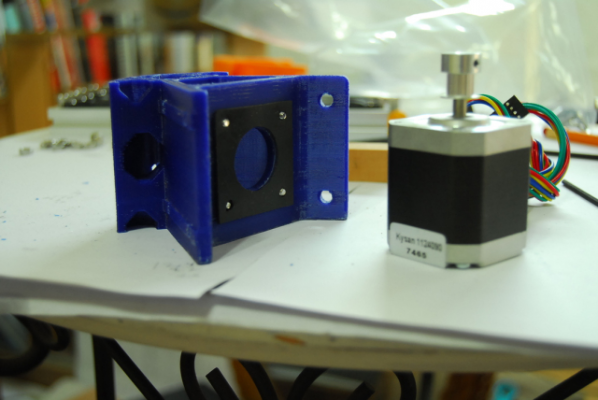
Parts for the vertex frame:
5x M5x10 cap screw
5x M5 nut
1x M3x25 screw
4x M3 washer
2x F623ZZ Flanged Bearing
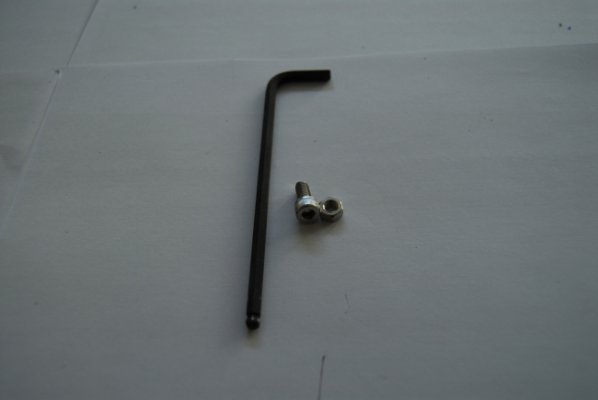
4mm Allen wrench, M5x10 cap screw, M5 nut
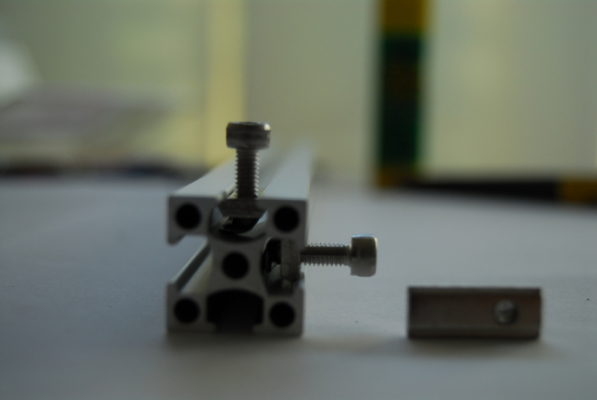
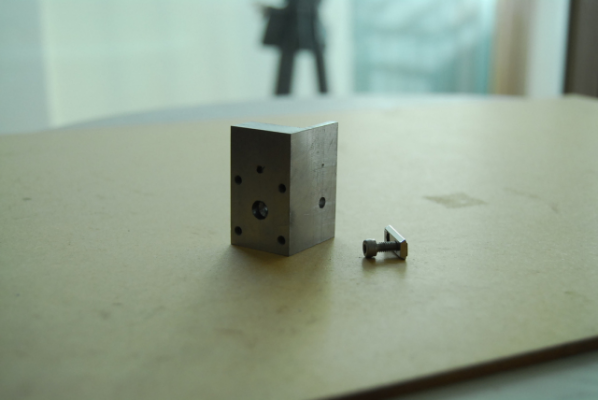
I'm testing a linear rail mechanism that uses couple T nuts and machined one / two L brackets. I think without buying specialized parts - linear rail block or balls - decent linear rail device can be made. Because of the aluminium extrusion itself has good precision already. A T nut costs around 200 KRW (0.2 cents). Machined L bracket either aluminum or steel costs few dollars per piece.
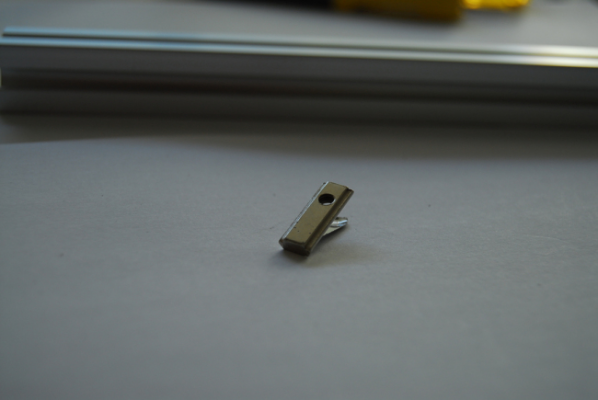
A spring T nut that takes M4 screw
Reference
KOSSEL MINI
BUILD GUIDE
BY BLOMKER INDUSTRIES
|
Re: What parts do I need to replace / modify if i use 2020 aluminum frame for Kossel Mini? October 21, 2014 12:02PM |
Registered: 9 years ago Posts: 189 |
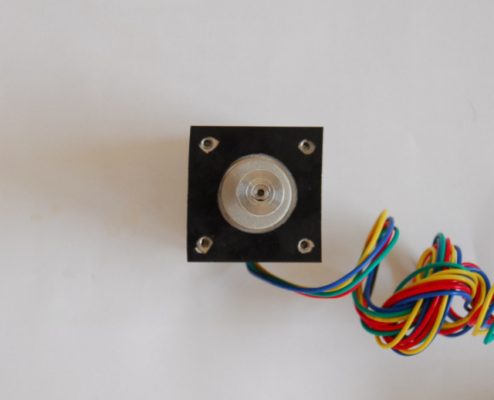
I made simple vibration damper for NEMA 17 stepper motors out of 1 mm thickness of rubber plate.
I used four M3x10 cap screws instead M3x8.
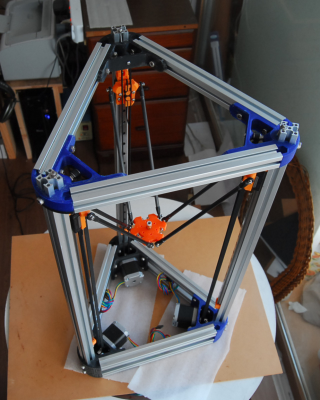
Checking the squareness of the base assembly
Checking alignment of the base and top assembly
Any parts that are mounted on the aluminium extrusion needs M5 cap screw and M5 nut or T nut and Mx bolt combination.
I used four M3x10 cap screws instead M3x8.
Checking the squareness of the base assembly
Checking alignment of the base and top assembly
Any parts that are mounted on the aluminium extrusion needs M5 cap screw and M5 nut or T nut and Mx bolt combination.
|
Re: What parts do I need to replace / modify if i use 2020 aluminum frame for Kossel Mini? November 12, 2014 07:21PM |
Registered: 9 years ago Posts: 189 |
|
Re: What parts do I need to replace / modify if i use 2020 aluminum frame for Kossel Mini? November 13, 2014 07:15PM |
Registered: 9 years ago Posts: 189 |
Money I spent for the Kossel Mini is around $400 USD.
A set of 2020 Aluminium extrusion - $10 from a local manufacturer.
Printed parts - $70 from ebay seller and Reprap user
RAMPS 1.4 kit - $35 from Aliexpress
Mechanical parts - $158 from TriDPrinting.com
Three sets of linear rail - $150 from a local company
Fasteners - around $20, T nuts are few times expensive than regular nuts.
Parts I need to buy:
Hotend
Power supply and miscellaneous electronic parts
--
My failed version of linear movement device - $35
Edited 1 time(s). Last edit at 11/13/2014 07:31PM by janpenguin.
|
Re: What parts do I need to replace / modify if i use 2020 aluminum frame for Kossel Mini? February 09, 2015 11:40AM |
Registered: 9 years ago Posts: 189 |
I finished calibrating four NEMA 17 stepper motors few days ago after uploading a test code to the Arduino Mega.
It's ready to rock.
It's ready to rock.

|
Re: What parts do I need to replace / modify if i use 2020 aluminum frame for Kossel Mini? February 11, 2015 01:17AM |
Registered: 9 years ago Posts: 189 |
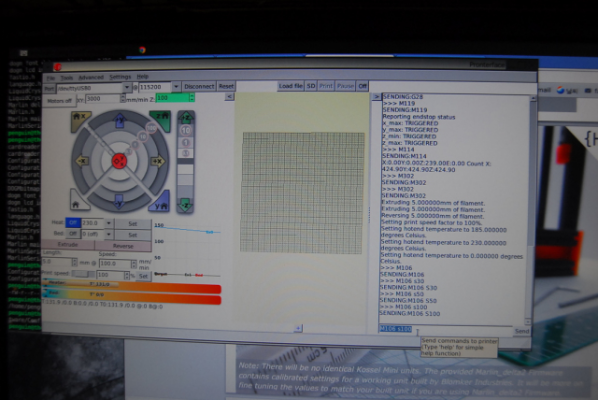
I uploaded Marlin Blomker version and performed basic function tests before the real calibration today.
- Homing the nozzle
- Status of four endstops
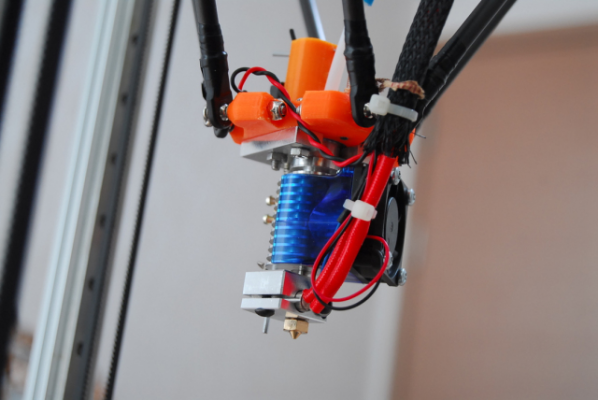
- Temperature control of E3D V6 Hotend
- Cooling fan control of the board
I gonna print out cases for RAMPS 1.4 controller, LCD controller, modified ATX PSU, some other parts then
organize loose wires.
- Homing the nozzle
- Status of four endstops
- Temperature control of E3D V6 Hotend
- Cooling fan control of the board
I gonna print out cases for RAMPS 1.4 controller, LCD controller, modified ATX PSU, some other parts then
organize loose wires.
|
Re: What parts do I need to replace / modify if i use 2020 aluminum frame for Kossel Mini? February 23, 2015 06:55AM |
Registered: 9 years ago Posts: 2 |
Hi Janpenguin,
I love your build. It was one of the builds I looked at before I started into my 2020 360/1000 Kossel
Can I ask what changes you made to the fasteners from a mini kossel kit? I saw early in the thread you posted about a using M4 in the T slots, then later on were using M5?
All the best,
Paul
I love your build. It was one of the builds I looked at before I started into my 2020 360/1000 Kossel

Can I ask what changes you made to the fasteners from a mini kossel kit? I saw early in the thread you posted about a using M4 in the T slots, then later on were using M5?
All the best,
Paul
|
Re: What parts do I need to replace / modify if i use 2020 aluminum frame for Kossel Mini? February 23, 2015 11:44AM |
Registered: 9 years ago Posts: 189 |
@Paul
I found M5 bolts and nuts are the right fastener for 2020 Aluminium extrusion.
But it turned out except the six vertex frames, I would have to rethread all other printed parts for 1515 Aluminium extrusion.
My Kossel Mini has 9 pairs of M5 bolt and nut for six vertex frames.
I used M3 cap/philips screws and T slots for other parts to save time.
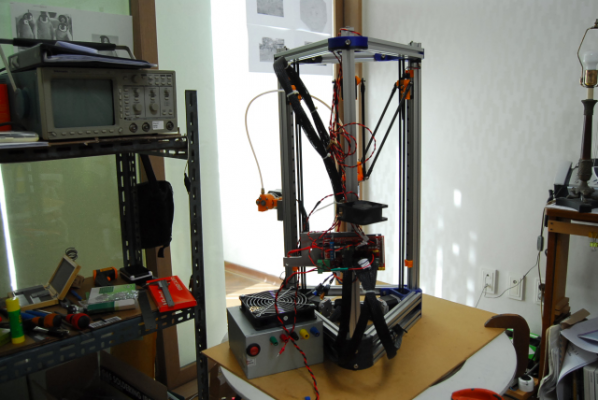
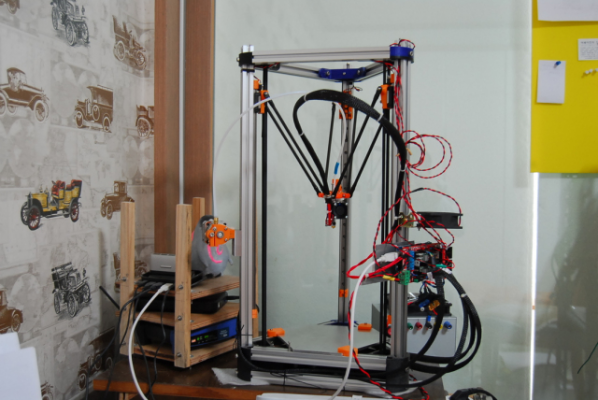
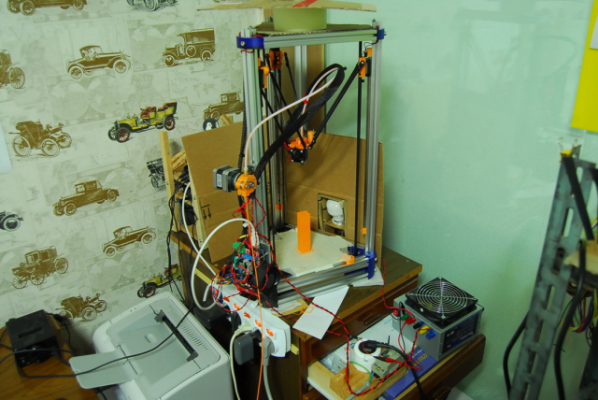
Here is the latest picture of the 3D Printer.
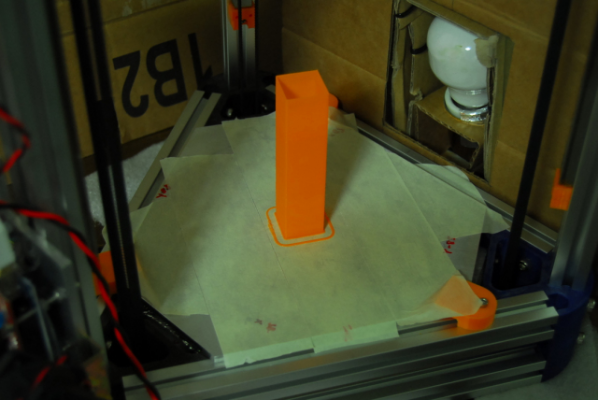
I've done various calibrations and kept printing at least one or two objects per day.
- Center of bed, Z height
- Dimensional calibration
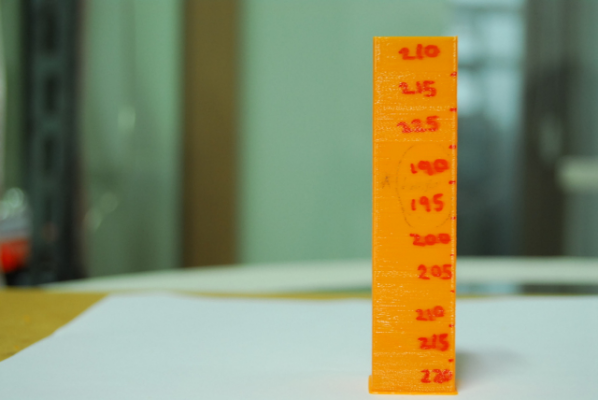
- Temperature calibration for 1.75 mm PLA filament
[www.thingiverse.com]
- Flow rate and printing speed (needs to be done soon)
[solidoodletips.wordpress.com]
Temperature calibration cube
[www.thingiverse.com]
I found two flaws on this.
Things I plan to do:
- Heated bed
- Complete enclosure
- Replacement of printed parts of 1515 aluminium extrusion.
Regards,
Hughe
I found M5 bolts and nuts are the right fastener for 2020 Aluminium extrusion.
But it turned out except the six vertex frames, I would have to rethread all other printed parts for 1515 Aluminium extrusion.
My Kossel Mini has 9 pairs of M5 bolt and nut for six vertex frames.
I used M3 cap/philips screws and T slots for other parts to save time.
Here is the latest picture of the 3D Printer.
I've done various calibrations and kept printing at least one or two objects per day.
- Center of bed, Z height
- Dimensional calibration
Quote
Source: [whatskenmaking.com]
new DELTA_DIAGONAL_ROD = measured_length / target_length * original DELTA_DIAGONAL_ROD
- Temperature calibration for 1.75 mm PLA filament
[www.thingiverse.com]
- Flow rate and printing speed (needs to be done soon)
[solidoodletips.wordpress.com]
Temperature calibration cube
[www.thingiverse.com]
I found two flaws on this.
Things I plan to do:
- Heated bed
- Complete enclosure
- Replacement of printed parts of 1515 aluminium extrusion.
Regards,
Hughe
|
Re: What parts do I need to replace / modify if i use 2020 aluminum frame for Kossel Mini? March 07, 2015 10:21AM |
Registered: 9 years ago Posts: 189 |
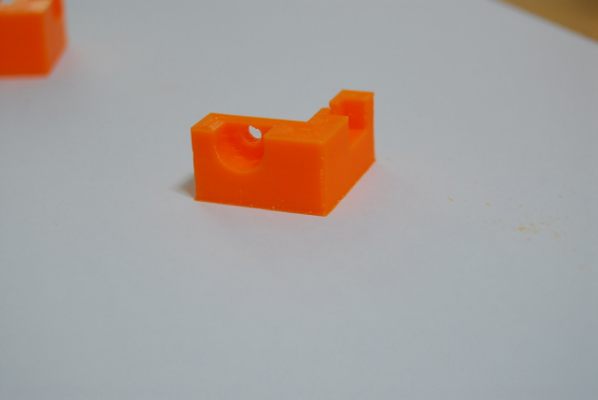
I started designing the printed parts for 2020 Aluminium extrusion.
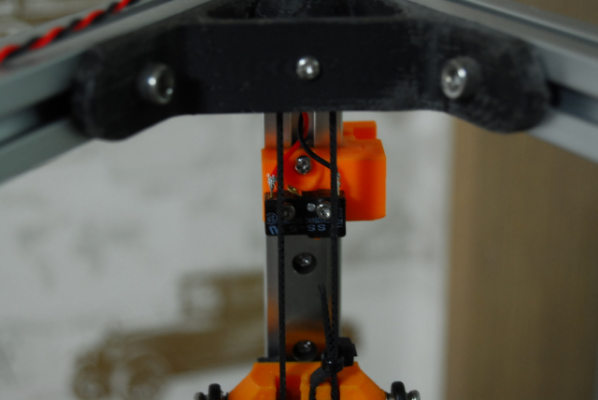
Upper endstop that mounts the switch.
This one hardly develops side play or movement.
[www.thingiverse.com]
Lower endstop
[www.thingiverse.com]
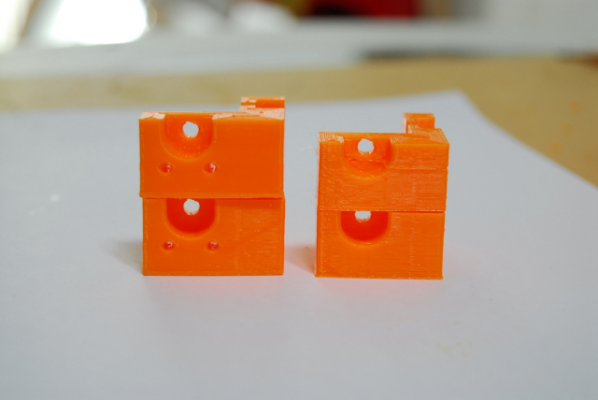
Endstop comparison - Original 1515 one vs mine
Look at the size difference.
Edited 1 time(s). Last edit at 03/07/2015 10:23AM by janpenguin.
Upper endstop that mounts the switch.
This one hardly develops side play or movement.
[www.thingiverse.com]
Lower endstop
[www.thingiverse.com]
Endstop comparison - Original 1515 one vs mine
Look at the size difference.

Edited 1 time(s). Last edit at 03/07/2015 10:23AM by janpenguin.
|
Re: What parts do I need to replace / modify if i use 2020 aluminum frame for Kossel Mini? April 04, 2015 12:56AM |
Registered: 9 years ago Posts: 189 |
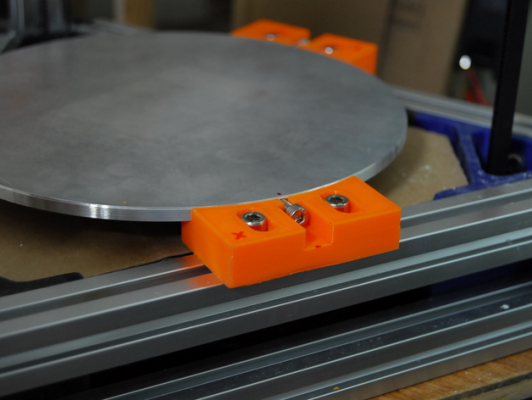
Bigger print bed mount.
Aluminium extrusion: 20.00 x 20.00 (mm)
Size: 35.00 x 60.00 x 15.00
Fasteners:
M5x15 Hexa cap screw x2
M5 nut x2
M4x10 Hexa cap screw x1 (Optional)
Download.
Aluminium extrusion: 20.00 x 20.00 (mm)
Size: 35.00 x 60.00 x 15.00
Fasteners:
M5x15 Hexa cap screw x2
M5 nut x2
M4x10 Hexa cap screw x1 (Optional)
Download.
|
Re: What parts do I need to replace / modify if i use 2020 aluminum frame for Kossel Mini? March 12, 2016 10:50AM |
Registered: 9 years ago Posts: 189 |
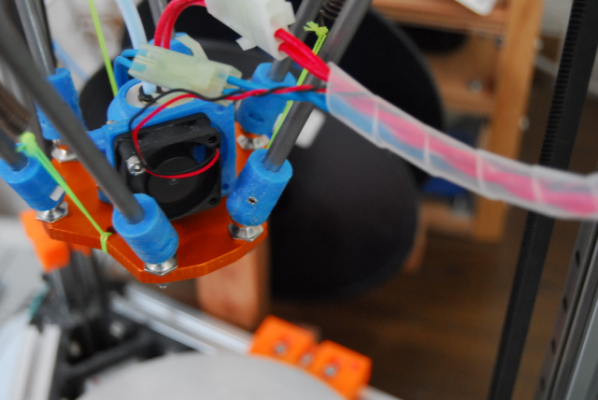
I named it as Bulbul Junior.
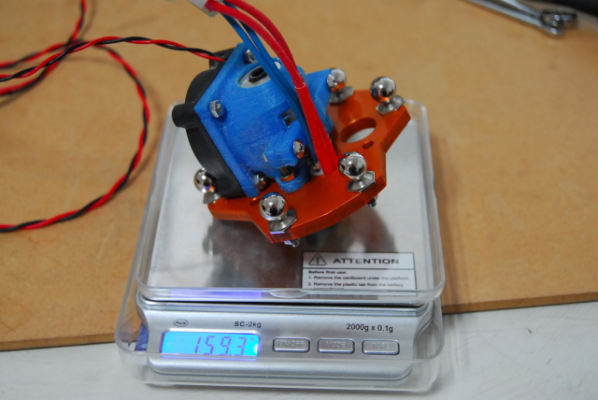
Laser cut aluminum plate, 5 mm thickness. It weighs 159 g.
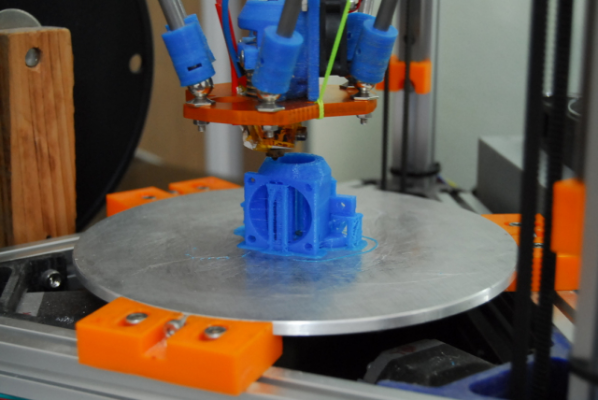
Printing fan duct for 30x30x10 mm fan came with E3D V6 hotend.
40x40x10 mm fan didn't have enough clearance so I had to work around.
Laser cut aluminum plate, 5 mm thickness. It weighs 159 g.
Printing fan duct for 30x30x10 mm fan came with E3D V6 hotend.
40x40x10 mm fan didn't have enough clearance so I had to work around.
|
Re: What parts do I need to replace / modify if i use 2020 aluminum frame for Kossel Mini? March 17, 2016 12:17AM |
Registered: 9 years ago Posts: 189 |
One simple hack I would recommend is heater block insulation. Ceramic tape is right material.
I applied left-over plaster and cloths over the heater block, cured it one night. Yesterday I sprayed a coat made out of polyurethane on it to prevent falling of plaster particles.
For the past few days I've been pumped up by huge improvement printing quality of Bulbul Junior.
I gave up fine tuning of retraction last year. I thought the Bowden extruder design has a serious flaw and would replace it one day. Flying extruder is the next candidate.
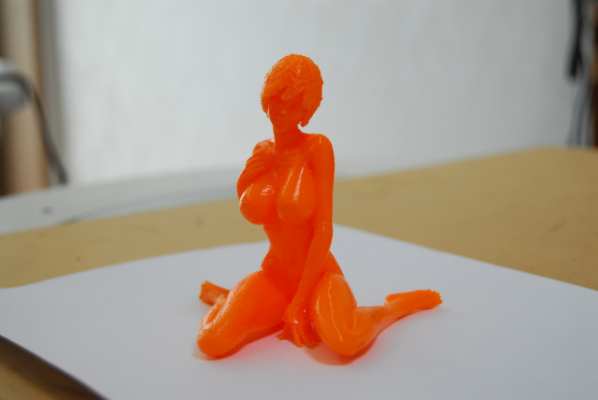
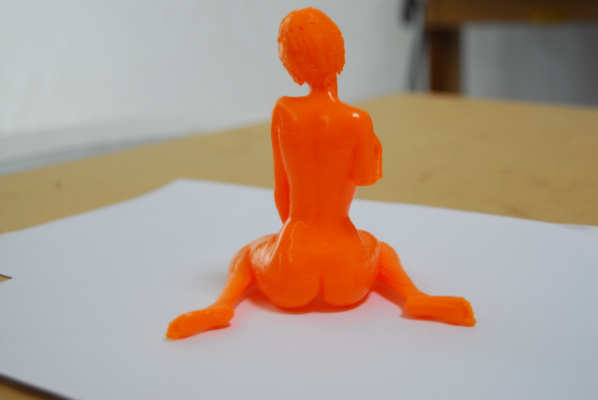
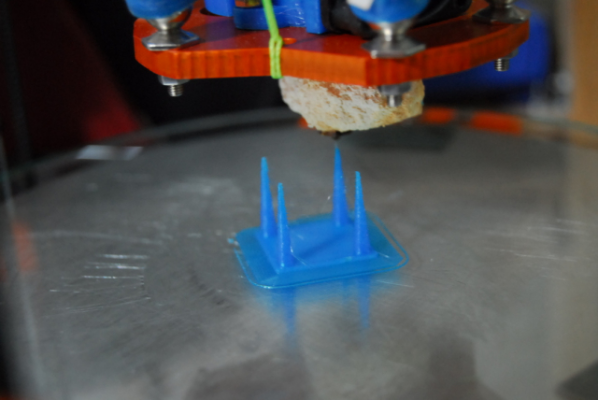
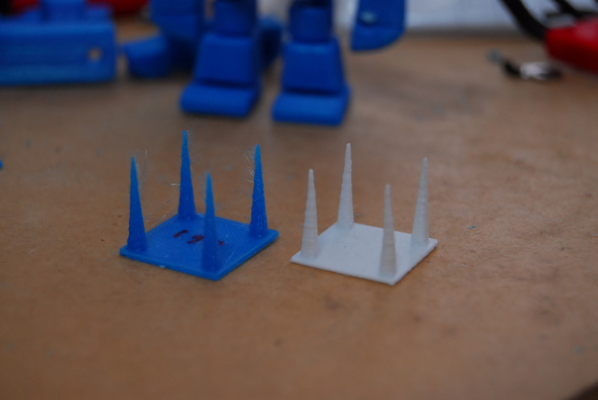
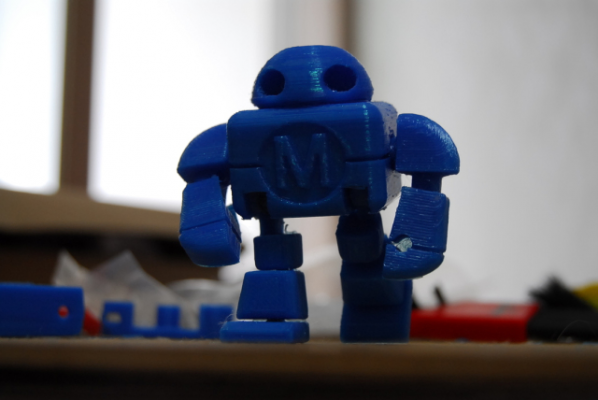
I printed two of the testing objects. Surprisingly the end results matched the Fisher's one I printed last year.
In-place printing without layer fan. Upper joint of the left leg was fused.
I expected the layer fan was running most of time but Enable cooling fan of Slic3r turned on the fan mostly in head section. I need to figure out how Slic3r's cooling fan work.
Previous attempt was a disaster. Except the head all other joints were fused together.
|
Re: What parts do I need to replace / modify if i use 2020 aluminum frame for Kossel Mini? March 17, 2016 12:56PM |
Registered: 11 years ago Posts: 973 |
As far as im aware with the nut situation is that m4 is ok and m3 is with 20 x 20 but with the correct t-nuts obviously if not im buggered lol as my rail ive got the holes are only 3.5mm
Edited 1 time(s). Last edit at 03/17/2016 01:22PM by chris33.
Check my rubbish blog for my prusa i3
up and running
[3dimetech.blogspot.co.uk]
Edited 1 time(s). Last edit at 03/17/2016 01:22PM by chris33.
Check my rubbish blog for my prusa i3
up and running
[3dimetech.blogspot.co.uk]
Sorry, only registered users may post in this forum.
