CoreXYNZ build
Posted by RodF
|
Re: CoreXYNZ build July 15, 2016 04:42PM |
Registered: 7 years ago Posts: 168 |
|
Re: CoreXYNZ build July 15, 2016 08:29PM |
Registered: 10 years ago Posts: 221 |
Cheers thanks for that. I wish I had asked earlier as I have already ordered a couple of 12" squares of 1/4". We have a waterjet at work which I occasionally operate (as little as possible they are dead boring) . I have agonised over the build plate for a while now. My current machine uses 6mm toughened glass which isn't very flat. I also have a piece of borosilicate glass coming, hopefully in one piece. I have a sheet of Printbite from Mutley3D as well.Quote
hobbymods
You can get cast plate from Calm Aluminium in Oz, and they've got a waterjet cutting guy just up the road from them that they work with.
Edited 2 time(s). Last edit at 07/15/2016 08:29PM by RodF.
|
Re: CoreXYNZ build July 16, 2016 08:59AM |
Registered: 10 years ago Posts: 221 |
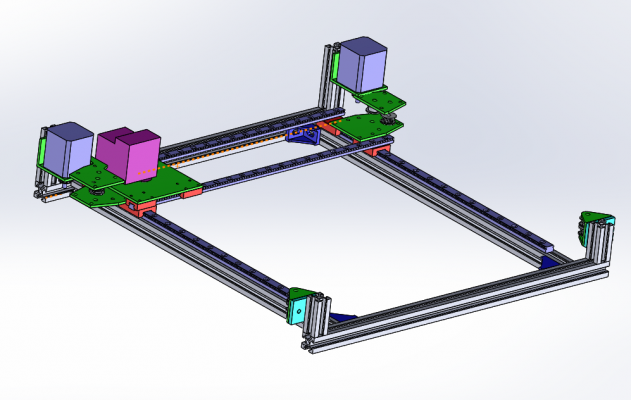
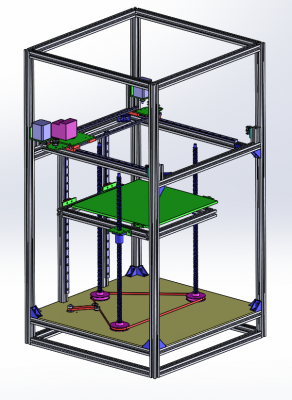
Still working away on the model. My plan is to build the XY stage as a separate module and get that trued up before inserting it into the main frame which will include the Z axis.
|
Re: CoreXYNZ build July 17, 2016 09:06PM |
Registered: 10 years ago Posts: 221 |
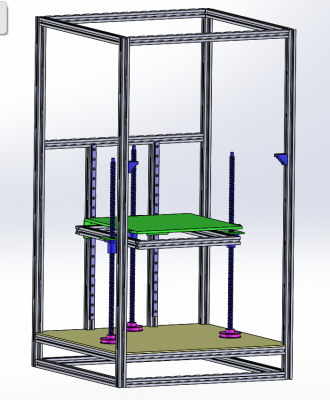
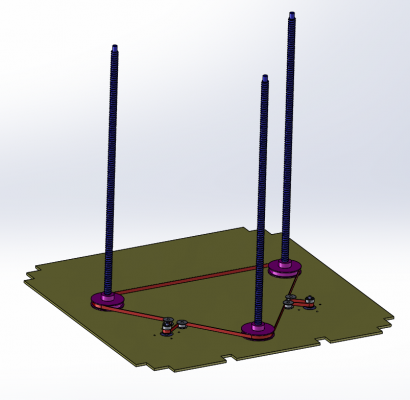
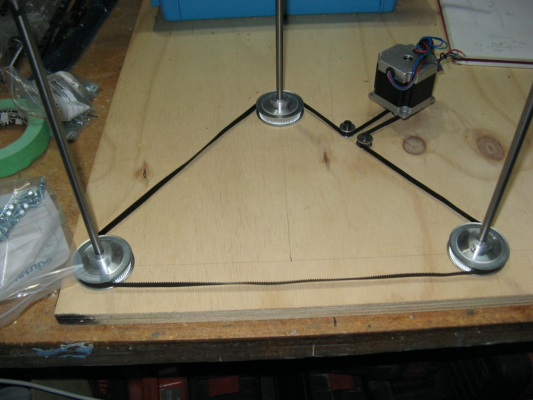
Working on the Z axis today. My original plan was to drive it with a single Nema 23 at 3A with a 2M542 stepper driver. Step and direction was going to come from the Smoothie board I got. However I also like the option of the new Duet Wifi so that's on preorder. I'm going to use the Smoothie to upgrade my current printer. My plan now is to use 2 Nema 17's on Z. Because they are in the same belt system any step discrepancy will be eliminated on shut down. The Duet drivers look better than the 2M542 apart from being current limited to 2A. Has anyone any ideas about the choice between 1.8 and 0.9 degree steppers in this application? The main downside of using 2 drivers on Z is that I am limited to 1 extruder. I was only going to use 1 extruder but it made me think about dual extruders. Yes it would be nice to print parts with rigid and flexible elements and also parts with dissolvable support structures. However I am OK without these at the moment. I am thinking of easily replaceable extruder heads though.
|
Re: CoreXYNZ build July 17, 2016 11:04PM |
Registered: 7 years ago Posts: 168 |
Quote
RodF
Working on the Z axis today. My original plan was to drive it with a single Nema 23 at 3A with a 2M542 stepper driver. Step and direction was going to come from the Smoothie board I got. However I also like the option of the new Duet Wifi so that's on preorder. I'm going to use the Smoothie to upgrade my current printer. My plan now is to use 2 Nema 17's on Z. Because they are in the same belt system any step discrepancy will be eliminated on shut down. The Duet drivers look better than the 2M542 apart from being current limited to 2A. Has anyone any ideas about the choice between 1.8 and 0.9 degree steppers in this application? The main downside of using 2 drivers on Z is that I am limited to 1 extruder. I was only going to use 1 extruder but it made me think about dual extruders. Yes it would be nice to print parts with rigid and flexible elements and also parts with dissolvable support structures. However I am OK without these at the moment. I am thinking of easily replaceable extruder heads though.
[attachment 81458 Zbase.png]
I'm doing the same thing right now, but with a single Nema 17 stepper. And a different belt path just so I can fit my power supply and mother board in there as well.
Why would you need 2?
Wouldn't one be sufficient and simpler?
|
Re: CoreXYNZ build July 17, 2016 11:13PM |
Registered: 10 years ago Posts: 221 |
I'm doing the same thing right now, but with a single Nema 17 stepper. And a different belt path just so I can fit my power supply and mother board in there as well.
Why would you need 2?
Wouldn't one be sufficient and simpler?[/quote]
I am worried one wouldn't have enough power. I suppose that as long as it has enough power to drive it up to the Z stop it will be OK. In normal operation it will be going down so will be under no load. (Just thinking out loud.)
Why would you need 2?
Wouldn't one be sufficient and simpler?[/quote]
I am worried one wouldn't have enough power. I suppose that as long as it has enough power to drive it up to the Z stop it will be OK. In normal operation it will be going down so will be under no load. (Just thinking out loud.)
|
Re: CoreXYNZ build July 18, 2016 01:04AM |
Registered: 10 years ago Posts: 221 |
|
Re: CoreXYNZ build July 18, 2016 04:38AM |
Registered: 7 years ago Posts: 168 |
Quote
RodF
I'm doing the same thing right now, but with a single Nema 17 stepper. And a different belt path just so I can fit my power supply and mother board in there as well.
Why would you need 2?
Wouldn't one be sufficient and simpler?
I am worried one wouldn't have enough power. I suppose that as long as it has enough power to drive it up to the Z stop it will be OK. In normal operation it will be going down so will be under no load. (Just thinking out loud.)[/quote]
I certainly don't claim to be an expert, and am about the same progress along as you with mine, but I'd bet a nut (hope I'm right) that my single Nema 17 with 20T idler will be fine with driving my 3x 12mm (4mm pitch) ballscrews with 40T pulleys on them.
Of course you've got to pick the right spec stepper, but I'd think that one would be more reliable and there are a few threads that have discussed issues with multiple Z axis steppers on here.
Not to say it won't work though, and the new Duet wifi does come with dual Z axis motor plugs I think, so you may be right to go that way.
|
Re: CoreXYNZ build July 20, 2016 01:55AM |
Registered: 10 years ago Posts: 221 |
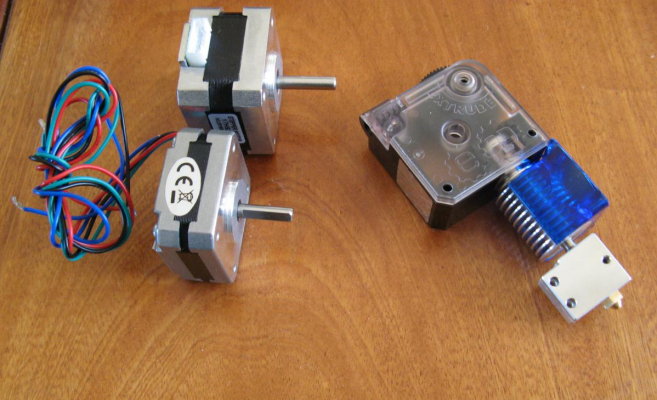
More parts arriving from around the world. Titan extruder and Volcano hotend with hardened 0.8mm nozzle (not shown) which will be set up for 1.75mm filament. Steppers from China, hopefully the 130gm pancake motor will have sufficient power. If I need it I got a more powerful option the longer (30mm) motor which weighs 193gm. If the pancake motor is OK the full extruder setup should weigh around 200gm. By comparison a standard Nema 17 47mm long weighs 358gm on its own.
A 300x300x3mm piece of Borosilicate glass arrived from the US, it will be interesting to see how flat it is. This will probably go on the Mendel90 style machine which I am upgrading at the same time. I was pleasantly surprised it made it here in one piece.
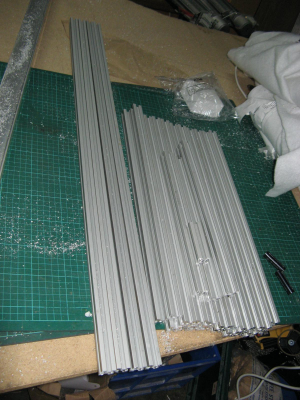
Had to order some more 2020 as it looks like the machine I have designed will need around 14 meters and I thought 2x 5.8 meter lengths would be heaps. I will do a cutting session on my friends precision cold saw in a few days.
Edited 1 time(s). Last edit at 07/20/2016 01:57AM by RodF.
A 300x300x3mm piece of Borosilicate glass arrived from the US, it will be interesting to see how flat it is. This will probably go on the Mendel90 style machine which I am upgrading at the same time. I was pleasantly surprised it made it here in one piece.

Had to order some more 2020 as it looks like the machine I have designed will need around 14 meters and I thought 2x 5.8 meter lengths would be heaps. I will do a cutting session on my friends precision cold saw in a few days.
Edited 1 time(s). Last edit at 07/20/2016 01:57AM by RodF.
|
Re: CoreXYNZ build July 20, 2016 05:19AM |
Registered: 8 years ago Posts: 346 |
Hi,
For the Z using 2 motors can be a problem because of synchronizations problems between the two and it will not allow to move the bed manually without "breaking" the bed level. The best is to try to find a solution with only one motor. In your case main problem is to be sure the motor was enouthg power to move correctly the bed, on thing you can do is to go with z screws that have a low pitch, like 1.5mm for example.
One remark abut the two linear rail of the bed, it will not be better to have them on opposite side?
where you will buy/get the closed belt of the motor bed?
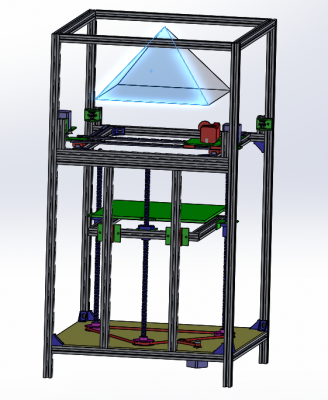
On your 3d model you have lots of empty space on the top of your aluminium structure, why is the reason?
about the titan extruder and the tiny motor i curious to see if it will work well, do not forget to report later the result in this tread.
|
Re: CoreXYNZ build July 20, 2016 04:33PM |
Registered: 10 years ago Posts: 221 |
Quote
filipeCampos
Hi,
For the Z using 2 motors can be a problem because of synchronizations problems between the two and it will not allow to move the bed manually without "breaking" the bed level. The best is to try to find a solution with only one motor. In your case main problem is to be sure the motor was enouthg power to move correctly the bed, on thing you can do is to go with z screws that have a low pitch, like 1.5mm for example.
One remark abut the two linear rail of the bed, it will not be better to have them on opposite side?
where you will buy/get the closed belt of the motor bed?
On your 3d model you have lots of empty space on the top of your aluminium structure, why is the reason?
about the titan extruder and the tiny motor i curious to see if it will work well, do not forget to report later the result in this tread.
Hi Filipe thanks for the input.
First the Z. The 2 motor option I put up was really just to see if it would work mechanically, I am actually going to use a single Nema 23. However the 2 motor option would retain synchronicity due to being in a closed loop. I am happy with the 4mm pitch ball screws as they have a 4:1 reduction on the pulleys. The Z belt comes from here. [www.aliexpress.com]
I had to buy 10 of them so I have a few spare if anyone wants them.
As for the Z rail position so long as they limit movement in the XY directions then they are OK. Edit [and rotationally around the Z axis] I put them at the back to keep the most access to the bed as possible.
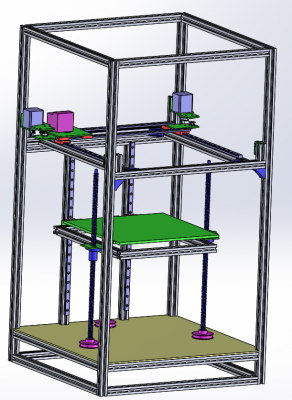
The space at the top of the machine is to allow the filament reel to be mounted on top and so there is enough freedom of movement for the XY carriage keeping in mind that I want an enclosed machine. This is work in progress but I drew a pyramid to work out the height required to limit the angle of extruder to filament at max travel points. Actually it looks like I could reduce the height by 30-40mm.
I am also going to look at making my own extruder using a Nema 14 with 5:1 reduction belt drive. Keep you posted.
Rod
Edited 1 time(s). Last edit at 07/20/2016 04:52PM by RodF.
|
Re: CoreXYNZ build July 20, 2016 09:19PM |
Registered: 11 years ago Posts: 5,780 |
I will be leaving space in the top for the filament spool. I plan to hang it from a U shaped piece with a couple bearings that allow it to swivel to follow the extruder around and minimize drag on the filament.
Ultra MegaMax Dominator 3D printer: [drmrehorst.blogspot.com]
Ultra MegaMax Dominator 3D printer: [drmrehorst.blogspot.com]
|
Re: CoreXYNZ build July 24, 2016 05:45PM |
Registered: 10 years ago Posts: 221 |
|
Re: CoreXYNZ build July 25, 2016 01:54AM |
Registered: 10 years ago Posts: 221 |
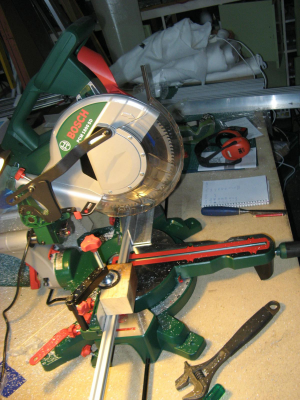
After some consultation and second thoughts I used a drop saw with aluminium blade to cut the extrusions. Nice square clean cuts all the same lengths.
|
Re: CoreXYNZ build July 27, 2016 10:58PM |
Registered: 10 years ago Posts: 221 |
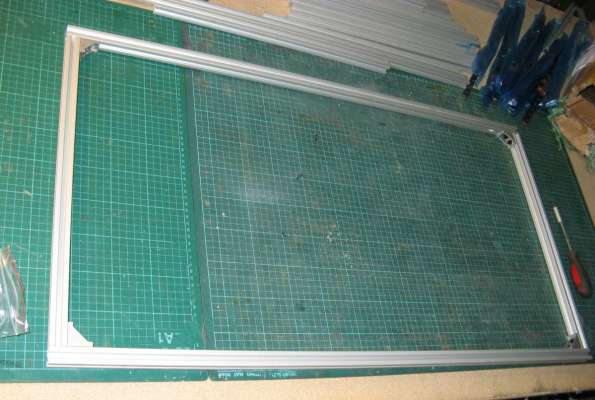
Put together a side to see how accurate it was. Turned out great, the main issue will be inserting enough Tnuts before assembly so I don't have to take it apart too many times. Forgot to get 3mm Tnuts for the rails so it will be a bit of a wait for those. In the mean time I will fabricate some to hold them in position.
|
Re: CoreXYNZ build July 31, 2016 04:34PM |
Registered: 10 years ago Posts: 221 |
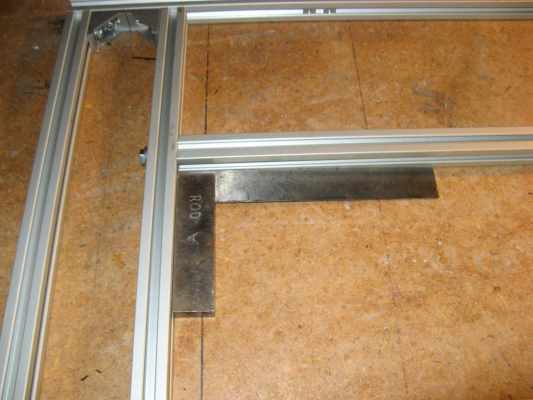
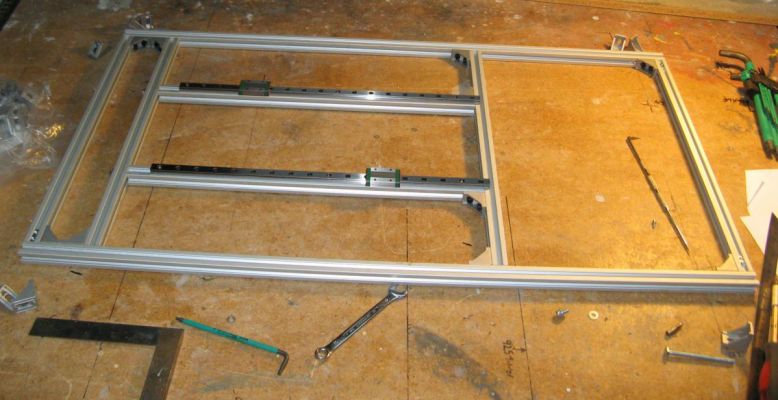
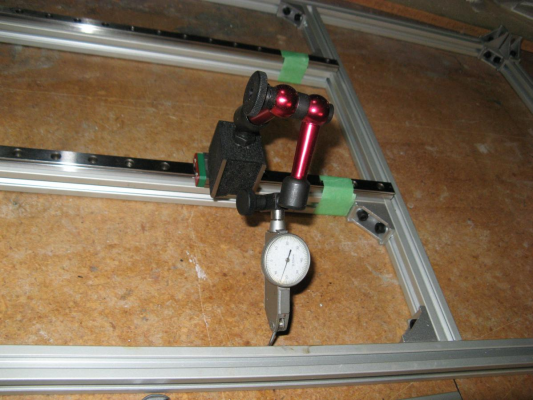
Progress. It seems to be nice and square so far. Dialed up one of the rails and had no problem getting it to .01mm. Getting all the T nuts needed in is the main problem. So far so good and I do have some nuts coming that will go into closed end slots. As I am building this I am thinking ACP\Signboard\Dibond with ali angle extrusion would be a good way to do it.
The tape is to stop the carriages coming off the ends of the rails.
The tape is to stop the carriages coming off the ends of the rails.
|
Re: CoreXYNZ build July 31, 2016 10:06PM |
Registered: 10 years ago Posts: 221 |
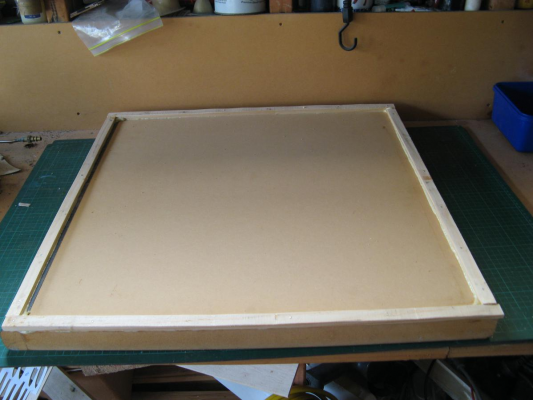
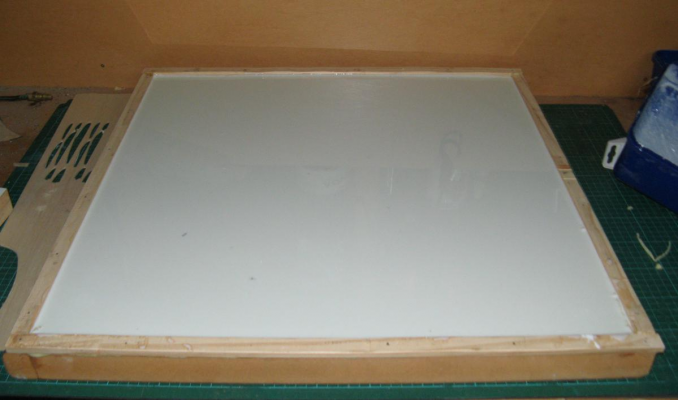
I am preparing an off cut of bench top for my flat surface to set up the XY axis. I'm going to pour about 4mm of epoxy resin into it. It will be about 600mm square so will have plenty of room for the XY frame.
|
Re: CoreXYNZ build July 31, 2016 11:00PM |
Registered: 10 years ago Posts: 221 |
|
Re: CoreXYNZ build August 01, 2016 01:35AM |
Registered: 10 years ago Posts: 221 |
|
Re: CoreXYNZ build August 01, 2016 02:49AM |
Registered: 10 years ago Posts: 221 |
|
Re: CoreXYNZ build August 01, 2016 04:26PM |
Registered: 10 years ago Posts: 221 |
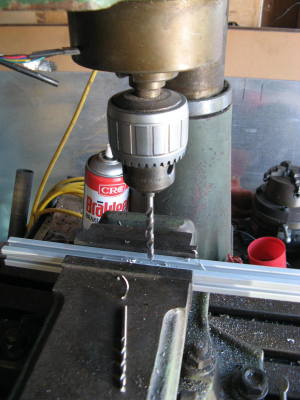
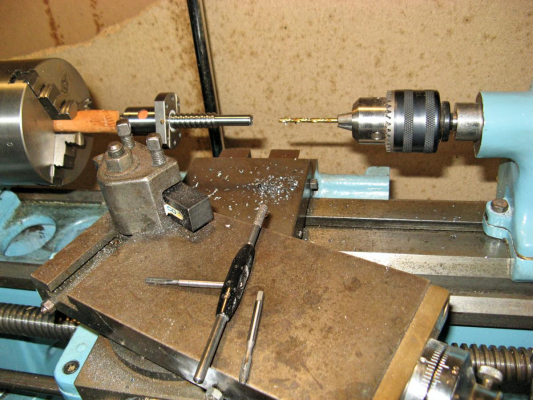
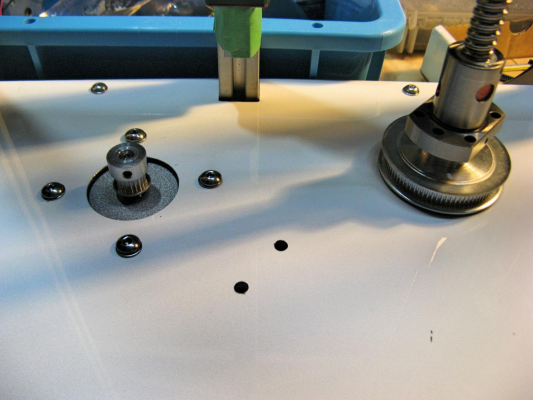
Because of the way I have designed the Z axis and the ball screws having quite short shanks they would only be held on to the base by gravity. 'Fortunately' the ball screws are not hardened so I was able to drill and tap the shanks so I can mount a retaining collar on the ends on them.
|
Re: CoreXYNZ build August 02, 2016 01:01AM |
Registered: 10 years ago Posts: 221 |
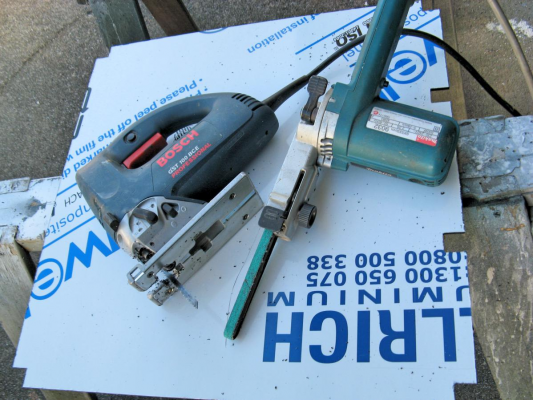
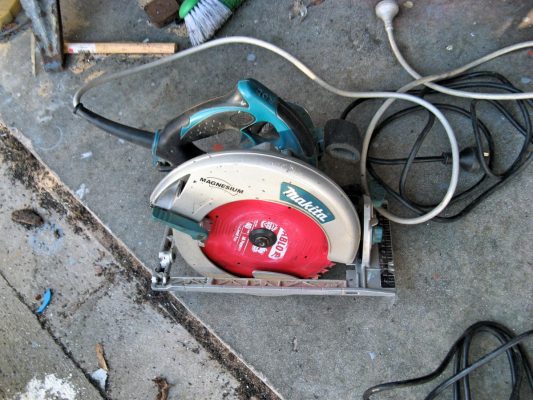
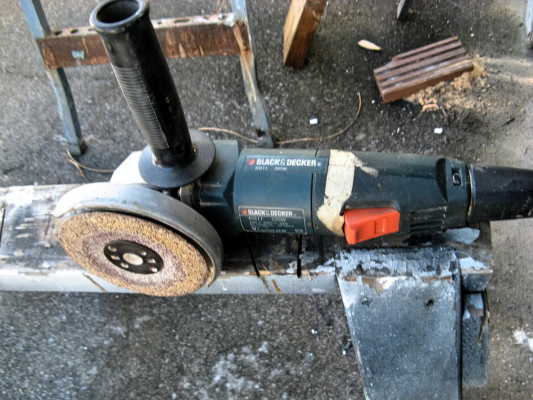
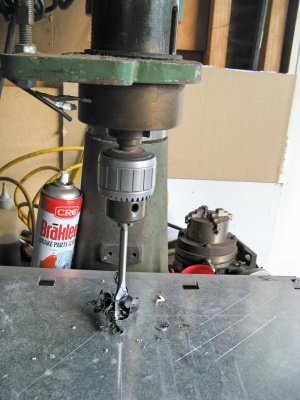
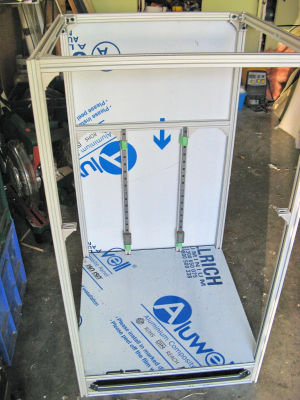
Worked on the back and base both ACP (aluminium composite panel). I like this stuff it is light strong easy to cut and looks nice with a range of colours. You can get nice straight lines if you use a skill saw and a straight edge. A jigsaw works really well, I like using low speeds. Power file and angle grinder with sanding disc is useful. Hand tools are effective too. For larger holes spade bits are great, I used my mill drill but a cordless drill works too as long as you can keep the speed down. I just marked out the base on the back and left the protective coating on the front.
|
Re: CoreXYNZ build August 03, 2016 08:02AM |
Registered: 10 years ago Posts: 221 |
|
Re: CoreXYNZ build August 03, 2016 04:16PM |
Registered: 7 years ago Posts: 168 |
|
Re: CoreXYNZ build August 03, 2016 07:54PM |
Registered: 10 years ago Posts: 221 |
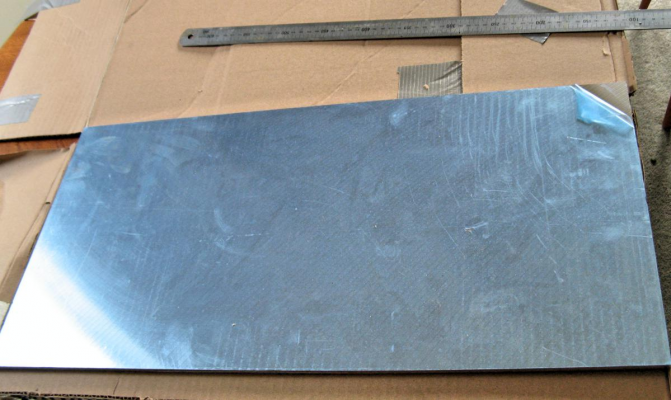
Aluminium plate arrived undamaged. Packaging was great, price not so much  I need to cut it in half as I will upgrade my old printer which will also get a 220v heater and the smoothie board. 3mm T nuts and 20mm corners also arrived.
 I need to cut it in half as I will upgrade my old printer which will also get a 220v heater and the smoothie board. 3mm T nuts and 20mm corners also arrived.
|
Re: CoreXYNZ build August 03, 2016 10:51PM |
Registered: 10 years ago Posts: 221 |
Thanks. Talking about looks I am going to try and get my vinyl cutter (600mm wide) involved. As this machine will be enclosed from the start the options for vinyl on the clear panels are wide open.Quote
hobbymods
Looks great!
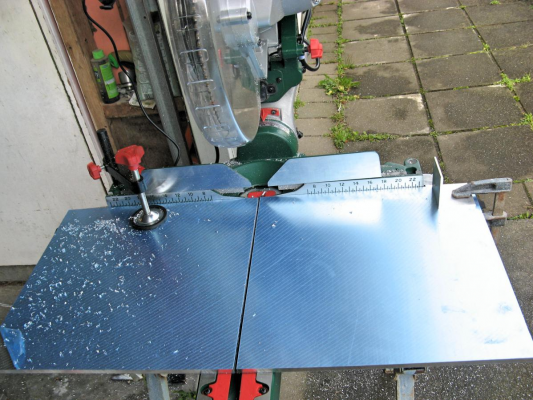
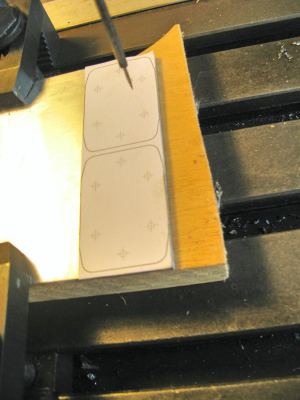
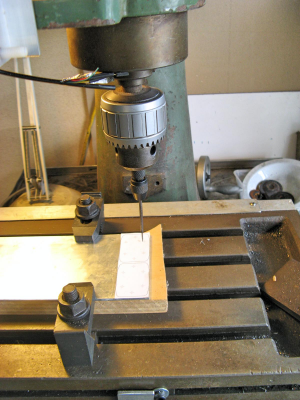
Cut the bed plate and made some Z axis parts. A technique I use a lot is to print layout and glue it on the metal then drill/cut.
Edited 2 time(s). Last edit at 08/04/2016 09:32PM by RodF.
|
Re: CoreXYNZ build August 03, 2016 10:51PM |
Registered: 10 years ago Posts: 221 |
|
Re: CoreXYNZ build August 04, 2016 04:52AM |
Registered: 8 years ago Posts: 346 |
|
Re: CoreXYNZ build August 04, 2016 09:42PM |
Registered: 10 years ago Posts: 221 |
Hi Filipe I'm not too worried about the cost, and I already have black plastic cable chain from China. This machine won't have a lot of plastic on it mostly cable management and some spacers. So I want to use plastic for a colour accent. I have already bought a roll of orange ABS for this. There are plenty of printable cable chain designs out there I am wondering which works well and prints nicely. Also looking for 2020 groove cover and any cool cable management ideas.
|
Re: CoreXYNZ build August 04, 2016 10:09PM |
Registered: 10 years ago Posts: 221 |
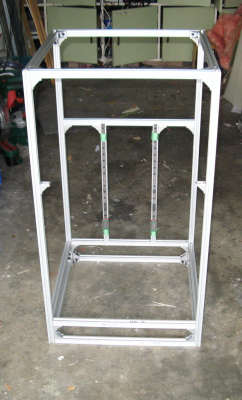
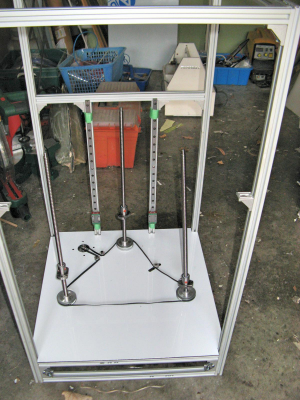
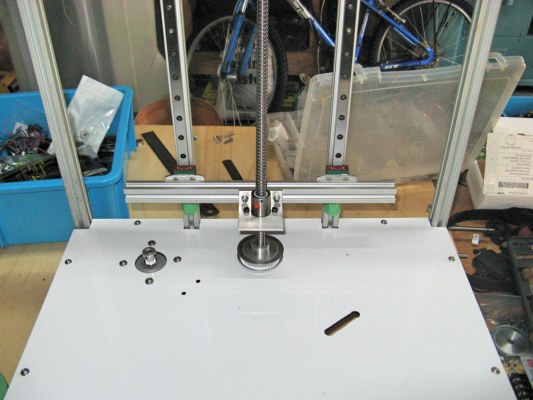
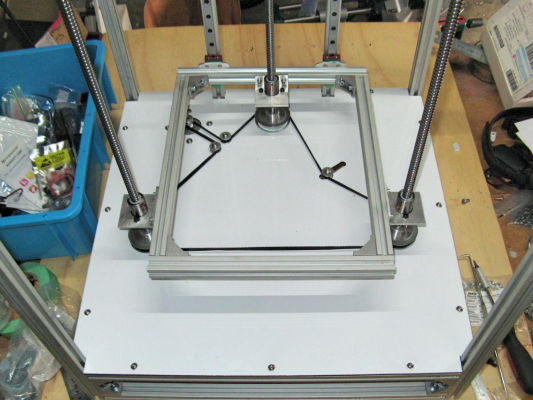
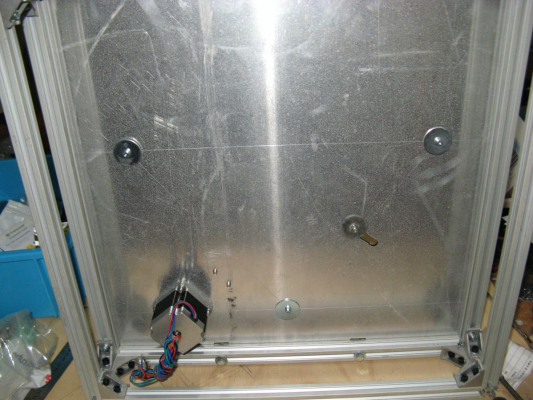
More progress on the Z axis. I'm just making the parts and getting them in position at this stage. Once I have everything made I will start tuning it up.
This ran up and down the rails freely with out adjustment.
The washers are just to stop the lead screws from falling out when I tip it over like this.
This ran up and down the rails freely with out adjustment.
The washers are just to stop the lead screws from falling out when I tip it over like this.
Sorry, only registered users may post in this forum.
