Huxley Seedling
This page is a development stub. Please enhance this page by adding information, cad files, nice big images, and well structured data!
Release status: experimental
| Description | A basic simple 3D printer based on Huxley to print all the parts needed to build Huxley or Mendel uses only materials & components that anyone can make or buy. Low cost low tech.
|
| License | |
| Author | |
| Contributors | |
| Based-on | |
| Categories | |
| CAD Models | |
| External Link |
Contents
Introduction
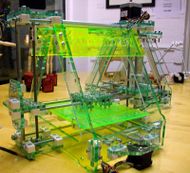
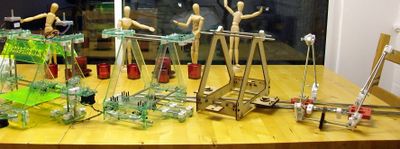
For the last two years I have been building various RepStrap versions of Darwin and Mendel trying to devise simple ways to build these printed self replicating machines. Huxley Seedling is based on all of the experience gained building the previous RepStraps. I built two of these RepStraps in February 2010 This will be the final rendition/ re-design.
This is the very First posting of all the components and drawings used to build a Huxley Seedling machine.
Note: Sebastien I've not blogged this design. ;-) Nophead saw some early parts in February.
Done
Re designe some parts for easier assembly and to alow any thickness of material to be used.
Made in diffrent materials of diffrent thickness - failed to line up in two places i dont want elongared holes so a small redesign req.
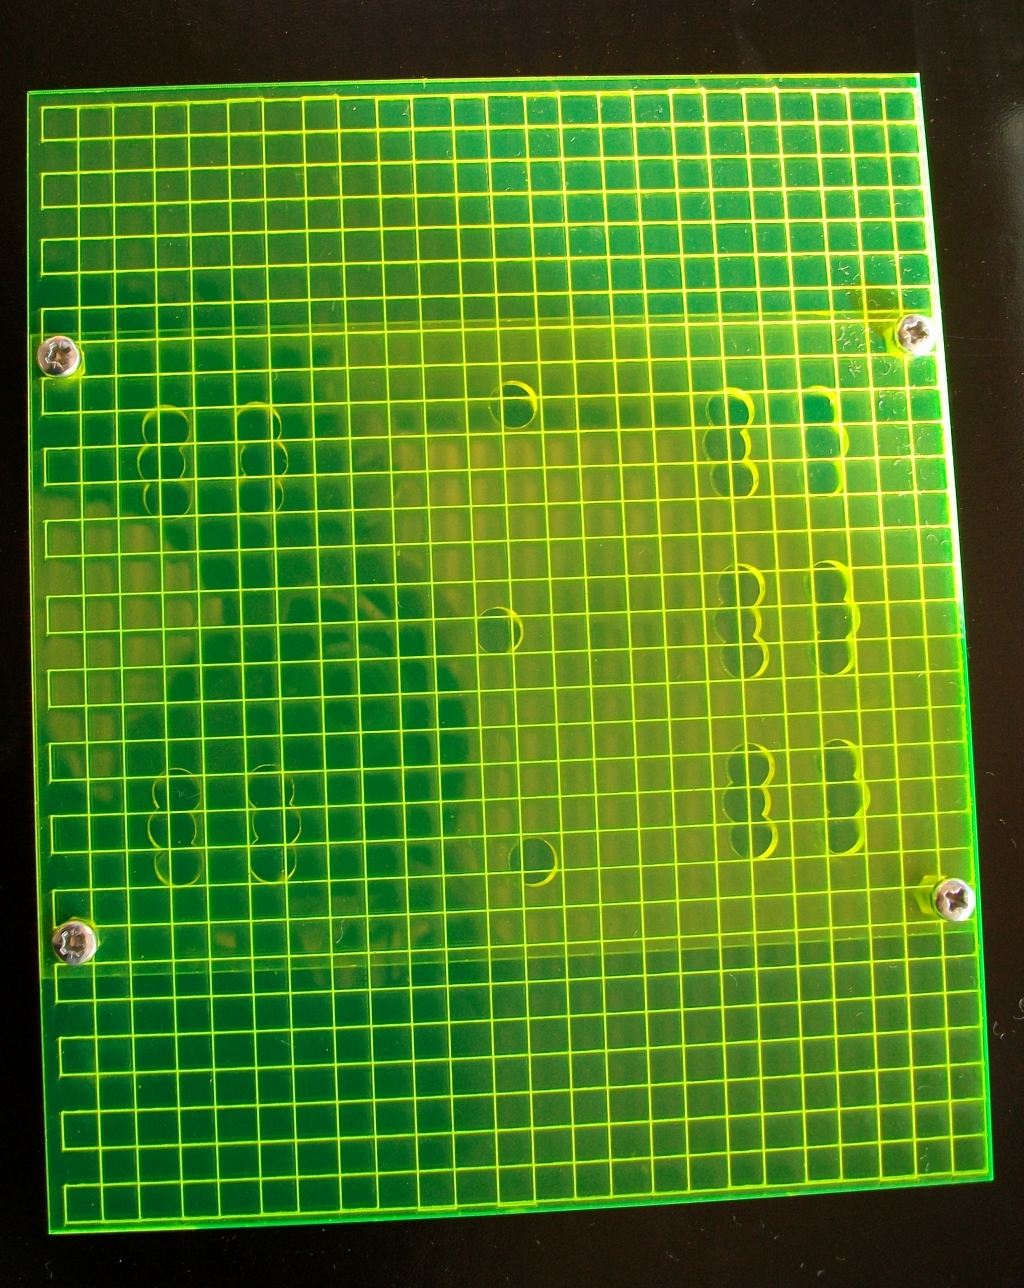
Made 10mm thick Acrlic print bed (its thick it wont warp from being extruded onto thanks to Forrest's comments.)
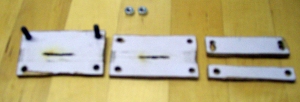
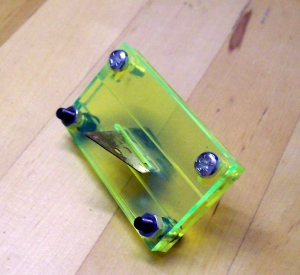
Belt Splitter tested in both forms lasercut and hardboard hand made version. Works with both methods of making.
Made the drawings for new Worm Extruder Drive MKV.
Made the component parts for Worm Extruder Drive MKV.
Build the Worm Extruder Drive MKV.
Test the Worm Extruder Drive MKV.
Learning to drive this wiki!
Lots of drawings and then draw all of them again as lost all of the previous drawings!!!!
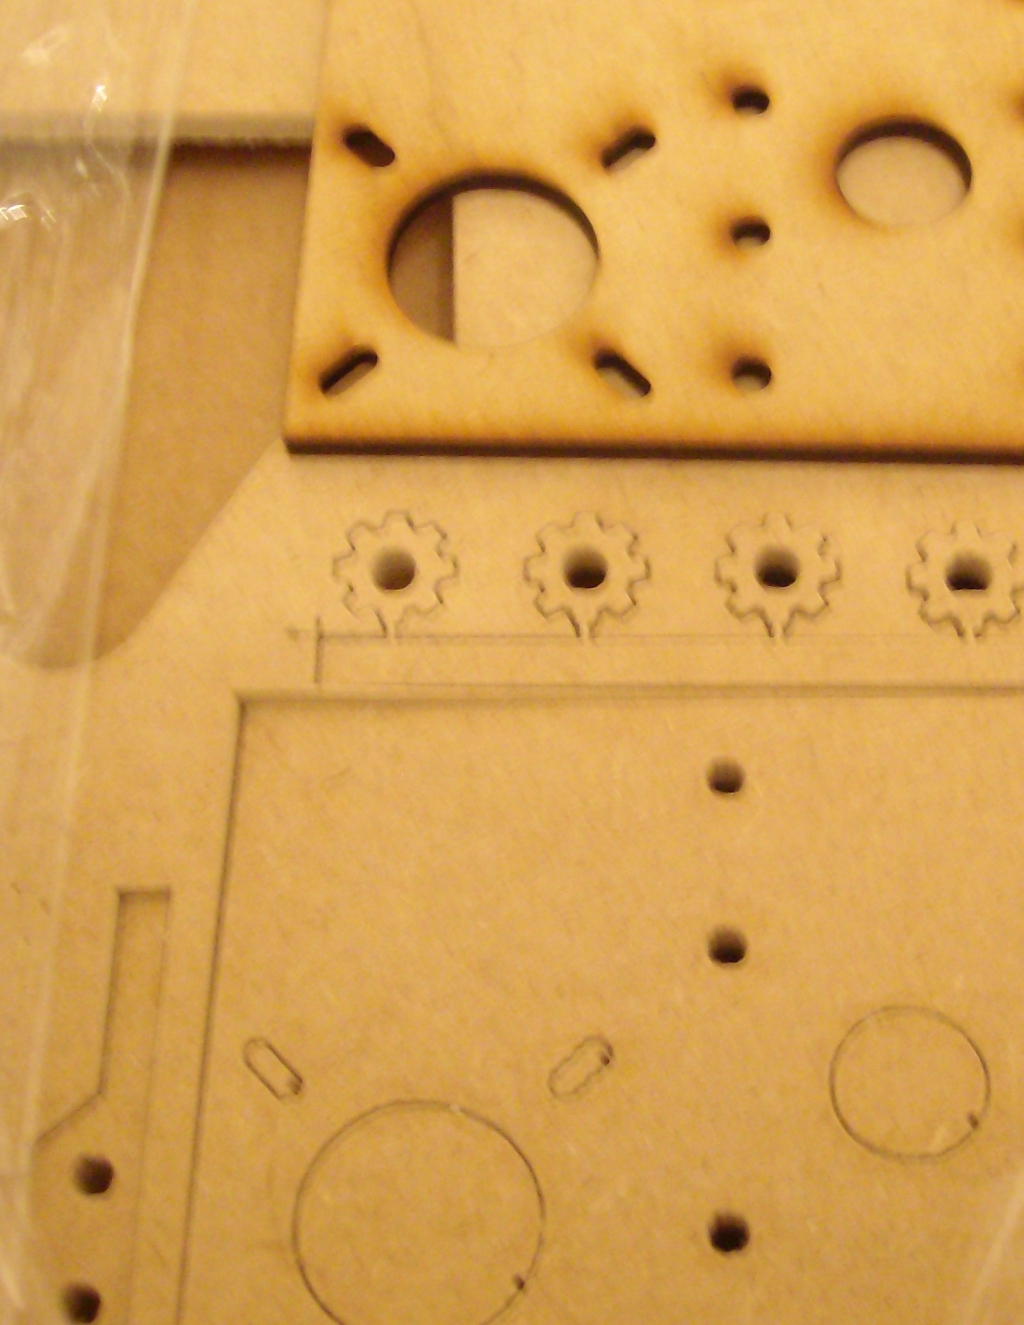
Then re-making every part from those drawings might try other means to make from drawings.. Taking a trip into Manchester to FAB LAB MCR was very interesting and shaved at least a week off of drawing testing time.
Estimated total cost just below £200 in parts.
To do list
Add old Electronics and test Axis movement, aligment, repeatability on the experimetal version
Test the flat pack version of wades extruder.
Parts list in ods spread sheet.
Design low cost electronics.
Documenting each stage
Photographing the build process.
Listing raw materials tools etc.
Spell checking every thing.
Working Notes
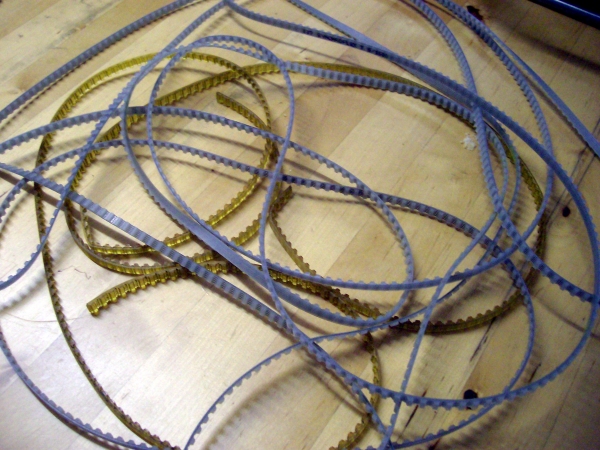
I have used the Belt Splitter for the really long belts for my DIY Laser Cutter build. Low cost bearing solutions based on RepStrap Bertha builds alowing for upgrade to high quality linear bearings. We spent an interesting day at Fab Lab MCR . testing some of the drawings out using the Laser cutter. Slight modifications are required to some of the drawings.
Materials
Sheet material MDF or Ply or Perspex/Acrlic or HDPE or Aluminum.
Fix It Blocks (36-48)
M4 Screws Sizes/numbers to be defined not to far diffrent from the Mendel screws (not so many)
Steel bar or Stainless Steel Bar, Threded bar, Steel or plastic or Aluminum tube.
Benifits of using Fix IT Blocks:-
Reduced number of Nylock nuts or locking washers
Prevents Acrylic from cracking / breaking
Ensures a 90 degree angle.
Noise reduction.
This page has been flagged as containing duplicate material. An editor has suggested merging this page or section into FlatPack. (Discuss)
Benifits of using Acrlic over Plywood and MDF
Improvement of acuracy due to warping of Plywood even high quality laser Plywood and MDF had slight warping (>0.5mm)
It looks far better than wood.
Disadvantage of using Acrlic over Plywood and MDF
The disadvanages in this case are:-
Cost of Acrlic is usualy more than twice the price of Plywood and 3 times the price of MDF.
Cost of laser cutting is more for Acrlic as it takes longer to laser cut than MDF and Plywood.
water jet cutting vs laser cutting
See FlatPack#water jet cutting vs laser cutting.
The Belt Splitter
- Main page: belt splitter jig.
Drawings
Belt Splitter drawings
Media:Small_140mmx70mm_beltSplitterorg.pdf
Use 3mm Perspex,MDF,PLy,hardboard
Make it at home print it to scale stick with glue stick onto 3mm MDF or hard board.
Drill out the 10 x 4mm holes using a hand drill, electric drill, dremel
Drill out the ends of the 4mm slots ie (4 x 4mm holes) using a hand drill, electric drill, dremel
Cutting MDF or hardboard with a craft knife/stanly knife is done by making repeated cuts/scores on the line don't try to do it in one cut!!
Use a stanley knife or Dremel to cut out the lines of the 2 x 4mm slots. Now you can cut the 2 blade slots they are 0.8mm wide I used a small craft knife then snapped the slither out.
Check you have all the holes drilled and the 4 slots cut out before cutting the out lines. This is done using a dremel saw, hack saw, craft saw or even using the craft knife scoring method.
Assemble it using 4mm screws.
Using the Belt Spliter Belt splitter jig
Thingyverse link http://www.thingiverse.com/thing:4952
>------------------------------------
Wades Extruder
- Main page: Wade's Geared Extruder.
Drawings for Wades_Extruder
Needs up dateing >> Media:Wades_Extruder.pdf
Used 3mm Perspex,MDF,PLy
Make it at home print it to scale stick with glue stick onto 3mm MDF or hard board.
Drill out the 14 x 3mm holes using a hand drill, electric drill, dremel
Drill out the 45 x 4mm holes using a hand drill, electric drill, dremel
Drill out the ends of the 4 3mm slots ie (8 x 3mm holes) using a hand drill, electric drill, dremel
Drill out the ends of the 14 4mm slots ie (28 x 4mm holes) using a hand drill, electric drill, dremel
Drill out the ends of the 4 5mm slots ie (8 x 5mm holes) using a hand drill, electric drill, dremel
to be continued.. ~
Cutting MDF or hardboard with a craft knife/stanly knife is done by making repeated cuts/scores on the line don't try to do it in one cut!!
Use a stanley knife or Dremel to cut out the lines of the 4 x 3mm slots.
Use a stanley knife or Dremel to cut out the lines of the 14 x 4mm slots.
Use a stanley knife or Dremel to cut out the lines of the 4 x 5mm slots.
Check you have all the holes drilled and the 22 slots cut out before cutting the out lines. This is done using a dremel saw, hack saw, craft saw or even using the craft knife scoring method.
Assemble it using 4mm screws.
Worm Extruder Drive MKV Drawings go here Plus repstrap Huxley component drawings.
Basic DIY Drawings print it stick it and cut it.
Laser cutter Drawings,
The Hot End.
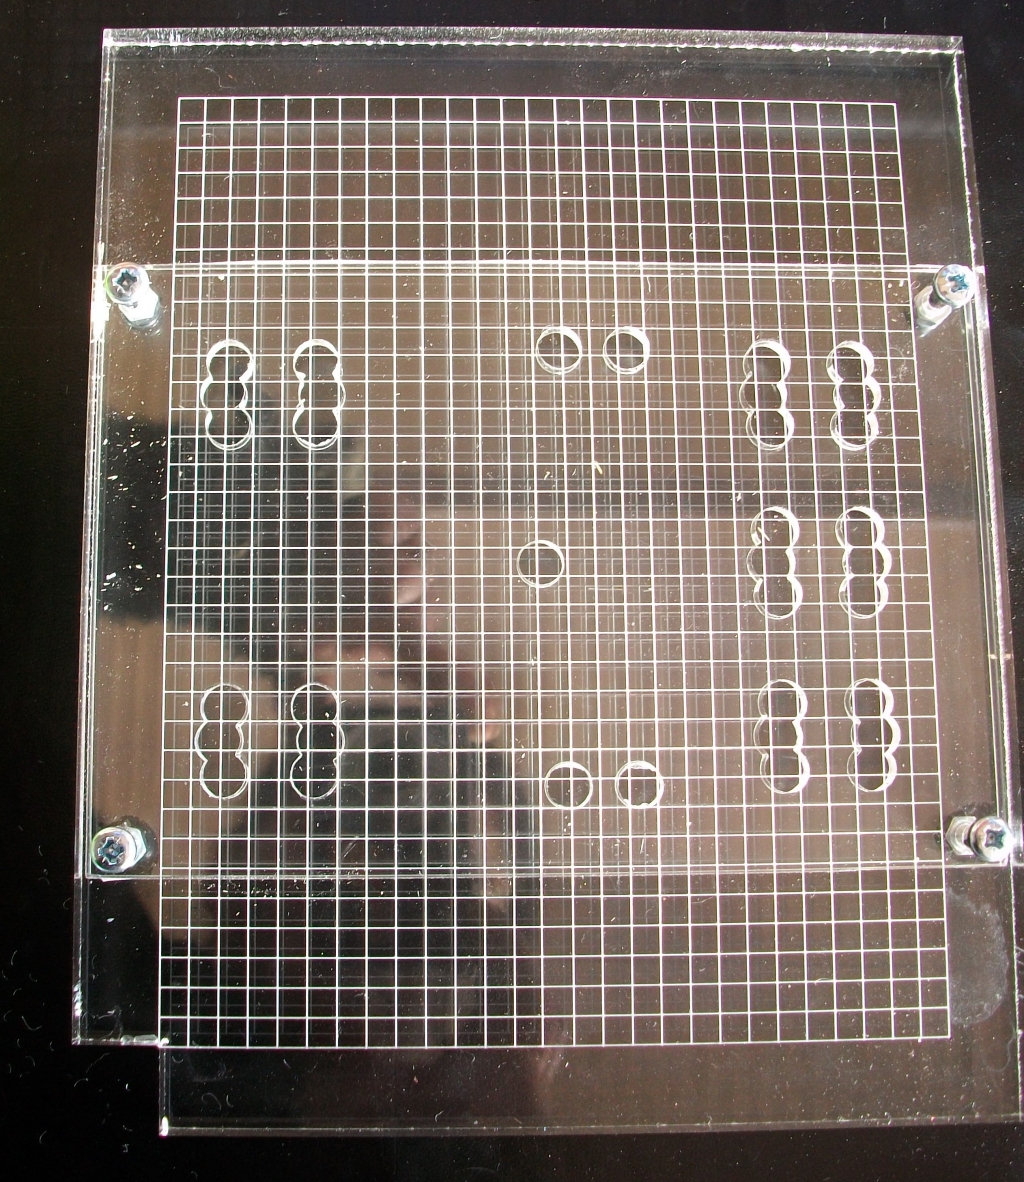
The Print Bed for ABS
Drawing File:A4 bed drawing.pdf
200 x 165 x 10mm Acrlic
This thickness of Acrlic is needed to prevent warping of the Acrlic.
This part of the design decisision process was helped by the experiences of Forrest Higgs with his RapMan printing ABS on Acrlic.
The orginal bed was 3mm thick.
Heated Print Bed for ABS
TBUL
Electronics
For Huxley Seedling any combination of the existing RepRap electronics can be used, such as the "Official" Electronics.
If you have not got any electronics Huxley Seedling has its own low cost solutions.
These are the three variations one using the Arduino Mega, Arduino UNO/Arduino Demiglove and Huxley Seedlings Cncduino controller.
Hardware
Steppers are NEMA 14 or NEMA 17.
Belts 80thou or 5mm pitch Syncroflex (Note 5mm pitch is easier to hand make the gears)
If I find a way to make ball chain gears at home this would be even better.
Please note this list is not final yet!!
I will post a parts spreadsheet to match that of the Mendel-m4-assembly-data-sheet.ods
File:Huxley-Seedling-m4-assembly-data-sheet.ods
3mm Screws 20
4mm Screws 136-150 depending on the bearing option.
4mm Nuts 146-170 depending on the bearing option.
6mm Nuts 10
8mm Nuts 1
Threaded Bar 6
Tube 4
Fixit blocks 36
Fixit Block Bearings 12 or Sintered Bronze Bearings 12 or Linea ball Bearings 12
Number of unique parts 63
Total number of parts 421 - 469 depending on the bearing option.
Tooling
Basic tools:- Printer, Glue Sticks, Electric Drill with stand, Hack saw, Sharp Chisels metric drills Hand saw craft Knife / Stanly Knife.
Advanced tools:- Pedestal Drill, Chop Saw, Dremel, router, Jigsaw, Band saw, Scroll saw any electric cutting tool.
Technophobe tools:- CNC or Laser Cutter or Water Jet Cutter or a vist to your nearest FAB LAB
Mail order:- Ponko Laser cutting service
