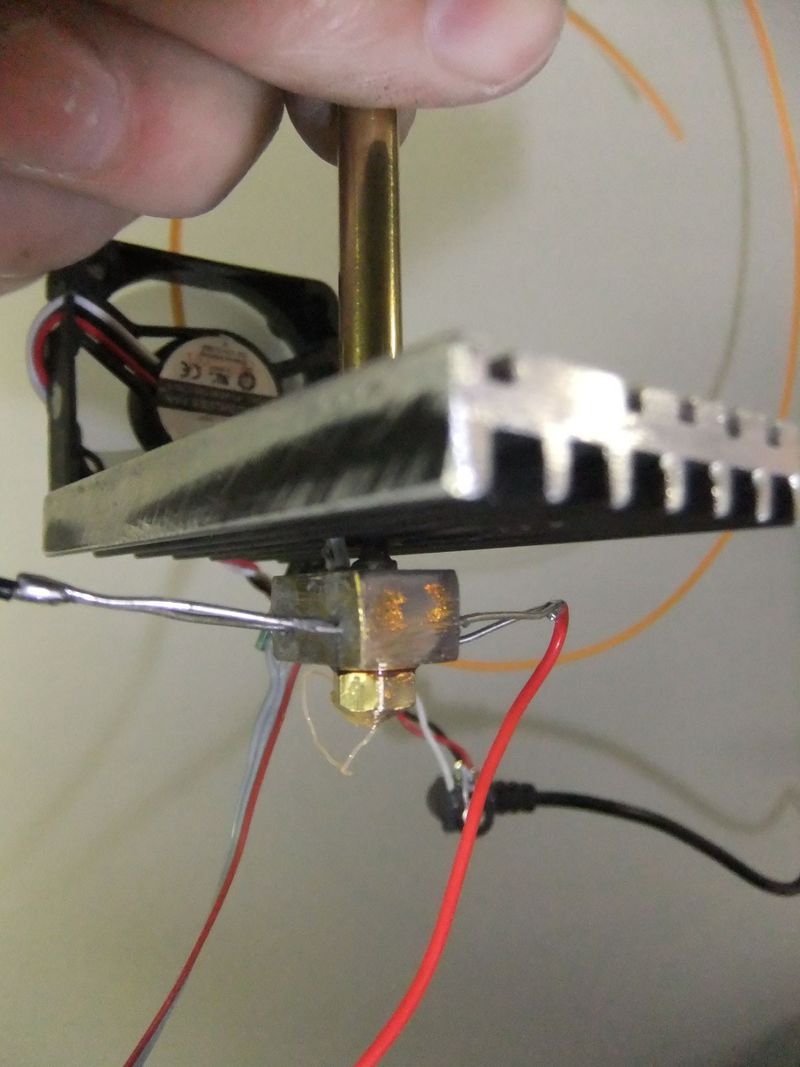
All metal hotend
|
English • العربية • български • català • čeština • Deutsch • Ελληνικά • español • فارسی • français • hrvatski • magyar • italiano • română • 日本語 • 한국어 • lietuvių • Nederlands • norsk • polski • português • русский • Türkçe • українська • 中文(中国大陆) • 中文(台灣) • עברית • azərbaycanca • |
|
This is a summary of technics for an all metal hotend.
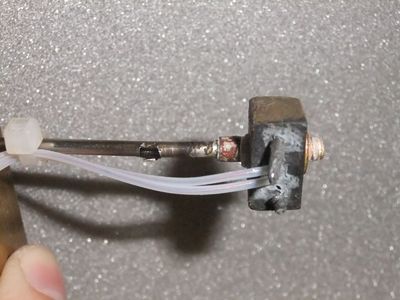
The hotend consists of a nozzle, a heating element, a thermal isolator, and a holder/ mechanical interface to the extruder. The heating element can be a heating block and can be integrated with the nozzle or be separate. The tip includes nozzle and heating element - this is the hot part. The thermal isolator blocks the heat from the rest.
In an all metal hotend the heat inside the tip will melt the filament (PLA,ABS ...). But the heat will also travel into the thermal isolator. Depending of the properties of the isolator, a specific amount of energy(heat) comes through the isolator. It depends on how this energy is spread to the environment or the material, which temperature is reached in every part of the hotend. While the temperature of the tip is regulated and can be seen as constant, the other temperatures depend on hotend usage and cooling capabilities of the part behind the isolator.
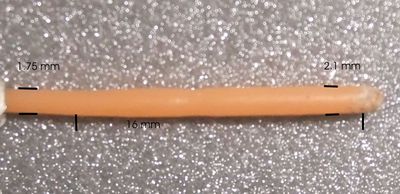
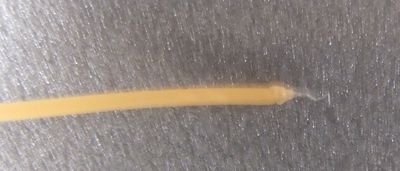
If there are poor cooling capabilities (no cooler or passive), the temperature in the isolator will make the filament smooth - the transition zone from melted to hard. Together with the pressure from the extruder the material will be compressed inside this zone of the isolator (which is some kind of tube) and will be pressed to the wall of the inner wall of the isolator. Depending on how big this transition zone is, this can inhibit further extrusion. Furthermore the pressure from the extruder will force this zone to expand and to stick even more. In one of my earlier hotends with a stainless steel tube without cooler (outer diameter 2,5mm / wall 0.25mm) this made a 16mm sticking zone. I could not push it into any more, but pulling out was quite easy.
In the latest hotend this zone is very short.
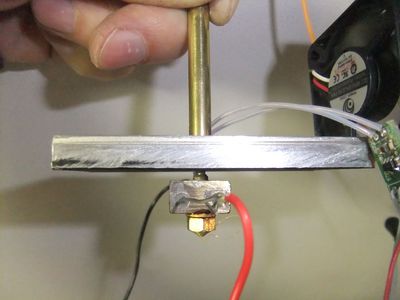
1. Start with the nozzle : The nozzle bore should have its length as small as possible - try 0.5mm as goal. This makes, that you need less pressure to push out the melted material. Less pressure is good for the stepper motor. More pressure enlarges the transition zone, because more material is compressed. 2. Use powerful cooling : The goal is to keep the transtion zone as small as possible. If you have a powerful cooling (big cooler, active fan) on or just above the isolator, the transition from melted to hard is really short. In my case i get a transition zone with compressed material of less than 1mm. This will even stick to the wall, but the force needed to push it further is tolerabel (can be easy done by hand). 3. Choose the place of the cooler depending on the isolator capabilities : Depending on the parameter of the isolator it will let a certain amount of energy(heat) pass. If you put the cooler close to the Tip, the isolator will block less energy than in the case you put the isolator more far away from the tip. What you want is a wet zone till the cooler, but you also want the heat inside the tip and not to go directly to the cooler. In my case (stainleyy steel tube, outer diameter 2,5mm / wall 0.25mm) usable distances are from 3 to 9mm. I can feel that it gets more sticky above 9mm. I guess design of the cooler can be widely choosen. But we want to keep the transition zone short, so the cooling need to be best at the lower end. I chose a flat, ripped cooler, so i can mount the fan above it, away from the desk. To be continued .... |
